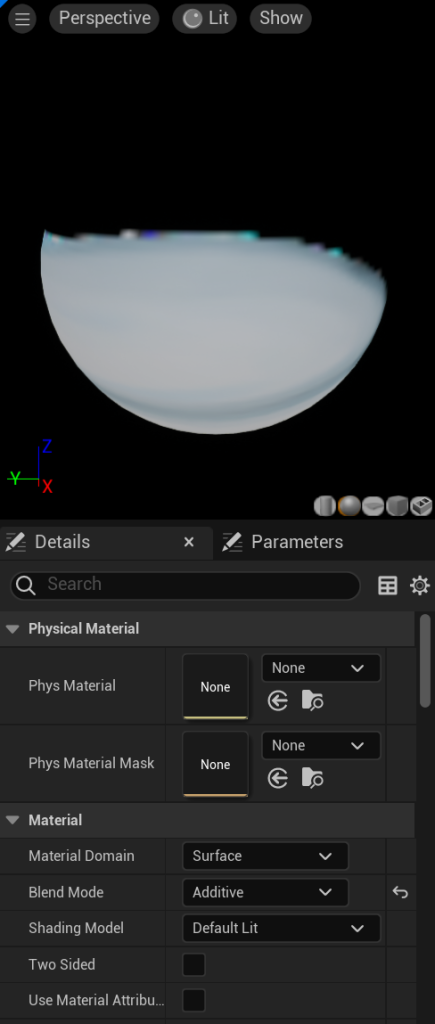
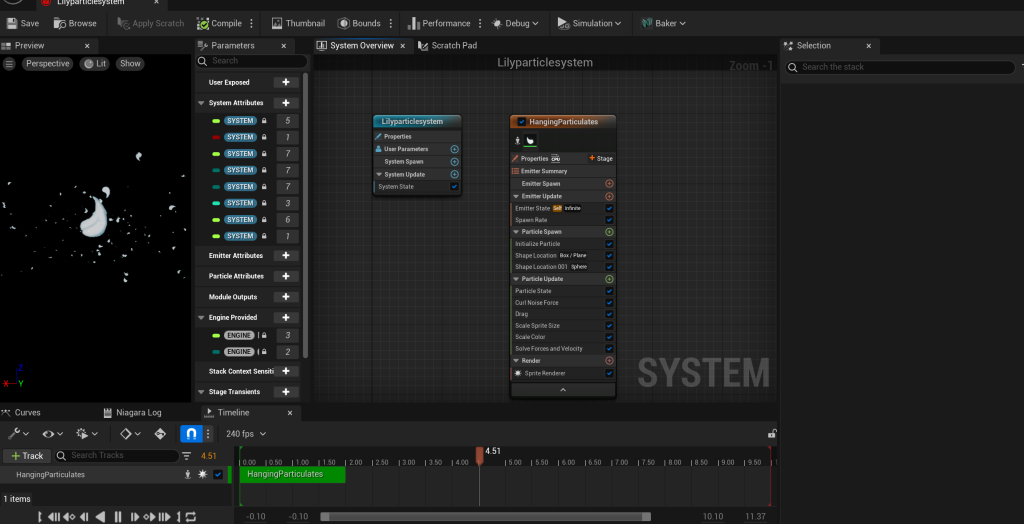
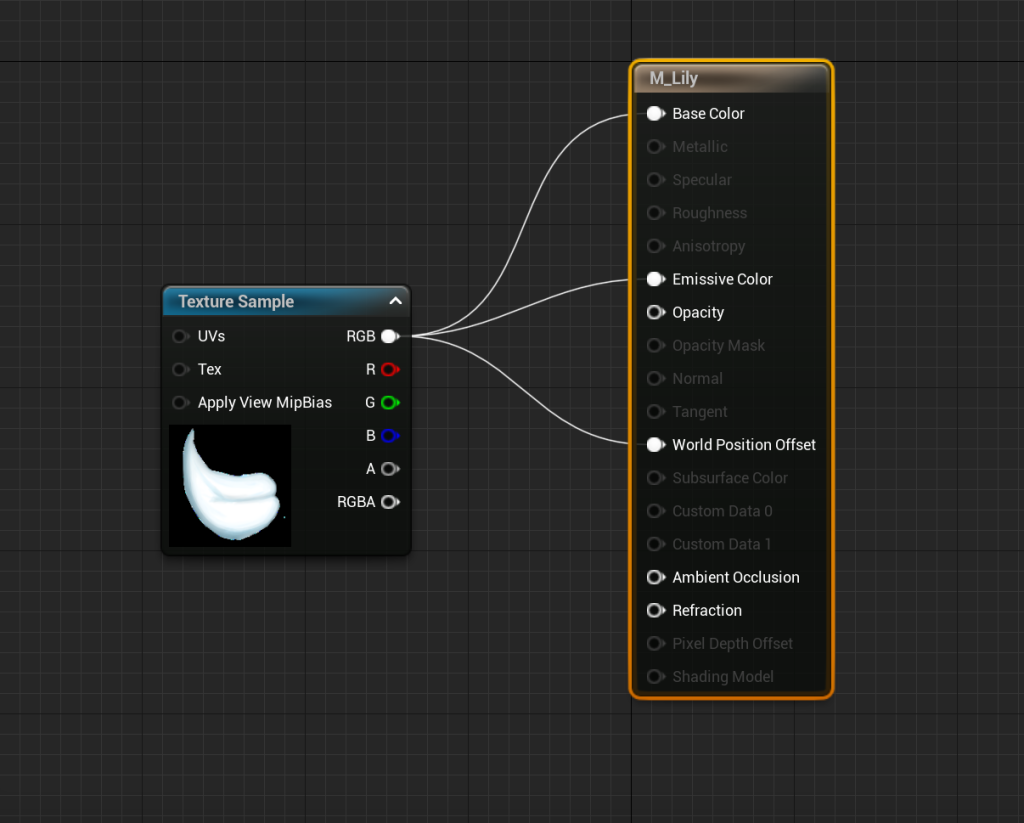
Experimenting with Niagra system – the first effect I created was the lily particle system. For this, I created the particles by using the hanging particles emitter and then changing the sprite texture to hand-drawn lilies petals and adjusting the opacity so the texture became an additive.
Afterwards, I added lighting to the particle system and adjusted the spawn rate so that the lilies didn’t obstruct with any of the obstacles or the character. Whilst it’s still a simple effect, this system helped me to understand the interface of Niagra and the ability to explore the different variables that could be easily adjusted.
Outdoor VFX
Due to location of the window in the set piece, adding a HDRI map wouldn’t have been suitable for the outside area as it’d be difficult to see. But on the creative side, HDRI maps would’ve directly contrasted with the stylised room so I decided to opt out – instead making a scenery by only using VFX.
This way it’s still stylised but not overtly eyecatching enough to steal away from the main focus of the shot: the characters and the props. Before adding the effects, I added a black backdrop in order for the parrticles to stand out.
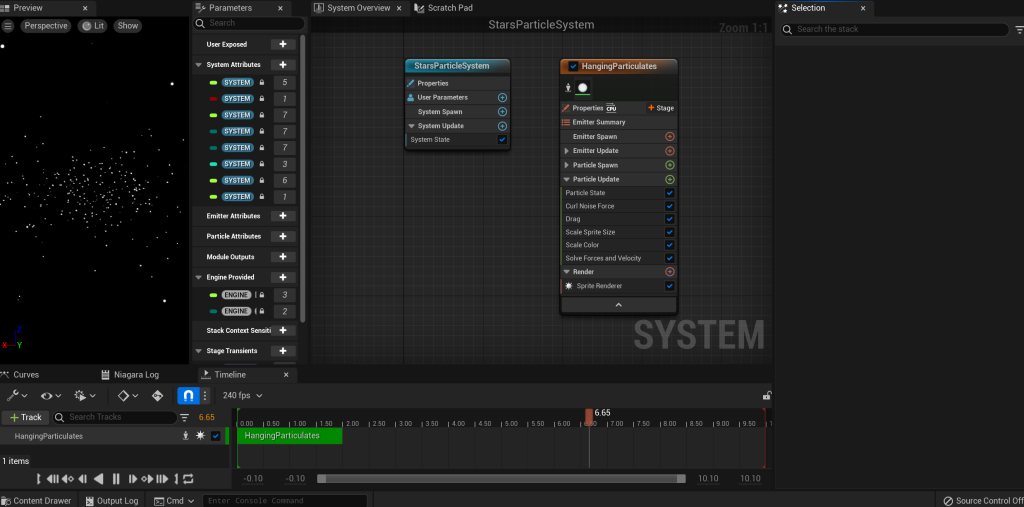
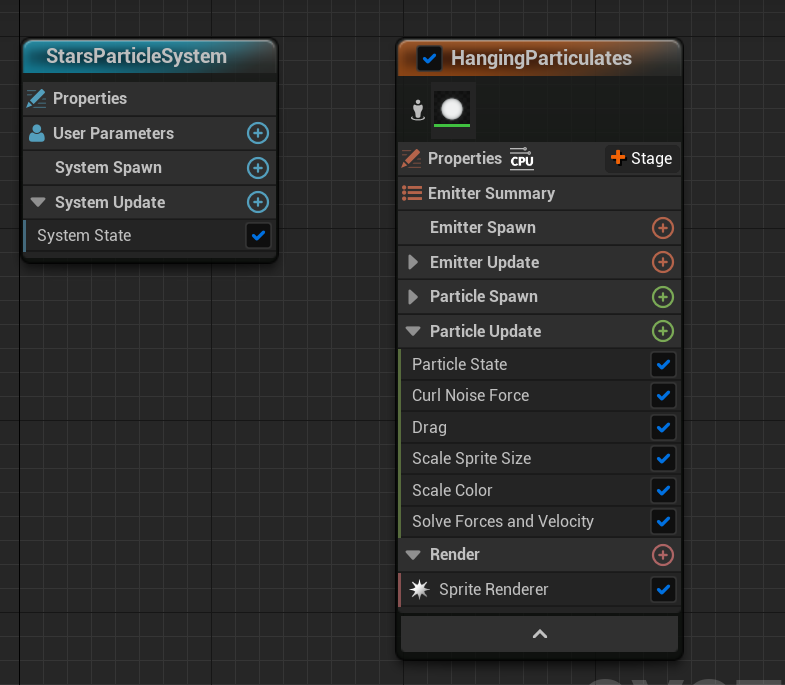
So for the stars, I used the same hanging particle emitter and changed the sprite for a more rounded look as well as raising the spawn and distribution rate in order for the stars to appear more spaced out.
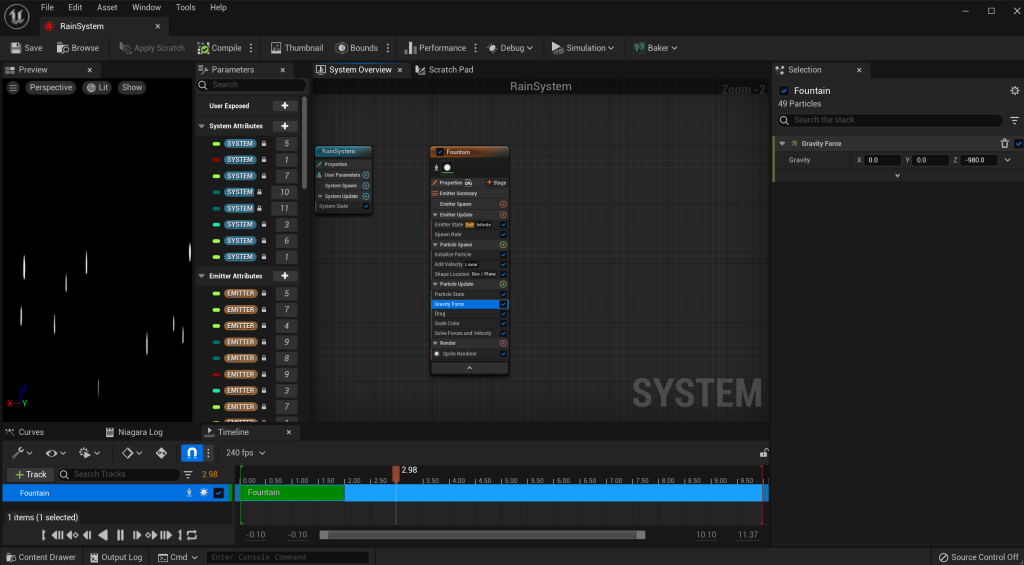
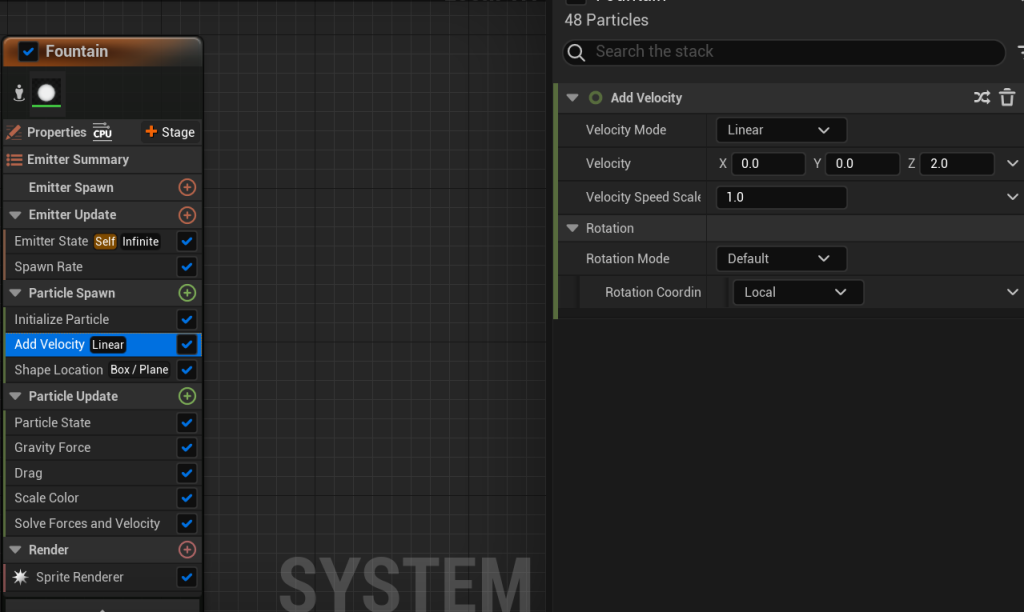
Whilst the rain drops were made using the fountain emitter and to keep particles set in a closed area, I added a box location and stretched out the dimensions of the box in order to keep the particles spread out.
Afterwards, I added a velocity variable which was kept at -1000 in order for the rainfall to be noticed in the shot and finally, I stretched out the sprite size to simulate rain drops.
Creating the Ribbon VFX
Whilst this effect was another experimental piece, it still fit the stylised and unnatural tone of the set. It doesn’t have a particular meaning but it helps convey to the audience that the video is based off of the main characters perspective, seeing the food as nothing but scribbles on a plate and later seeing those scribbles on her partner’s face showing her distaste, fitting in with the songs themes of feeling unsatisfied in a relationship.
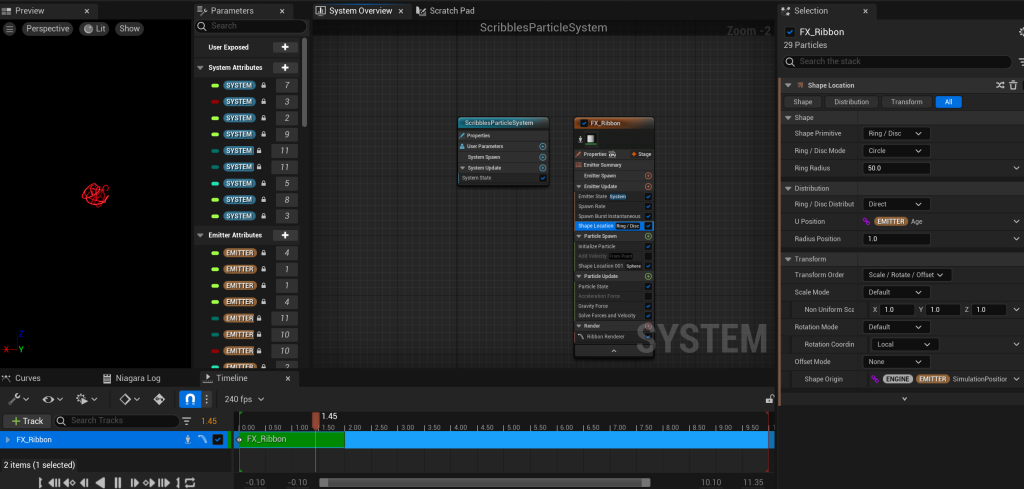
Originally, I wanted to use the ribbon system to create an effect with lyrics spiraling around the main character. However, after exploring the settings and being unable to format the lyrics into the spiral I decided to create the scribbles instead.
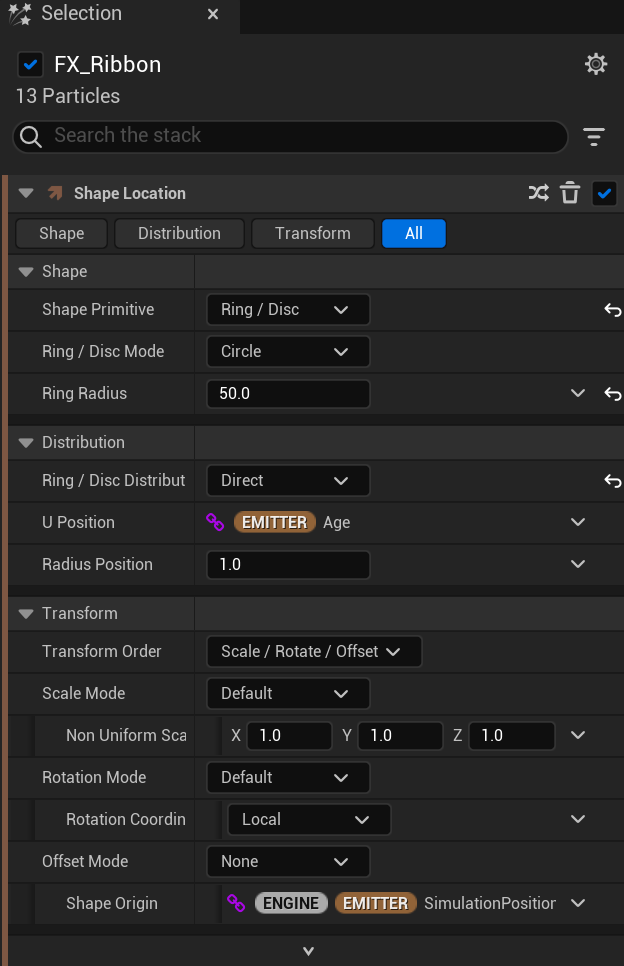
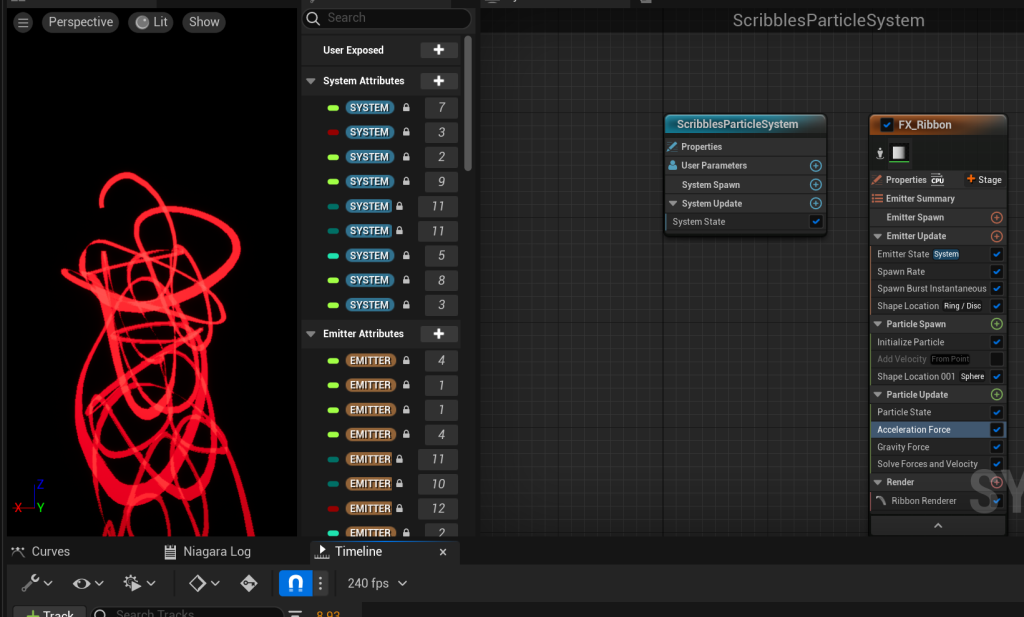
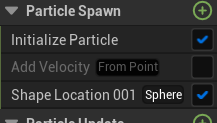
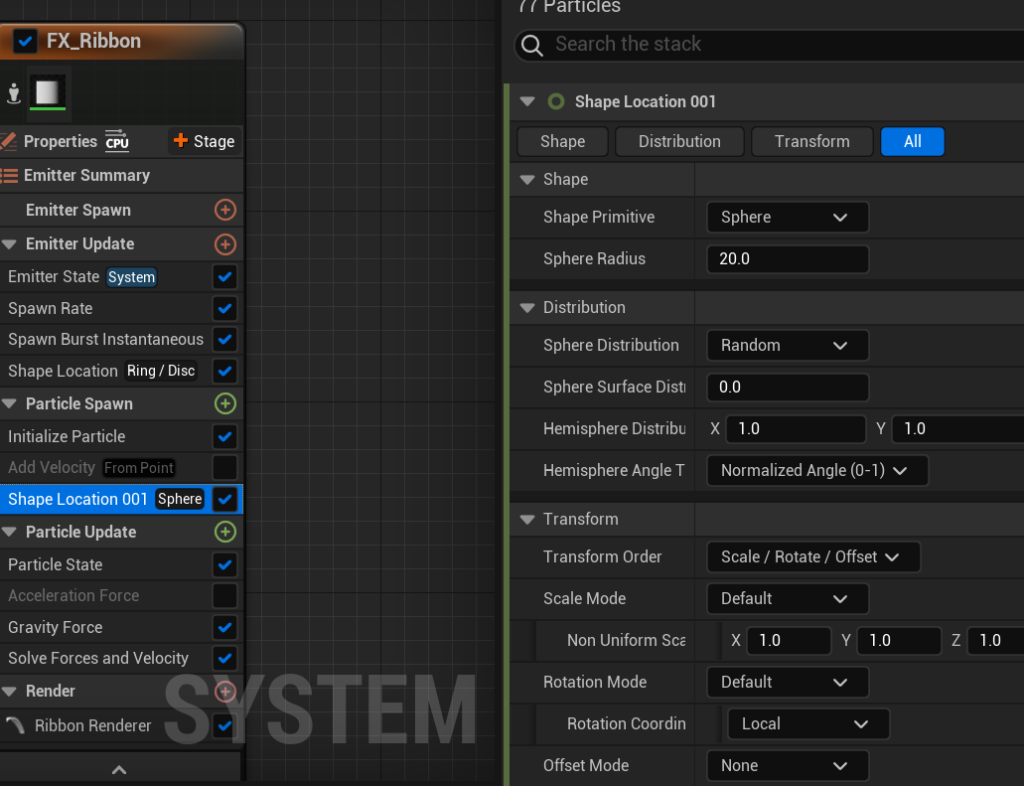
To create this, I started off with a simple sprite burst emitter, changing the sprite renderer into a ribbon one, switching the sprite renderer into a ribbon one. Then after changing the life cycle to “self”, increasing the spawn rate to 100 and changing the shape location to torus and it’s distribution to random, it became a tangled mess of light. I was then able to place it on the food and later on the second character’s face.
Bones and Plates VFX
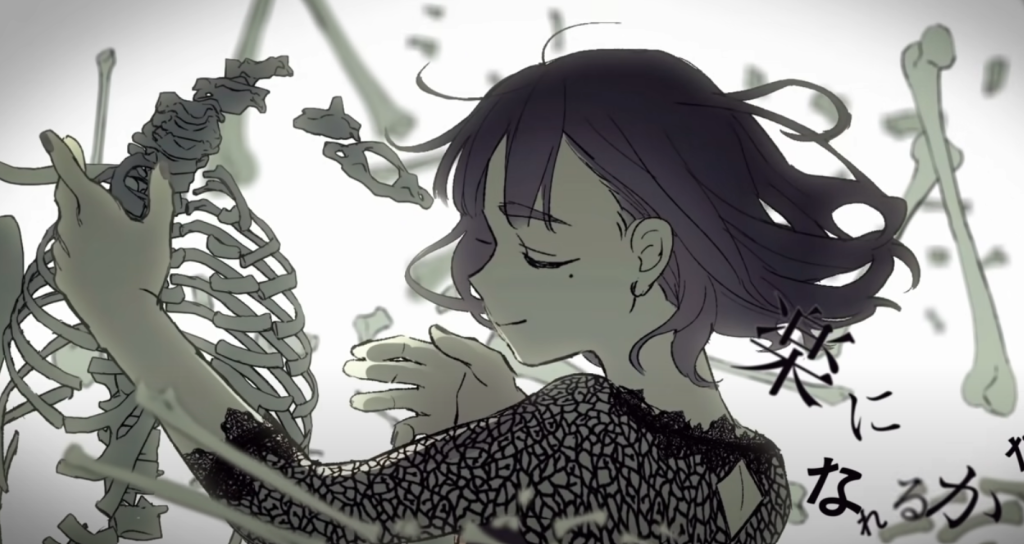
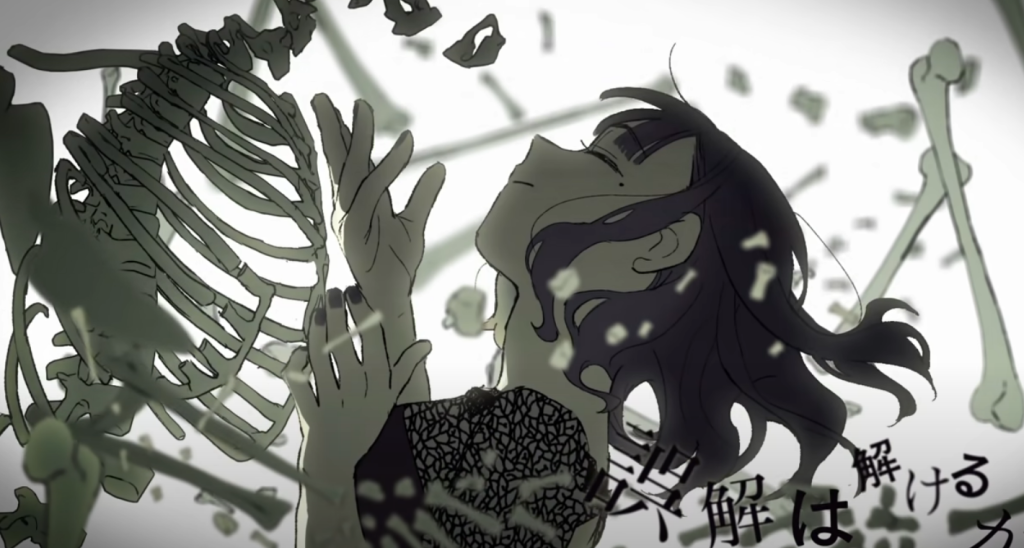
The final effect I added into the scene was a mesh particle effect featuring bones and plates, these effects mainly serve as a homage to the music videos that inspired this project’s creation as the imagery simply represents death, further implying that she sees her partner as the cause for their relationship failing (and also because in the story he accidentally kills her.).
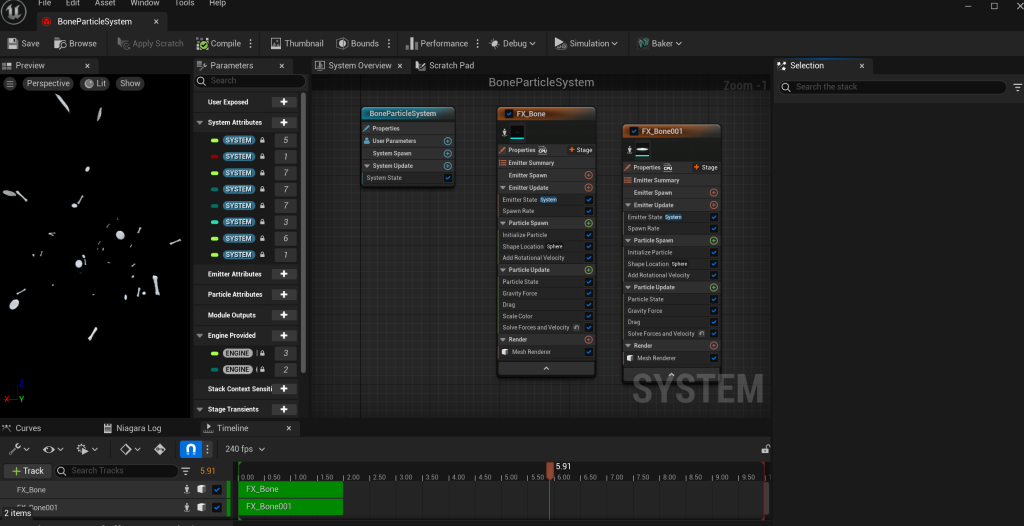


In aid for the making of this system, I used the mesh particle tutorial from the Unreal Engine 5 Documentation. Similarly to how I created the rain, I started off by using the fountain template emitter. Then I changed the sprite renderer to the mesh renderer and added the bones asset to the particle mesh section.
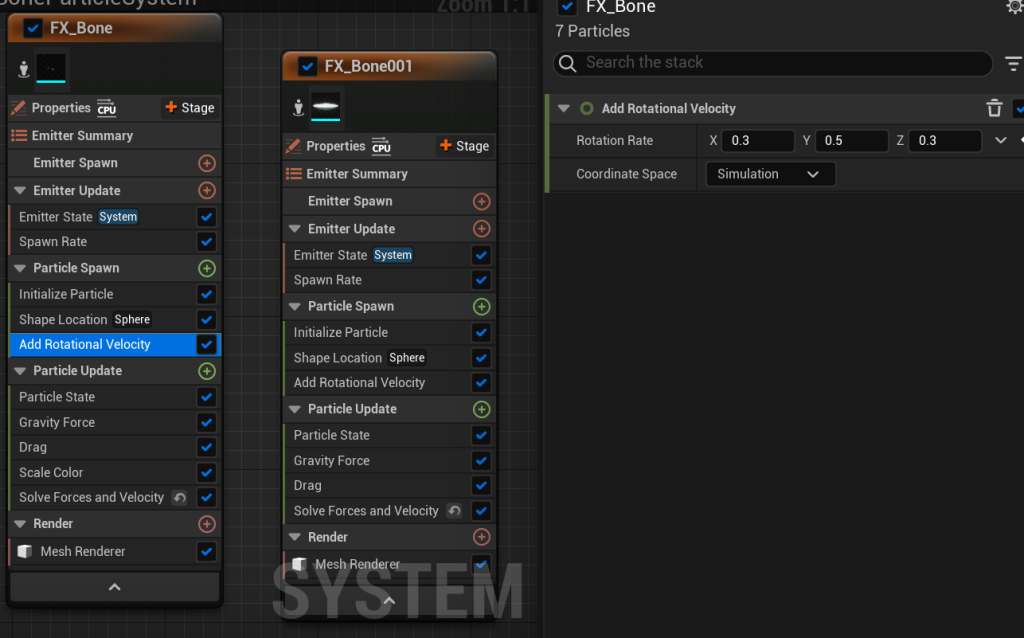
Afterwards, to make the movement of the bones more dynamic, I edited the rotation velocity in order for the bones to move in random directions. Finally, since I wanted to add multiple meshes to the system, I copied the effects settings as a template for the plates and adjusted the spawn rates for the two particles.