Categories
Collaborative Game Project Year 2

Dev Log #7 – Play testing and finalising the game.

1st May – 7th May

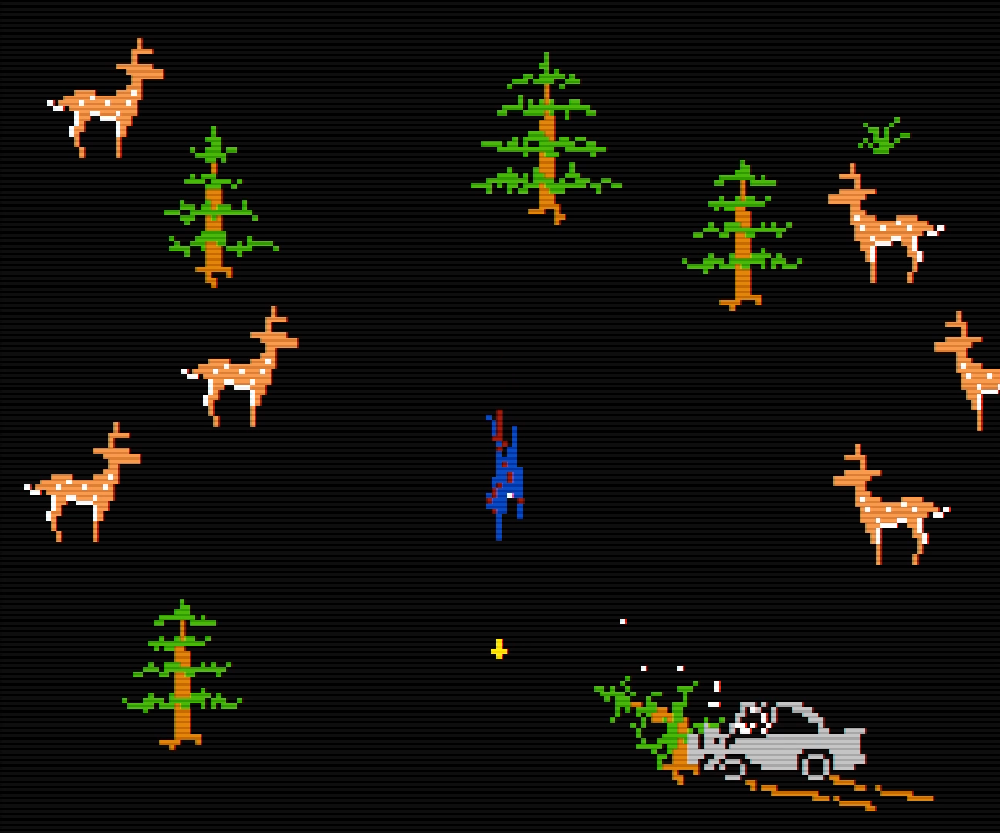
This week, we heavily focused on finishing the game as well as adding certain, small features that would help new players be able to navigate through the office levels.

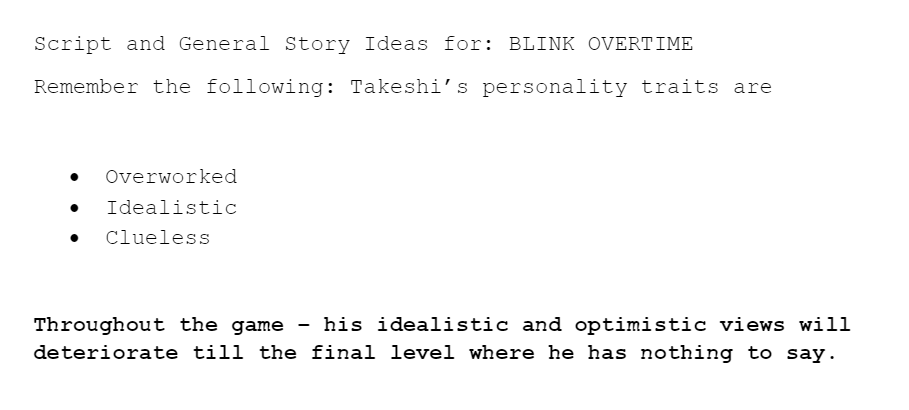
Whilst my tasks, at this point were relatively complete. There were still some areas that needed work on – especially when it came to the script.

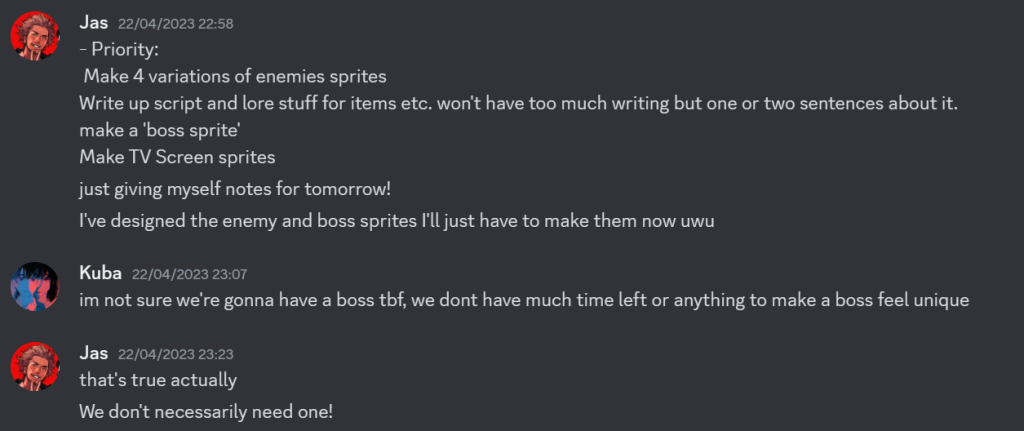
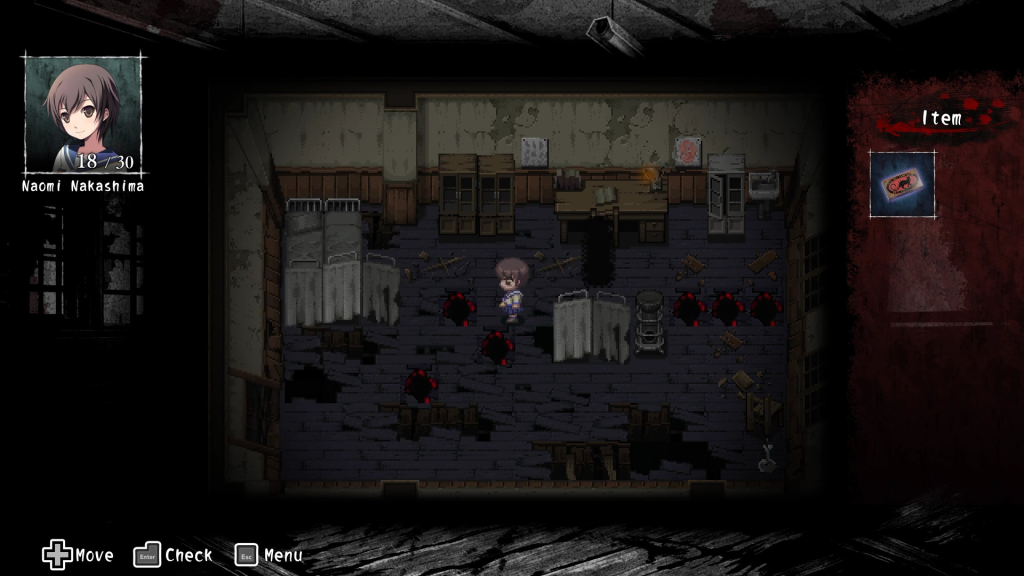
We asked a couple of individuals to playtest our game and provide some feedback. One of the main pieces of feedback given were the lack of hints throughout the game. Kuba and I had discussed the possibility of adding hints into our game last week, however we were unsure how to tackle this without making the key cards location too obvious.

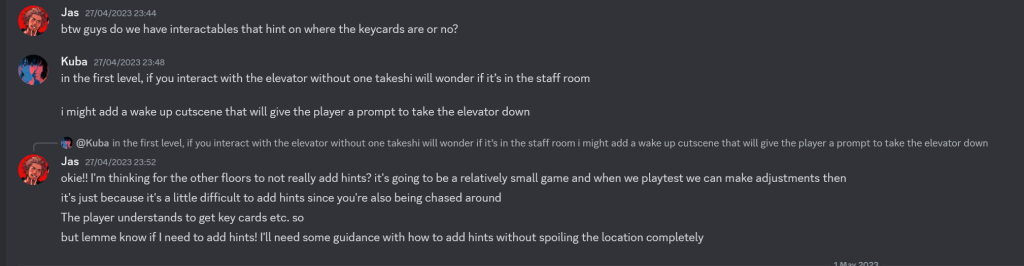
Originally we had an idea to potentially add an audio queue to the keycard, so the closer the player was to the item, the louder the sound gets. However, for players that want to take their time reading exploring the narrative, this could become incredibly grating really quickly which could ultimately lead to them rushing through the game and having an overall unpleasant experience, leading to a lack of replayability. On the other hand, this could lead normal players to rush through the game without looking at any of the items and therefore feeling underwhelmed or confused by the experience.

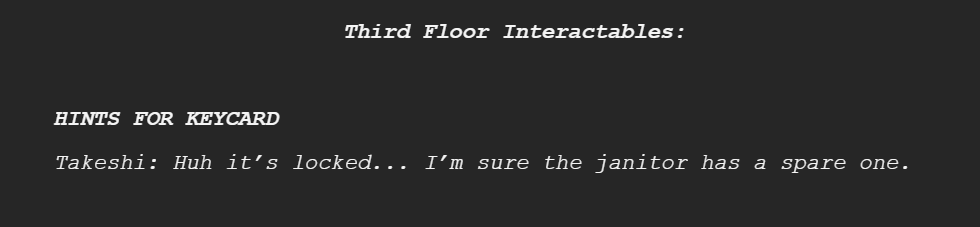
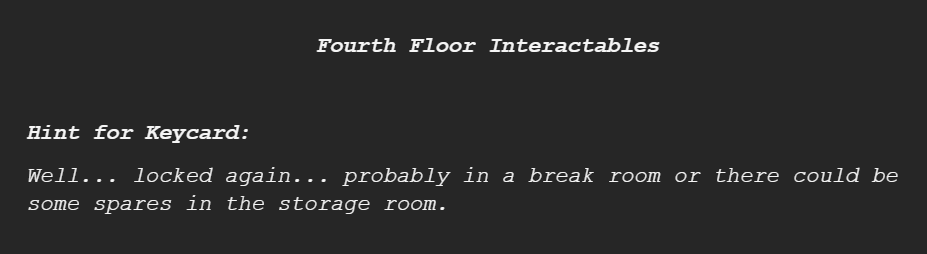
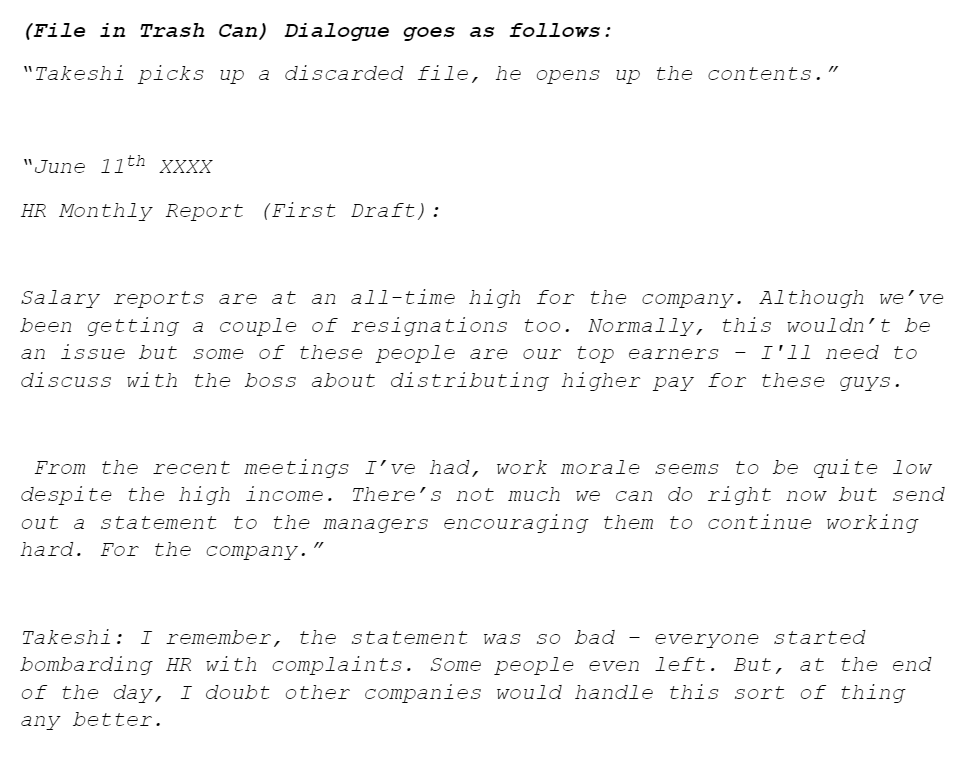
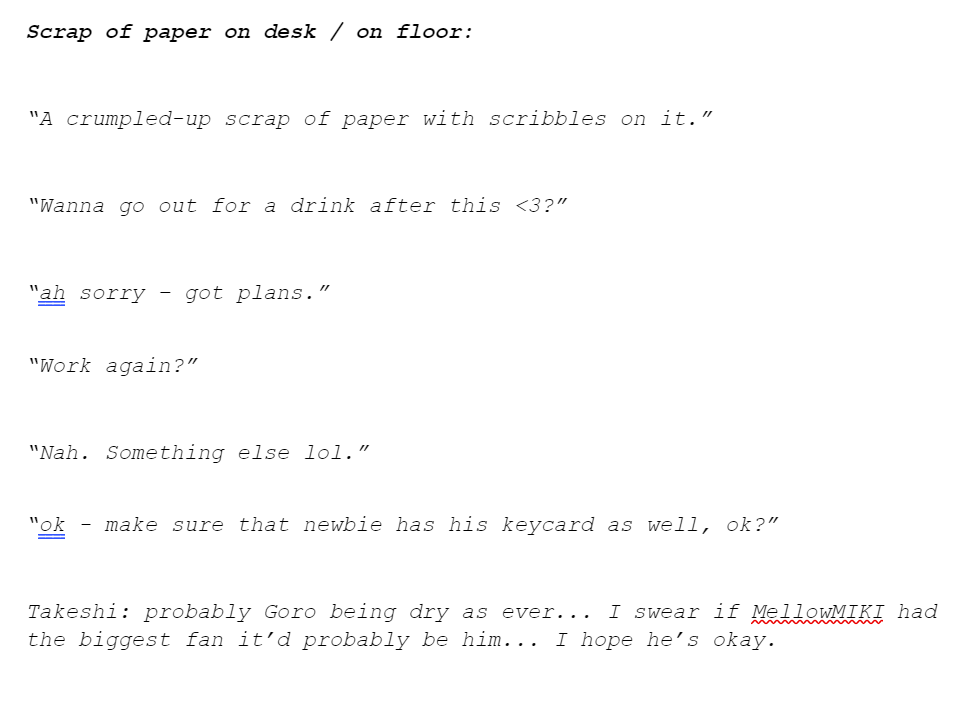
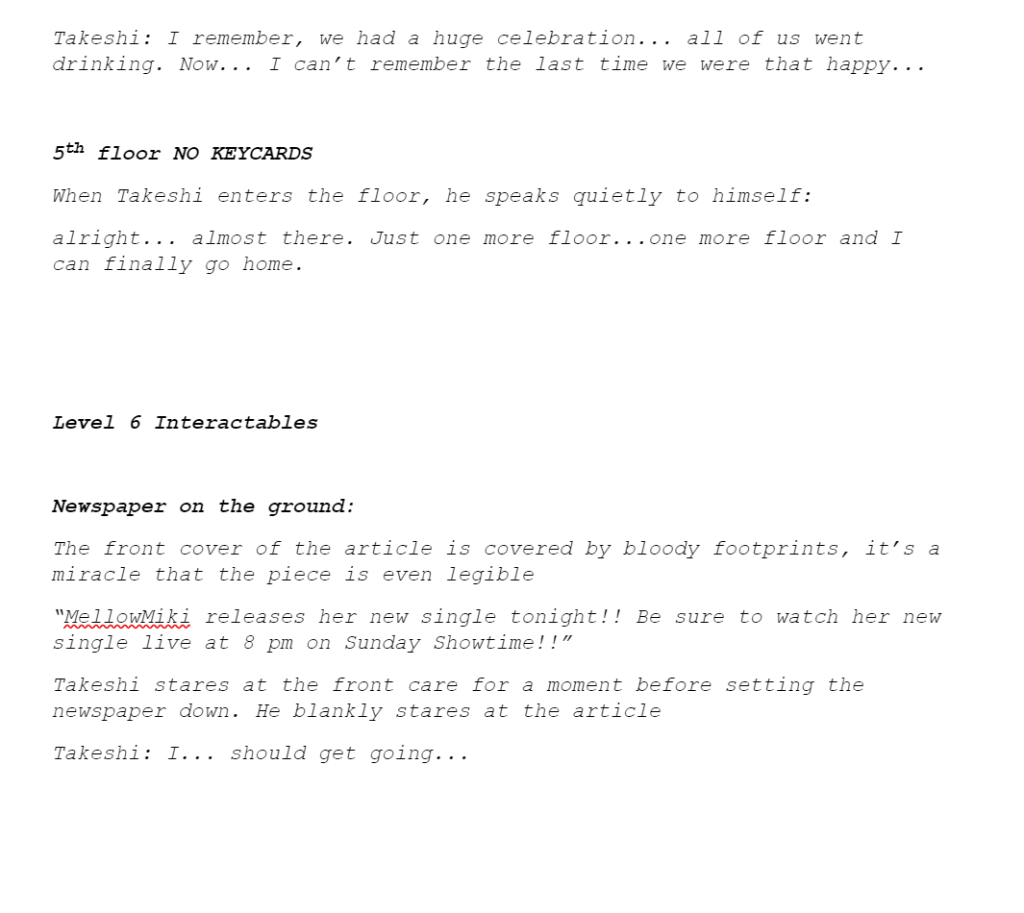
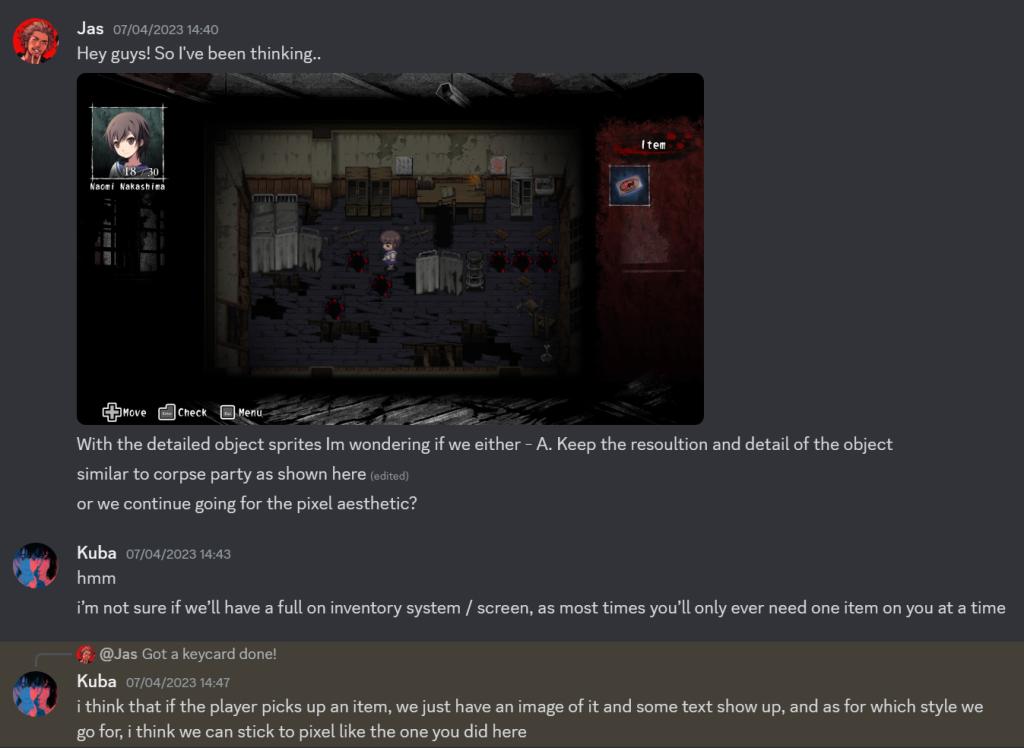
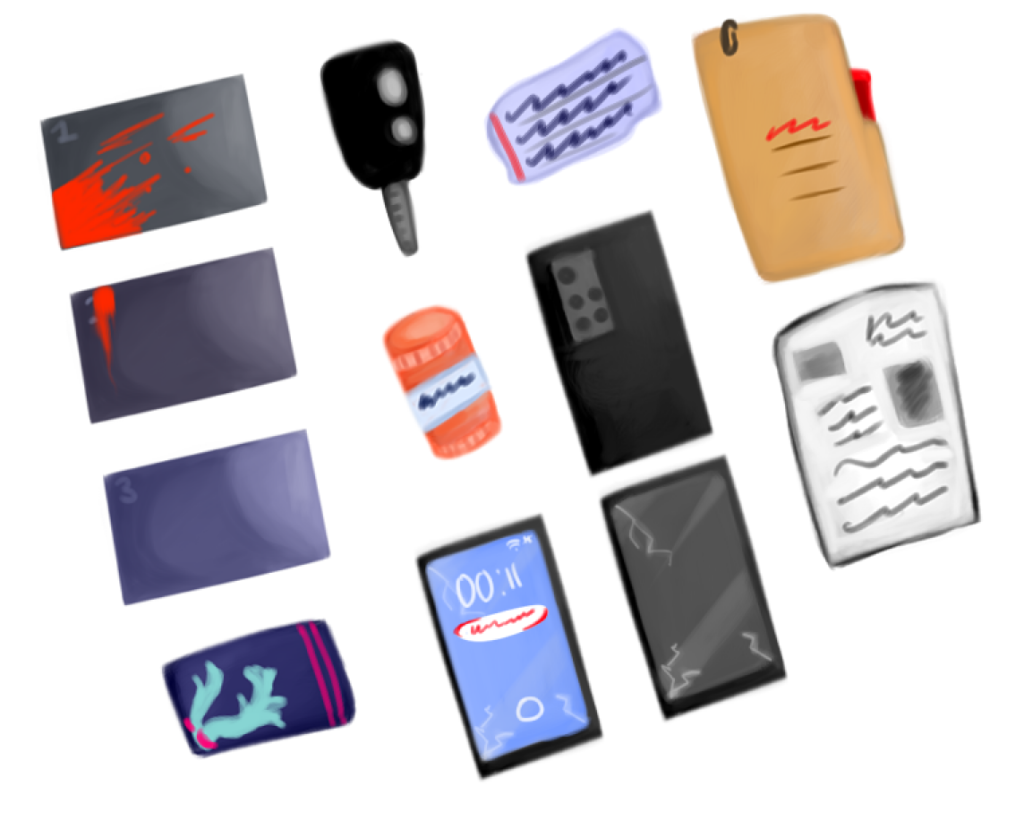
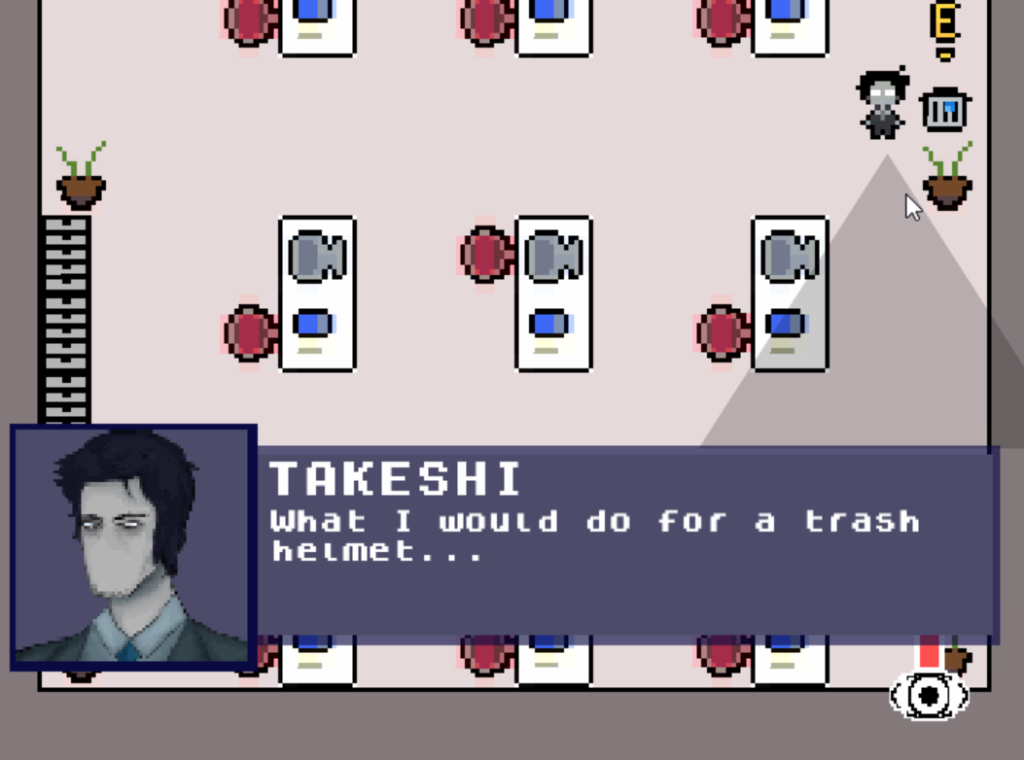
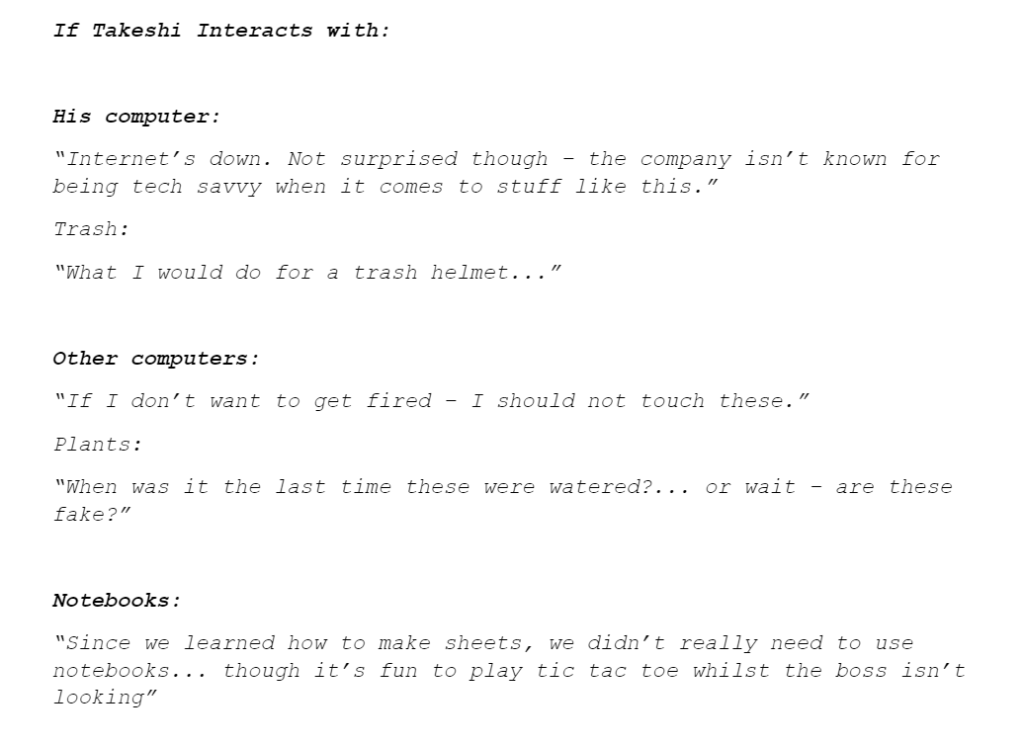
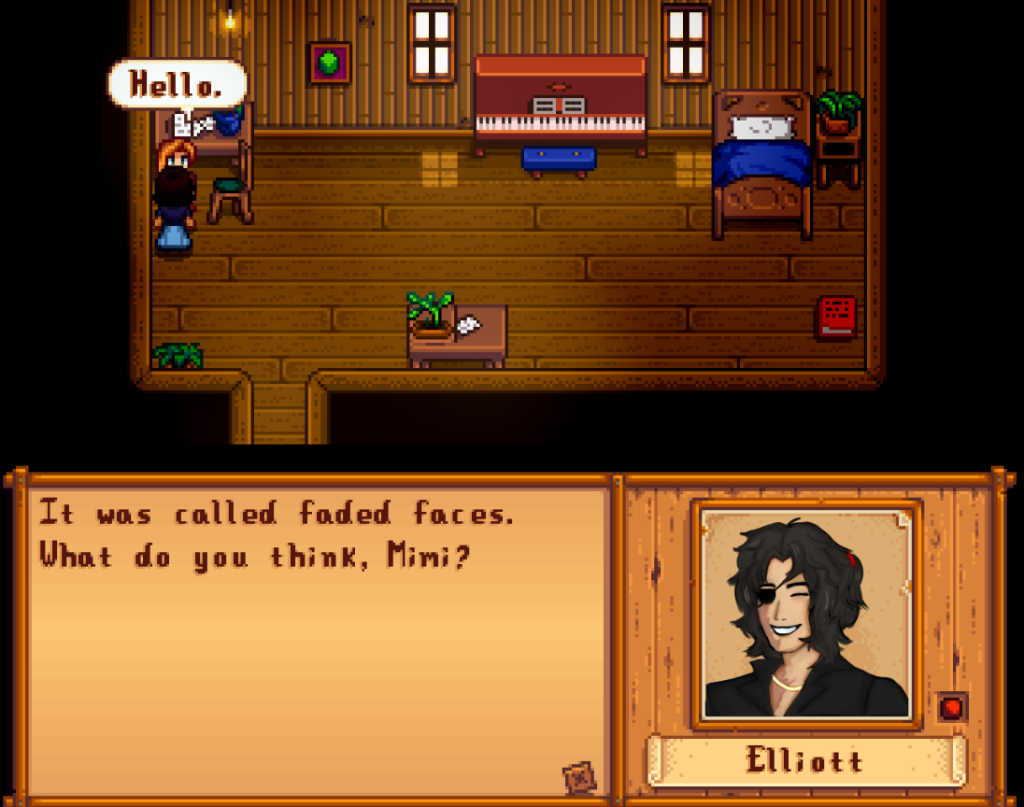
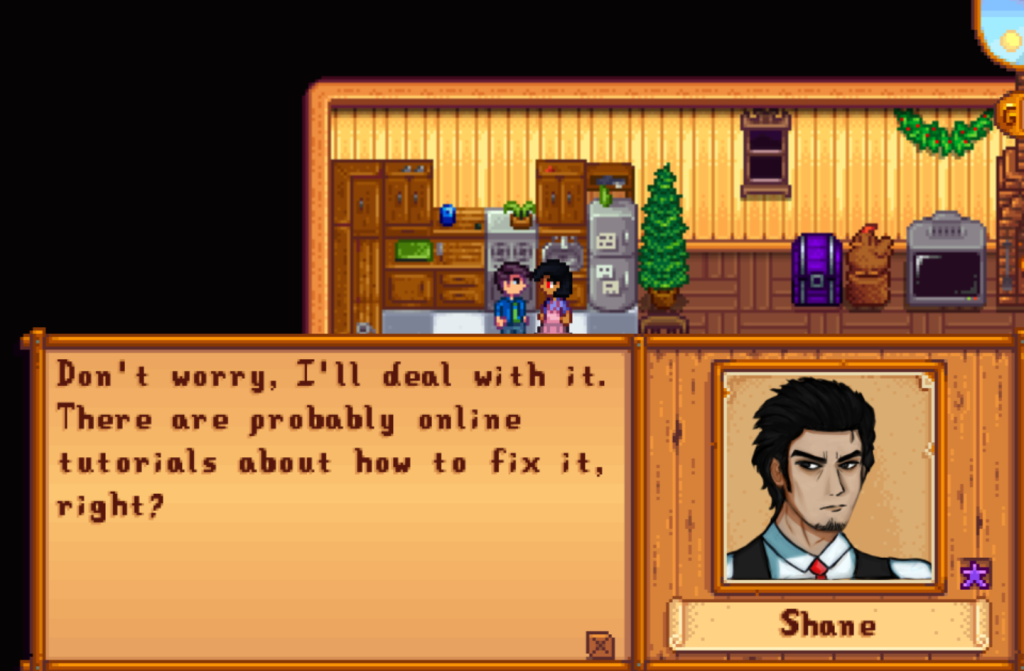
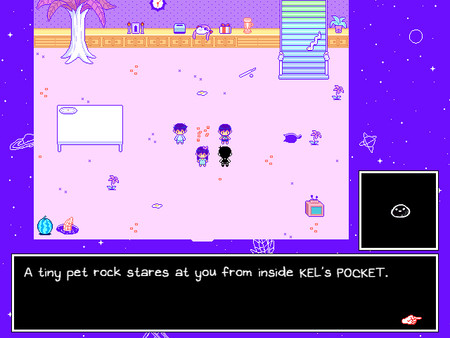
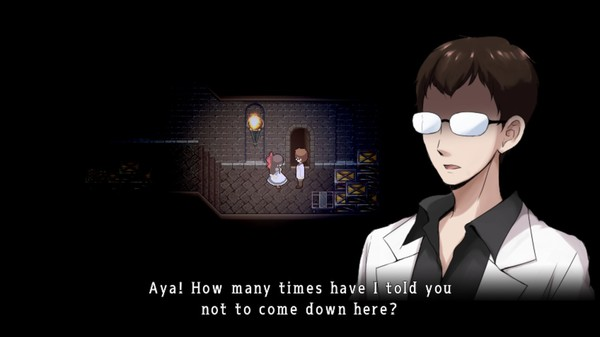
I also came across a similar issue when looking back at last week’s post. The fact that players may not either have the time or the patience to look through different items in order to find the keycard, especially since the game’s relatively fast pace. It slows down the game’s pacing and could take the player out of the experience. So in order to counteract these issues and concerns, we added special dialogue for levels that require a keycard to access the next stage or an area in the level.

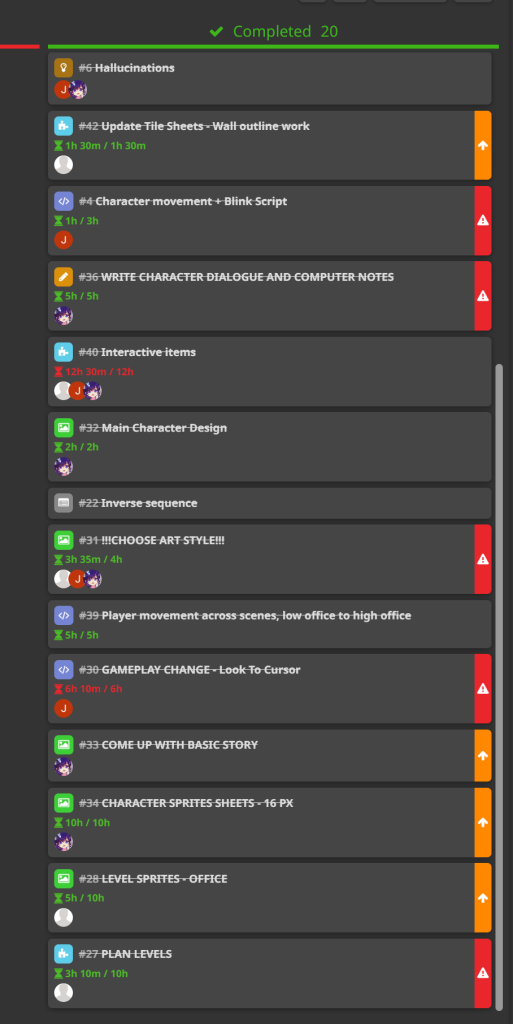
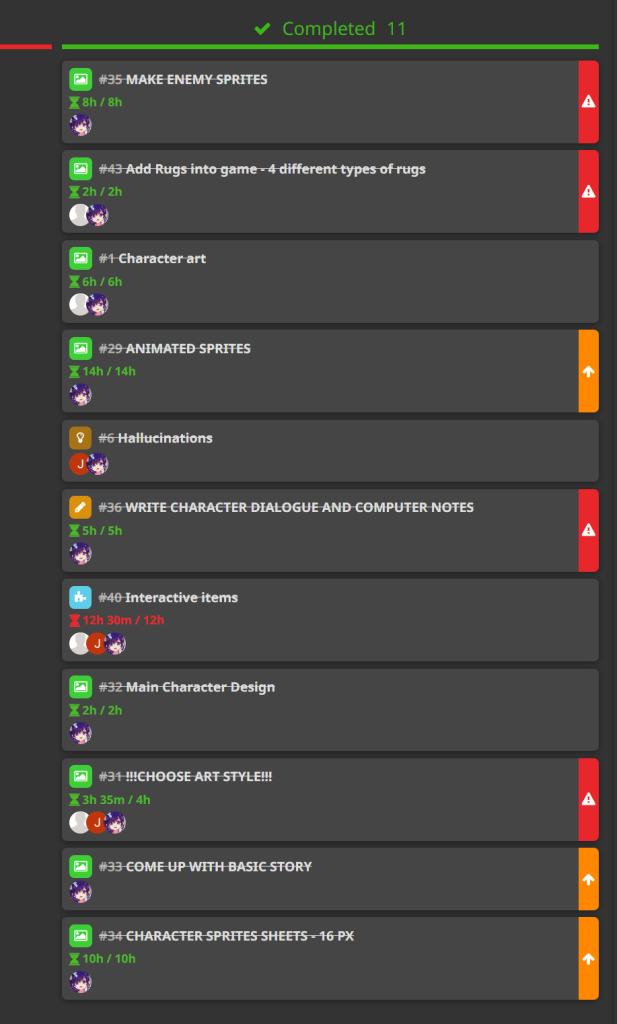
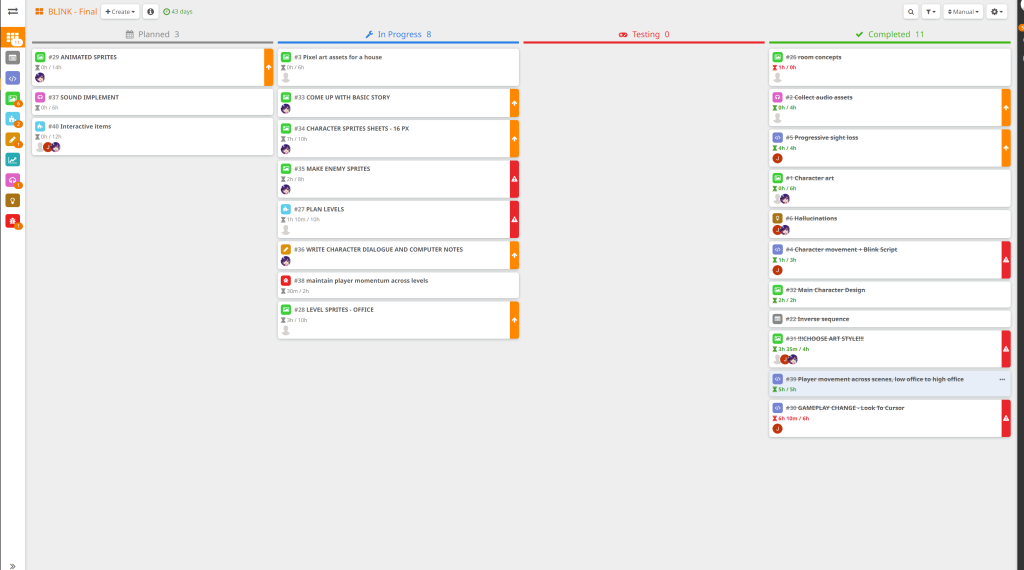
After completing the script, I finished off the project by completing my tasks in the hack n plan and logging in the hours completed throughout the project’s development.

Conclusion

As a short conclusion to this project, the game underwent some major changes from it’s initial planning and prototype stages mainly either due to time constraints, over ambition or simply stylistic choices.

Nevertheless, working with Kuba and Damien, even on a small project such as this, has taught me that communication is vital as well as keeping a consistent schedule. I felt, as a concept artist and writer, this was an important learning curve to undergo especially when communicating and receiving feedback from my group.

Throughout development, this has also helped me keep motivated as getting positive feedback as well as critique positively impacted our game today. It’s very polished in comparison to it’s prototype counterpart. The game, overall, turned out to be a unique piece that, as a group, we can’t wait to develop further as well as the universe surrounding it.

Gameplay Video

Categories
Collaborative Game Project Year 2

Dev Log #6 – Writing up a script and Creating Enemy Sprites

Date: 24th April – 30th April

This week heavily focused on finalizing any extra, smaller tasks as well as completing my main goals for the game. Writing up a script took up the most amount of time due to the amount of interactables that I wanted to add into the game. As a group, we have also acknowledged that, even if we didn’t have enough time to include all the dialogue into our project, the script would be able to give us an idea on how to move forward narratively or when we decide to further develop the game in the future.

Whilst making the script, I also decided to fully finish creating the enemy sprites for the game once again following the deterioration system I have mentioned in prior. This week, we have also decided to cut down the amount of levels for our game now going for only 6 levels rather than 8 due to further time constraints.

Writing up the Script

As I continued working on the script, I decided to add small notes for our programmer throughout as I split the script into 6 levels – each with their own set of unique items our main character could collect or read through.

I have also included two small cutscenes into the game – one being the elevator scene where the main character realises he’s stuck in the office building. This is the moment where his main goal of finding the stairs is presented to the player.

Another cutscene follows shortly afterwards, introducing the monsters to the player through the characters first encounter with them. This also plays as short tutorial which provides a small hint on how to deal with the monsters within the game.

He’s just as clueless as the player but as you pick up and read more information from certain items, the player can start to piece together what happened to the office.

Whilst these items are optional pieces and don’t necessarily provide large amounts of hints in terms of keycard locations it does further explore he narrative as well as expand the world building that surrounds the game whilst also not giving away too much information about the cause of the ‘outbreak’.

This sort of narrative exploration also draws in a niche player demographic as it allows them to come up with their own conclusions for the story and also gives them an opportunity to analyse the office further. This week, in total I’ve made 7 pages worth of dialogue for the game and this will be fully implemented by the end of next week.

Finally, here’s the script to review if you’d like to see the different dialogue and cutscenes added to the game.

Creating New Enemy Sprites

Over the last two weeks of work, I’ve been working on creating more enemy sprites whilst working on my main tasks. As mentioned in previous posts, I plan to make 6 different enemies for the game. Now with this cutback, however, this means that (potentially) a new enemy is introduced in each level. This system means that not only are the visual decay of the monsters still present within each floor but also means that it serves as a subtle visual indicator for the player, showing how much progress they’ve made throughout the game.

All enemy sprites based on deterioration

These are all the enemy sprites that have been made for the game, some design changes had to be made due to the 16px aesthetic limitations. However, the decay is clearly present within each mutation. I tried to stay close to the enemy designs as I possibly could especially when it came to colour schemes.

In terms of the movement for these enemies, I decided to only make forward and backward facing sprites as they appear more threatening. They were also a lot easier to animate given the time constraints. Once again this style of maneuver is also heavily inspired by Faith’s design as they move in a very aggressive and intimidating fashion.

FAITH WIKI (2022). Offering Ending [Image] Available at: https://airdorf.fandom.com/wiki/Faith_(Video_Game)?file=Offering_ending.png [Accessed on: 27/04/2023]

The decision to only make forward and backward facing enemies also comes from our test enemy as shown above. They’re much more taller and faster than the player but their movements are also obscured by the ‘blink’ screen. This compromise saved quite a bit of time during development as well as create some horrifically unnatural movement

Upon our final week of development, we will discuss the results of playtesting and some final touches being added to the game, including rewriting certain bits of dialogue and trying to add hints for keycards that will be directly conveyed to the player.

Categories
Collaborative Game Project Year 2

Dev log #5 – Detailed Sprites and UI

Date: 17th April – 23rd April

With more of the mechanics being implemented, this week’s main focus is to prioritize creating more assets that are not only visually appealing but practical for the game’s development.

As mentioned in the prior post, we have made the decision to cut the boss battle from the game. This is due to time constraints within the project, especially considering we have two weeks left until our projects set deadline (04/05/2023).

We had discussed in a meeting and concluded that making a boss would require special move sets in order for the player to identify the enemy and both our programmer, Kuba and I would need to design and program an unique monster which would also delay our development schedule.

Making Detailed Sprites

When researching similar RPG-esque art styles and game mechanics, I found that a lot of older / indie games will use either descriptive text or showcase a detailed image in order to show the item that’s been picked up.

(Show examples of items being picked up – Omori and Corpse Party)

Since my main goal as an artist is to also make assets visually accessible for new and experienced players, I decided to create a sheet of detailed sprites that would pop up quickly whenever our main character picks up an item.

Before making a decision on a style we could use for these sprites, I requested feedback from my team members.

Similar to the portrait workflow, I recreated these items in a much lower resolution in order to fit the game’s asethetic.

By making detailed sprites, this also allows Damien, our level designer to focus on making floor plans rather than making unique sprites for each item as this could potentially slow down development.

In addition to this, making unique sprites for items will not only appear a couple of times throughout the levels but will also be obscured by the overall darkness of the game, making the game incredibly frustrating as there would be no indication on the location of different important items. It’s not a longterm solution especially since our game heavily relies on maintaining eyesight.

So in order to replace these unique sprites, I also made a sprite that is known as the ‘item sparkle’, used in primarily RPG games to indicate an items location, especially in horror. I also created two variants of this ‘sparkle’ – these being an ordinary interactable item and a keycard ‘sparkle’.

To demonstrate the difference between these interactables to the player, we have decided to add them into the first floor which serves primarily as a tutorial for new players. This also makes sure that players have an easier time finding these items once they traverse down lower floors as these sparkles are much easier to recognize through the darkening screen. We are also, now able to let our character interact with desk items such as computers without making special assets for pieces of dialogue.

As mentioned previously, these interactable items also come with a snippet of dialogue. Usually in smaller RPG games, they’ll simply what the player has collected. However, since I wanted our main character to be recognizable, I needed to add depth to his personality through dialogue whilst still keeping his speech to a minimum as intended.

So before writing up the dialogue, I had created a UI text box for our portrait and dialogue to reside in, big enough to fit enough text but small enough to still see the environment. Once, again these mechanics are also inspired by heavy dialogue games such as Stardew Valley.

Afterwards, I started writing some test dialogue for the tutorial level – mainly certain interactables around the office that gives him a more level headed but lighthearted approach to his night whilst giving parts of his daily life, making him feel more like a person than a vessel the player controls.

When writing his main character, even when his dialogue is limited and the game is relatively small, I try to plan out his personality by starting off the script with a couple of notes.

Whilst these paticular notes may not appear in the script for the final game, This helps me write his speech patterns as well as serving as a reminder whenever his dialogue seems “out of character”. In this case, we had agreed to make his character lighthearted but quiet and stoic around others. This means, for his character, him making small comments with certain items would fit his personality.

Next week, as I finish the dialogue for the small tutorial level, I will now focus on finishing up the script as well as making extra enemies for each level.

Categories
Collaborative Game Project Year 2

Dev Log #4 – Extra work and Refinement

3rd April – 6th April (Easter Break Documentation)

For the last couple of days, I worked on refining and researching character portraits for the project. Here are a couple of examples of portraits that have been made:

For making expressions, I referenced Stardew Valley portraits to show the character’s wide range of expressions.

Since we planned for the character’s dialogue to be limited, I only created a couple of expressions that would align with his dialogue. This is because, as a group, we felt as if dialogue in a horror game could quickly lose it’s charm if used extensively; especially if our main, fundamental goal was to create fear for our audience through tension.

Much like in films, a lot of the time no dialogue in certain scenes would help convey emotion far better as it gives the audience an opportunity to come up with their own conclusions and thoughts within each interaction.

This week, we have also decided to scrap the insanity component in the blink mechanic. This was due to development time being incredibly limited and by adding an insanity component it means designing 15 unique sprites for each stage which we didn’t have enough time for. However, with this cut, it means I can focus more time in developing unique sprites for each floor. I still kept the previous designs and decided to create a new system for the enemy sprites.

This system is called: Deterioration. Once again, purely a visual system but this time, the further you down with each floor, the more deteriorated the monsters get.

A table made with the limited sprites I’ve made for the game so far

I plan to make 8 / 9 sprites for each floor including a boss sprite for the ending. However, in this stage of development, we are unsure whether or not we’d be able to make a boss for the game because, in terms of my role, it would mean making unique animations for movement and attacks as well as creating special patterns for the boss to adhere to. This would take up a large slot in our development schedule and we will have a conclusion for this decision by the next dev log.

Categories
Collaborative Game Project Year 2

Dev Log #3 – Enemy and Portrait Designs

Date: 27th March – 2nd April

To start off this week, as mentioned in my prior log, I began to work on some enemy designs that could fit the 16 px aesthetic. The main focus of creating these sprites were to create a new system for 2 stages in the blink mechanic.

Enemy Designs

A sketchy table showing the two stages – normal and ‘insane’ monsters.

As shown here, there are two established stages so far depend on the player’s sanity throughout the level. The first type, the normal enemies are established at the start of game. As a group, we established their patterns early on in development as it was our main selling point for the game: normal enemies only move when the monster is out of the players view.

Rough sketches and ideas of Enemy Type 1

For this enemy type, I started to design creatures that were humanoid, almost as if an infection was eating away at them. So they still held very human characteristics in terms of appearance. I plan for them to also move similarly to the main character to emphasize that appearance.

This establishes the insanity mechanic by establishing the contrast of this ‘infected human’ to the still pristine but dark office environment. As a writer for the game, This also helps the audience question the character’s reality through this contrast as well as add a level of intrigue to the overarching narrative. After all: Is what the character’s experiencing real or not?

Rough concept ideas of the ‘insane’ enemies – Decided to keep a bright, red contrast to the first enemies.

The second type of enemies are only activated if the character loses enough sanity through damage or staring at enemies for too long. These enemies are planned to be much more aggressive than their predecessors as the main character has fully succumbed to the madness around him.

Keeping these decisions in mind, I created these monsters to be less humanoid and visually terrifying by essentially skinning them of any parts that made them seem human in the first place. Their designs are completely contorted, once again inspired by silent hill monsters and I plan for them to move in an incredibly unnatural and distorted way in their sprite work.

Creating Character Portraits

The idea of character portraits came whilst I was trying to produce ideas on how to emphasize visual appeal into our game. Whilst it is purely cosmetic, the addition of character portraits allow players to further visualize and therefore humanise our main character since we were also planning to add dialogue into the game.

This week, I will continue to work on some character portraits and hopefully have them produced by next week. For our character, I also wanted to show off different expressions which would compliment his dialogue as my main goal with his writing and development is to produce a personality for players to connect with. In, another version of the portraits, I made a couple of changes to his appearance to make him look older.

Whilst I tried to keep the pixel style consistent with 16 bit, if we wanted to showcase the characters details, I would need to produce a more high resolution version of the portraits whilst trying to maintain the pixel aesthetic.

Categories
Collaborative Game Project Year 2

Dev log #2 – Character Designs and Spritework

Date 20th – 26th March

This week, the main tasks were to start designing and creating the character sprites – this will also help establish the project’s visuals.

Last week, we had decided to go for a 16 bit art style reminiscent of RPG games that hold a similar 90’s aesthetic. But before beginning to make making the character sprites, I needed to create and design reference sheet for the protagonist. Before developing the game, I made some sketches of his character.

For his character design, I tried to go for a more ordinary look that compliments the unconventional horror game setting. Since the game is also set in an office environment, I wanted the character to be able to connect to the audience by establishing that he’s in the same position as the player. I wanted to protray that through his design that he’s an ordinary office worker and therefore is just as clueless of the situation as the player is.

Despite the genre, the protagonist was also designed with visual appeal in mind as he was created to be conventionally attractive. Upon research, audience (moreso from internet fanbases per example) are able to resonate and become more invested with characters that hold attractive qualities. Whilst appeal is an subjective area for all players, by making his design recognizable the game would be able to attract a larger audience.

Designing Sprites

When talking about Visual design, I went for a more monotone color scheme showing that he’s unassuming but physically unwell and pale. He appears to take his job seriously through appearance but at the cost of his health which is shown through his mute colours. His character also suffers with intense insomnia, this will be mentioned here and there through subtle dialogue but I wanted to express that through his appearance.

His character, therefore blends into the office environment without standing out too much. His design draws attention to the player with the subtle contrast between the beige environment and the character’s appearance.

Researching the 16px art style, I was heavily inspired by a psychological horror game with a similar anime style, OMORI. So I looked at Sprite sheets from the game and tried to develop my own style of sheets based off of it. In the end, I was able to create my own style whilst learning about the fundementals of 2D animation and movement.

Final Main Character Sprite sheets – I also learnt that 2D animation principles such as squash and stretch and arcs are fundemental in creating fluid movements.

After working on the main character’s sheets, I started working on some placeholder assets for the enemy sprites. Here are a couple of examples as shown here.

By making the placeholders, it allowed our group to see how the enemies could interact. I created two seperate sprites: Those being stationary and moving types.

The stationary sprites were created so our programmer could test the blink and insanity mechanics. To have an insanity component within this mechanic would not only fit the main character’s insomnia but it would also increase the difficulty by forcing players to pay attention to their eyesight and damage they take during the game. The moving types, however, help experiment how we’d want to tackle to art style as well as the movement speed for enemies.

These mechanics are directly inspired by FAITH’s narrative structure. In that game, there are subtle details that debate whether or not the events of the game were real or hallucinations plaguing the player’s mind. Whilst this wasn’t an active mechanic in FAITH, it presented an perfect opportunity to draw inspiration from.

This also meant, in development, I would need to create a new system when designing the enemies.

This will be next week’s task as after making the character and placeholder sprites, I was able to learn how to learn the fundemantals of spritework as well as the basics of simple 2D animation within pixel art and video games.

Hack N plan Tasks for the upcoming weeks
Categories
Collaborative Game Project Year 2

Dev Log #1 – Conceptulising Ideas and Planning

Date: March 13th – March 19th

For our final project, we decided to create the game “BLINK”, a simple horror survival game about trying to escape the workplace and the monsters that reside in it. The monsters, in this case, were once human, created by the screens in the office place. As the title suggests, the only way to avoid these creatures is to resist blinking, however, by not blinking, your sanity dwindles so the player must balance this mechanic in order to survive. This game was intended to be 2D as our biggest strength, especially as my art could only be translated in that particular medium. This meant that we weren’t restricted by limited knowledge as we were most confident with 2D styled games.

During this introductory week, we were mainly setting up plans for the project and through this process we would be able to further solidify our roles in developing the game. This was also the perfect time to further discuss and expand the world we had created for our game through compiling all the concept pieces made before the projects development.

Our team, upon feedback, also combined two concept ideas (those being the BLINK and TV concepts) as those prototypes not only fit the fundamental premise of the project but also allowed me to explore different design options, especially when it came to the monsters and the game’s setting.

These core ideas were the main focus of this week’s tasks for my role as well as combining two ideas together, compiling relevant concept pieces and deciding on an art style that would not only fit the world but would allow both me and Damien, our level designer to both work unanimously without switching art styles.

This particular issue, would be resolved by researching pixel horror, a niche genre that perfectly works for a small team. To start off with, I looked into two of my biggest art inspirations in the RPG genre, Omori and Mad Father.

Discussing a potential art style we could go for in our game. In a meeting we debated whether this would be difficult to replicate especially for two artists. Kikuo (2016).
Thumbnail for Kikuo’s song, O Light [Image] Available at: https://www.youtube.com/watch?v=AxhZgT_Hx2I [Accessed on: 11/03/2023]

Whilst these games have two different art styles and tone, their pixel styles hold a simplistic yet personalized look similar to gameboy games. In the end, both me and Damien had decided to go for a style akin to Omori. This is because, whilst Mad father’s sprites look more detailed, we wanted to stay consistent with the game’s planned simplicity. This would also make the planned character sprites fit better with the level design. So now, with the character and detailed art, the style will be 16px based.

Planning our Development

As mentioned prior, every week, as a team, we would write up our tasks in the Hack N plan and work through the specific tasks until the next week. Because we’re a small group, whilst the roles were set in stone, other team members could help with the development of other assets in case of delay. Our team would also regularly communicate in discord for advice or feedback:

These are a couple of examples of screenshots for our tasks for this week:

Compiling Monster Art

As the concept artist, I wanted to explore different ideas and scenarios that would suit the horror genre best. So in the beginning of the project, I created concept art inspired heavily by games such as Silent Hill and Resident Evil – these games also focused on the more survival and physiological aspects of their designs and settings. These inspirations also heavily contributed to my work as an concept artist as a lot of the monsters from said games have an uncanny, humanoid look which I tried to illustrate here.

Categories
Collaborative Game Project Year 2

References – Collaborative Game Project

Game References

Airdorf Games (2022). FAITH: The Unholy Trinity [Video Game]. New Blood Interactive. Carlsbad, California.

ConcernedApe (2016). Stardew Valley (PC). [Video Game]. ConcernedApe. Seattle.

Narayan Walters (2022). Endoparasitic [Video Game]. Narayan Walters.

MAGES. (2021). Corpse Party (PC) [Video Game]. XSEED Games. Torrance, California.

OMOCAT, LLC (2020). Omori (PC) [Video Game]. OMOCAT. LLC. Los Angeles.

sen (2016). Mad Father (PC) [Video Game]. PLAYISM. Osaka, Japan.

Team Silent (2001). Silent Hill 2 (Playstation 2) [Video Game] Konami. Tokyo, Japan.

Image References

Airdorf Games (2022). Faith Screenshot (Bad ending) [Image] Available at: https://twitter.com/Airdorf/status/1525653083270918145 [Accessed on: 22/03/2023]

Airdorf Games (2022). Faith Screenshot (Hallucination) [Image] Available at: https://twitter.com/Airdorf/status/1541497656907890690 [Accessed on: 22/03/2023]

Airdorf Games (2022). Faith Screenshot (Death by Deer) [Image] Available at: https://www.moddb.com/games/faith1/images/screenshots3 [Accessed on: 22/03/2023]

FAITH WIKI (2022). Main character shoots the mirror [GIF] Available at: https://airdorf.fandom.com/wiki/Rifle?file=Gun_shot_to_the_mirror_v1.3.gif [Accessed on: 27/04/2023]

FAITH WIKI (2022). Mirror Demon Screenshot [Image] Available at: https://airdorf.fandom.com/wiki/Mirror_Demon?file=Ch_1_mirror_demon_area.png [Accessed on: 27/04/2023]

FAITH WIKI (2022). Michael Davies in the Main Menu [GIF] Available at: https://airdorf.fandom.com/wiki/Michael_Davies?file=Mikescreen.gif [Accessed on: 27/04/2023]

FAITH WIKI (2022). Offering Ending [Image] Available at: https://airdorf.fandom.com/wiki/Faith_(Video_Game)?file=Offering_ending.png [Accessed on: 27/04/2023]

Interface in Games (2014). Stardew Valley Dialogue Example [Image] Available at: https://interfaceingame.com/screenshots/stardew-valley-dialogue/ [Accessed on: 22/04/2023]

MAGES. (2021). Corpse Party (Screenshot from Chapter 1) [Image] Available at: https://store.steampowered.com/app/1273260/Corpse_Party_2021/ [Accessed on: 19/04/2023]

OMOCAT, LLC (2020). Omori Screenshot (Dream World) [Image] Available at: https://store.steampowered.com/app/1150690/OMORI/ [Accessed on: 15/03/2023].

OMOCAT, LLC (2020). Omori Screenshot (White Space) [Image] Available at: https://store.steampowered.com/app/1150690/OMORI/ [Accessed on: 15/03/2023].

Purchease. R (2022). Faith Screenshot (Close up of Enemy) [Image] Available at: https://www.eurogamer.net/when-retro-aesthetics-wrongfoot-you [Accessed on: 22/03/2023]

sen (2016). Mad Father (Screenshot of Father) [Image] Available at: https://store.steampowered.com/app/483980/Mad_Father/ [Accessed on: 15/03/2023]

Team Silent (2001). Silent Hill 2 (Concept Art of Bubble Head Nurse #2) [Image] Available at: https://www.silenthillmemories.net/sh2/arts_creatures_en.htm [Accessed on: 15/03/2023]

Team Silent (2001). Silent Hill 2 (Concept Art of Pyramid Head without Helmet) [Image] Available at: https://silenthaven.tumblr.com/post/51054356099 [Accessed on: 15/03/2023]

Kikuo (2016). Thumbnail for Kikuo’s song, O Light [Image] Available at: https://www.youtube.com/watch?v=AxhZgT_Hx2I [Accessed on: 11/03/2023]

Software Used

Paint Tool SAI (Version 1) – For High Resolution Art and Sprite Making

Pixilart. (2019). Pixilart. [website] Available at: https://www.pixilart.com/. [Accessed on: 07/05/2023]

HacknPlan. (2016). HacknPlan. [Website] Available at: https://hacknplan.com/. [Accessed on 07/05/2023]