Before showing my final renders of my models, I need to talk about the process I went through in order to create these render shots.
To start off with, I imported the model from substance painter as a .fbx file into Maya. Then I exported the textures with the optimized settings for the Arnold render, keeping them in a seperate folder.
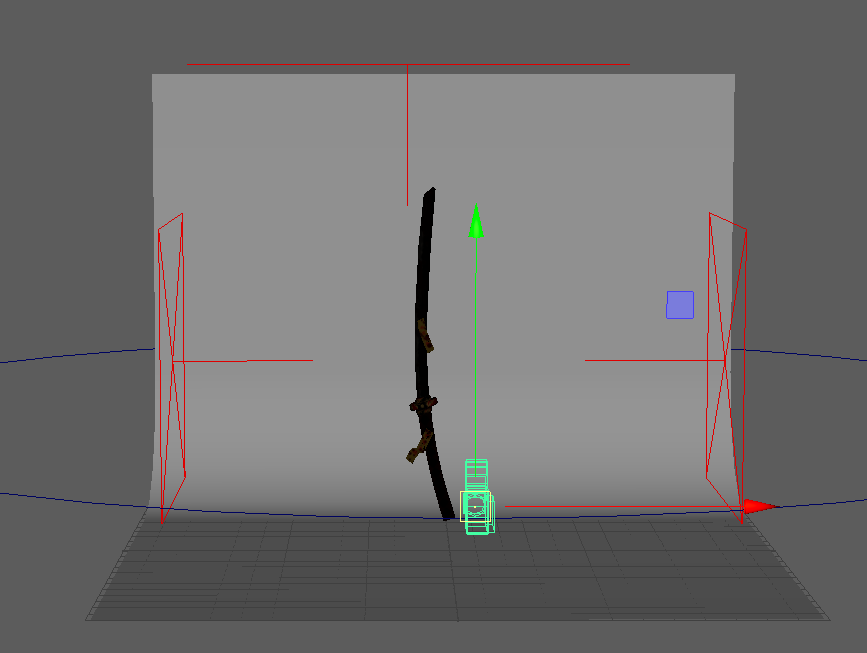
After, placing the model in Maya, I set up the rendering window and started adding in 3 stage lights and increased the intensity of the lights. This way, the reflection of the metal can be seen more clearly during the rendering. Before, there were issues regarding the lighting, since I used dark colours for my textures, the lighting needed to be more intense in order for the textures to be properly registered on the model.
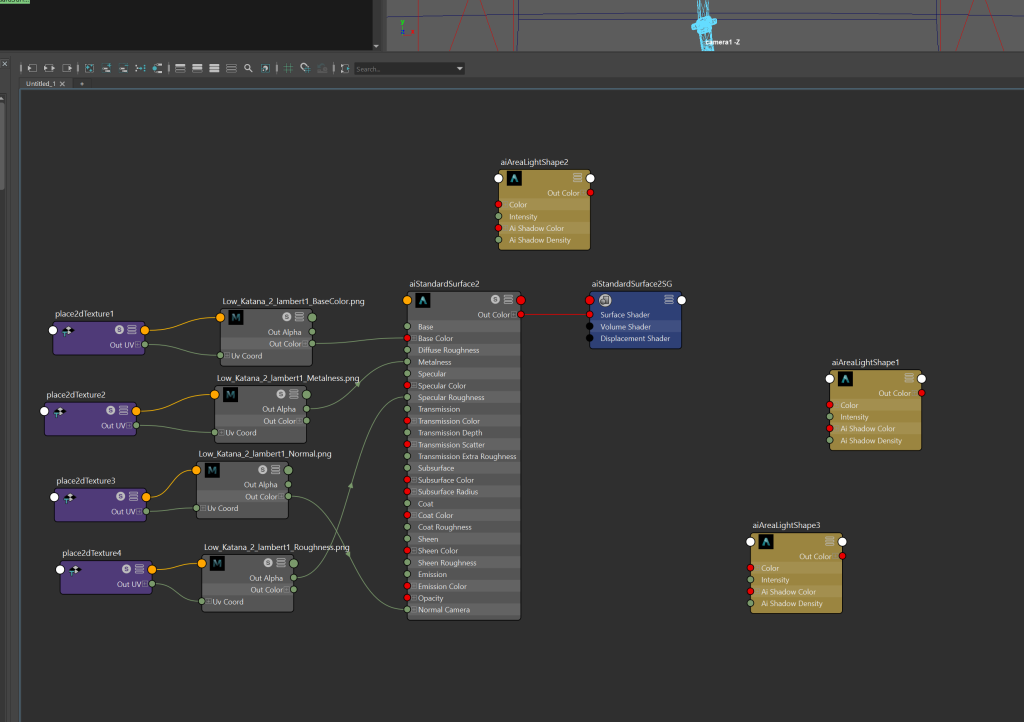
Next I added in the textures for the model, this was done through Arnold’s hypershade editor.
I added a camera in to the scene as well as a NURB sphere, this was to set up the rotational angle for the video, merging them together and then using the keyframe technique, I went up to 480 frames per second and started the render using viper.
Setting up the model for arnold was the most difficult area to work on, I was mainly quite anxious about ecountering errors from rendering but luckily with the help of my peers, I managed to understand how to do basic rendering for Maya.
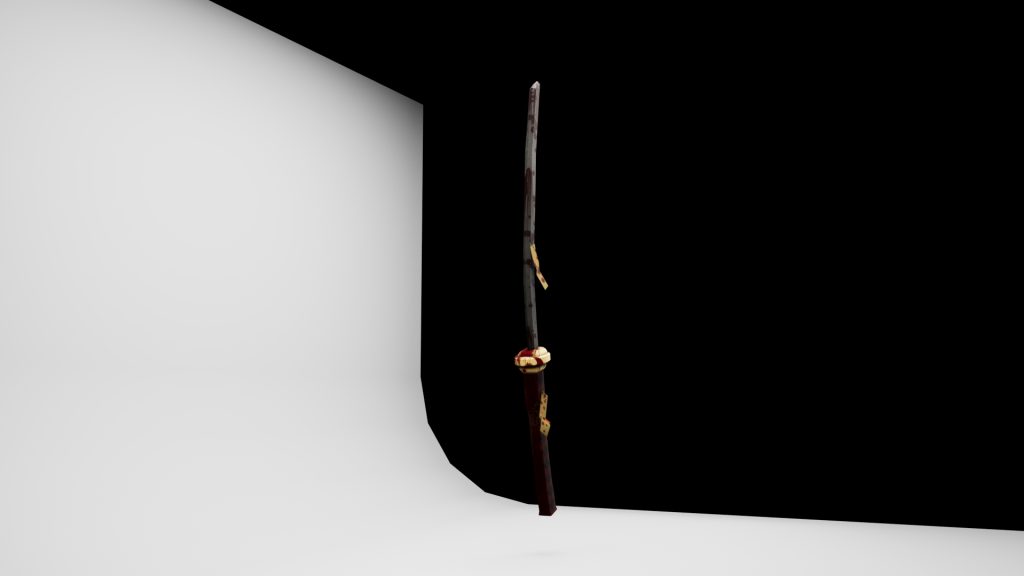
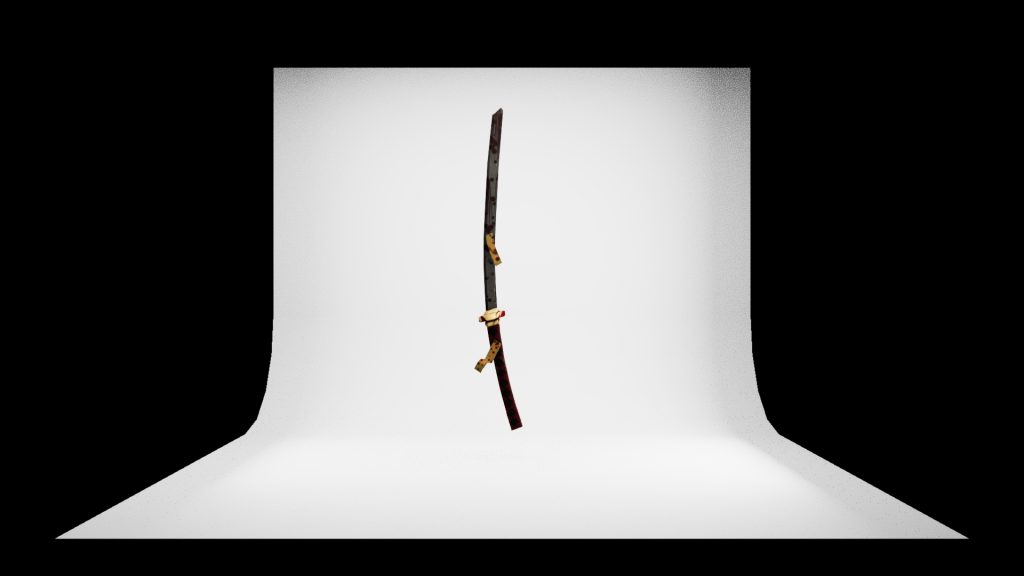
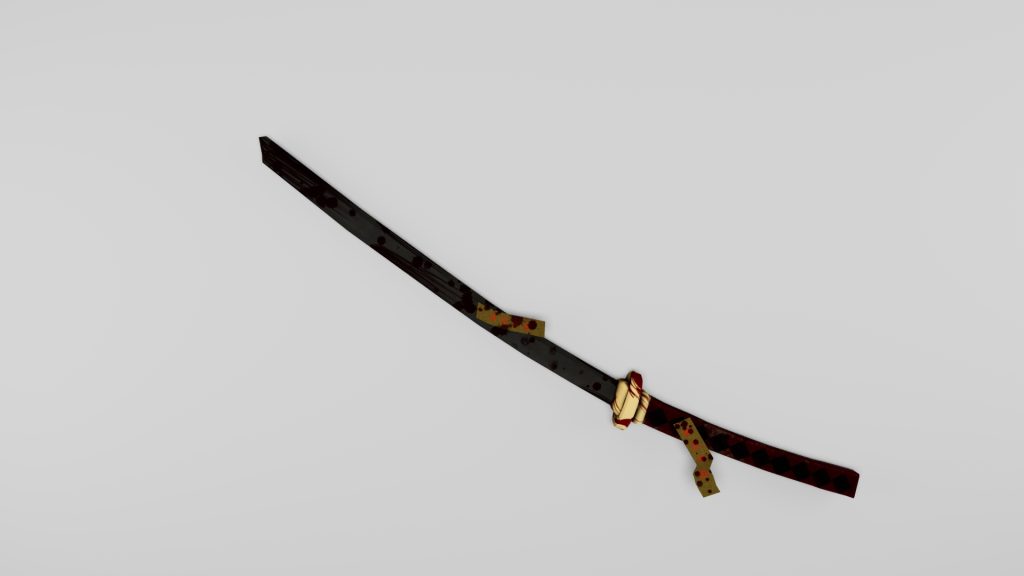
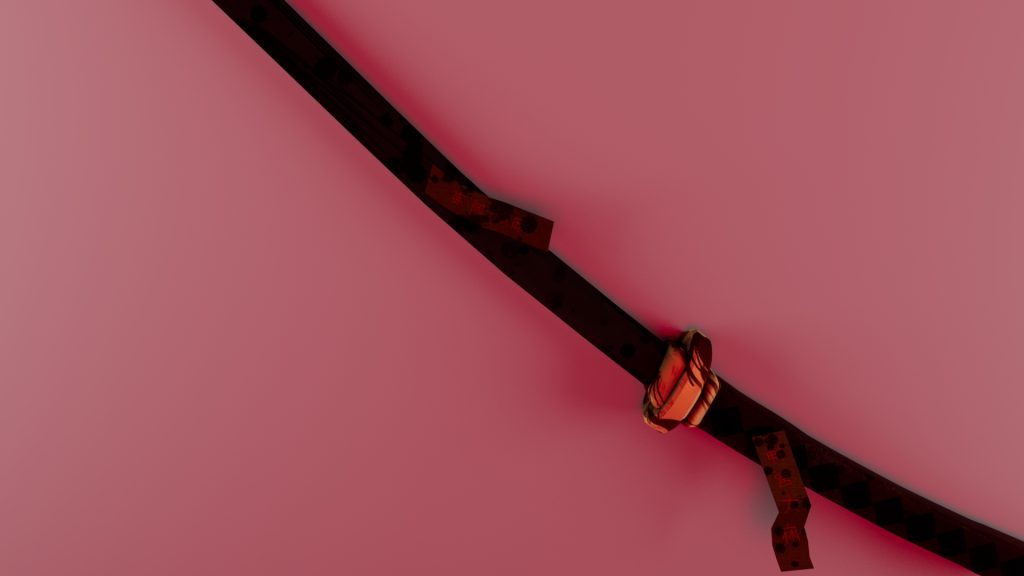
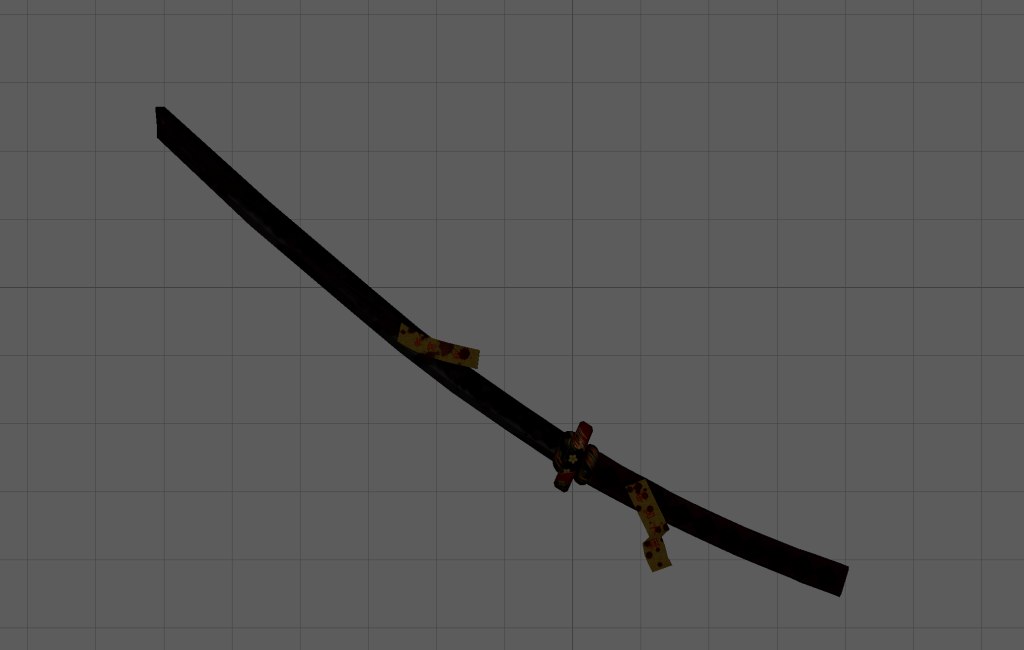
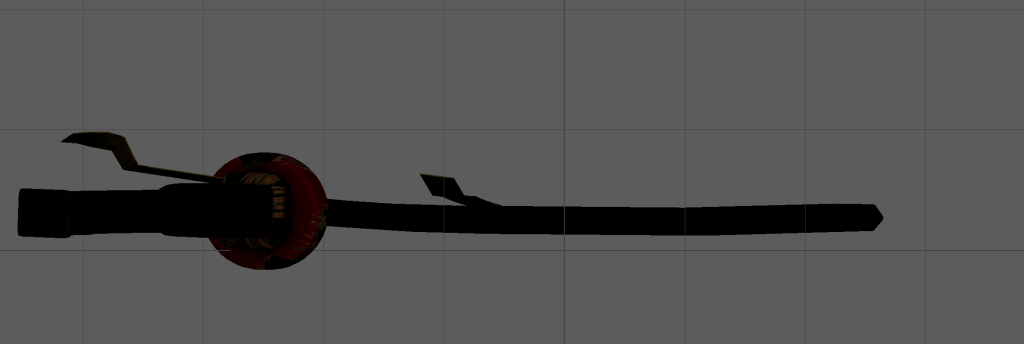
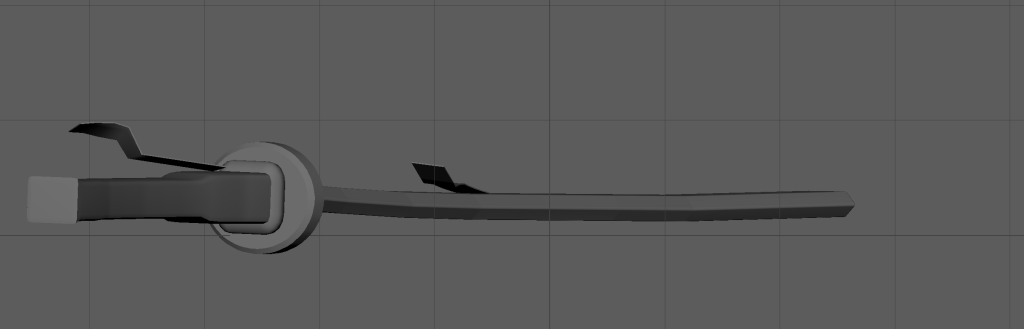
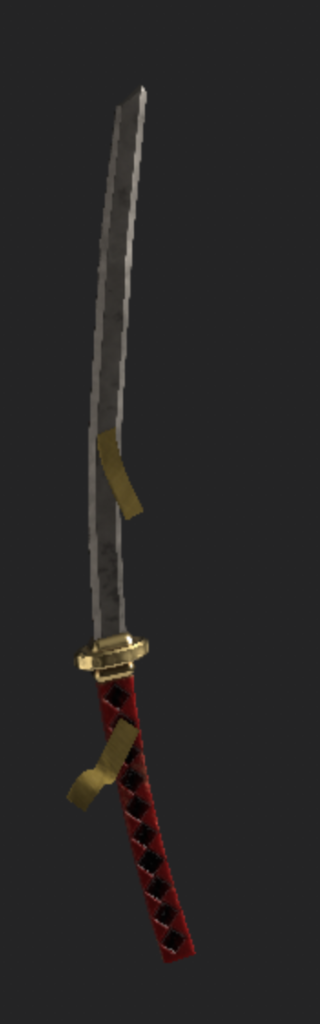
This was my original 360 render of the model as a whole:
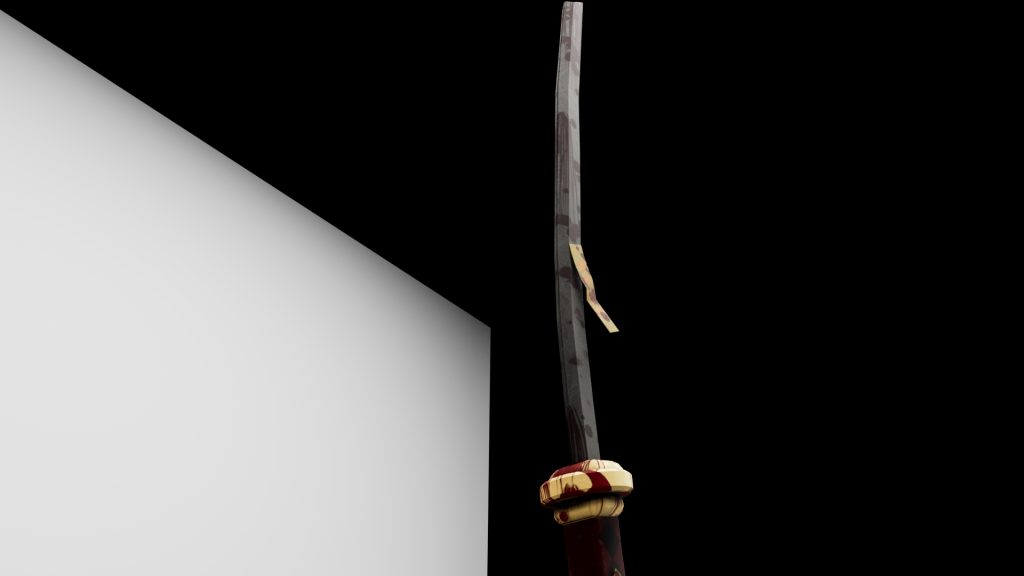
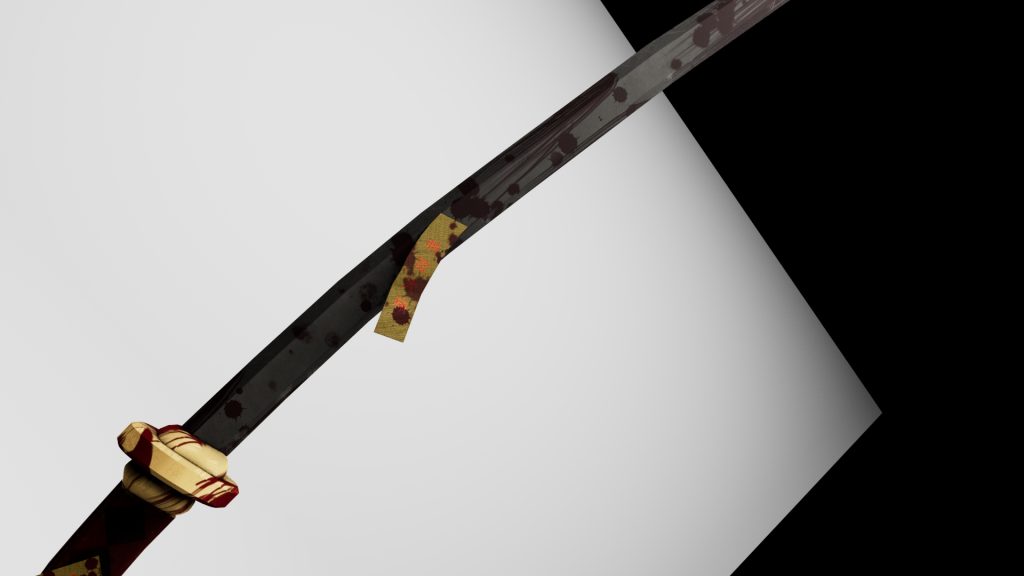
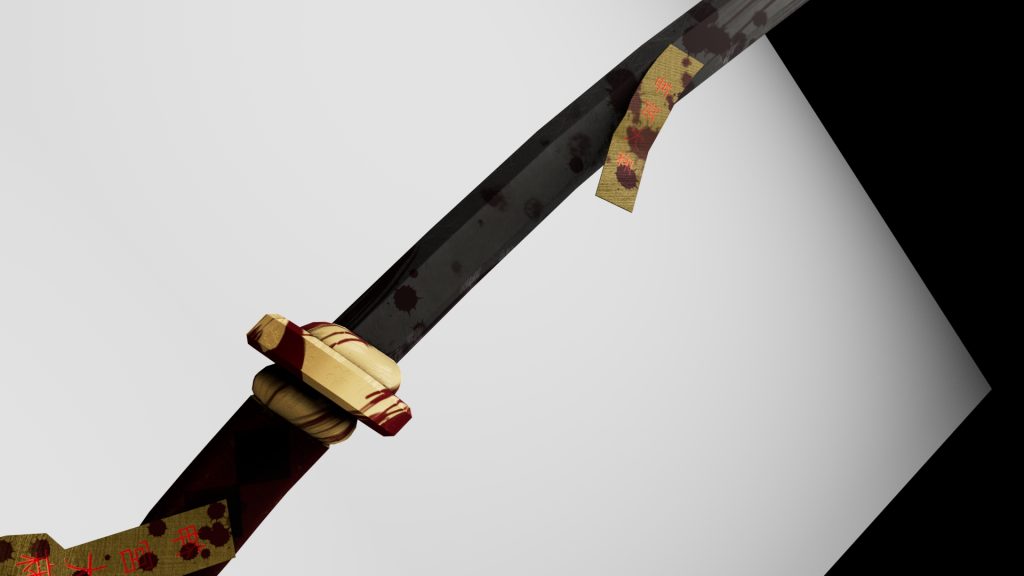
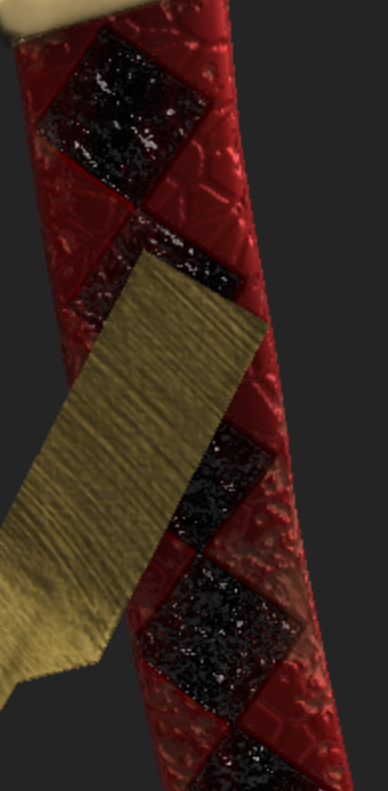
and these are screenshots of the model:
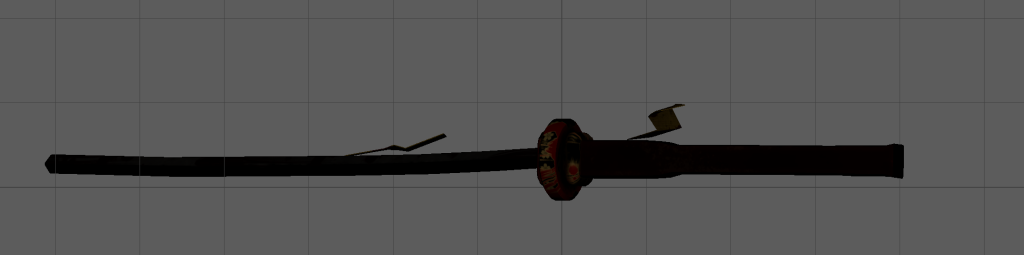
In this screenshot, I was messing around with the lighting colours but it doesn’t show much in terms of details.
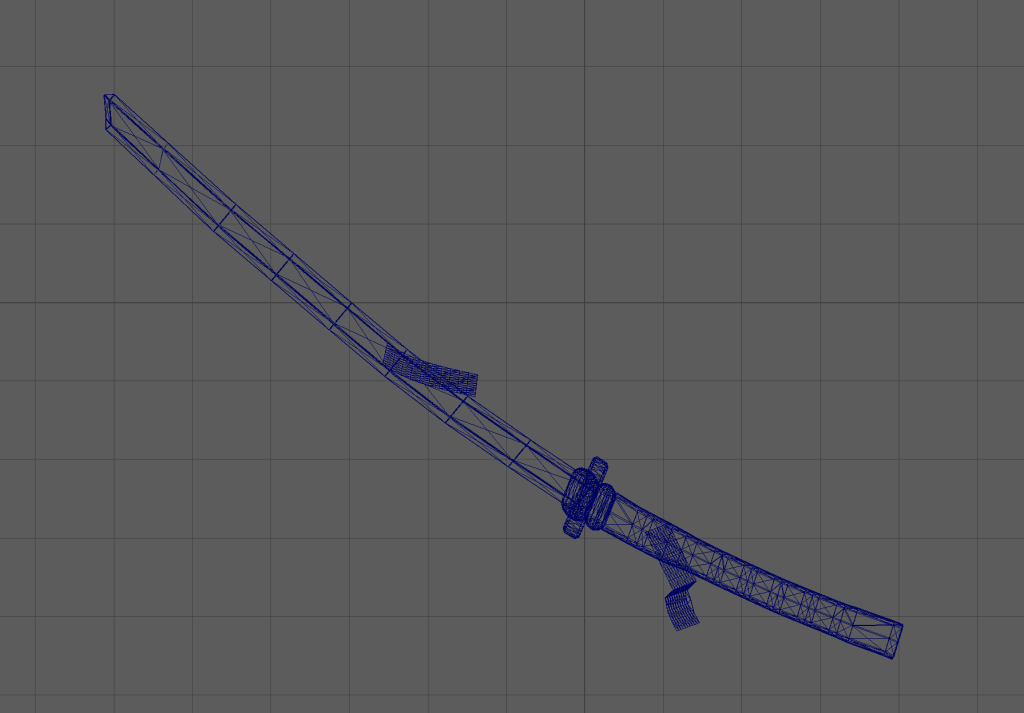
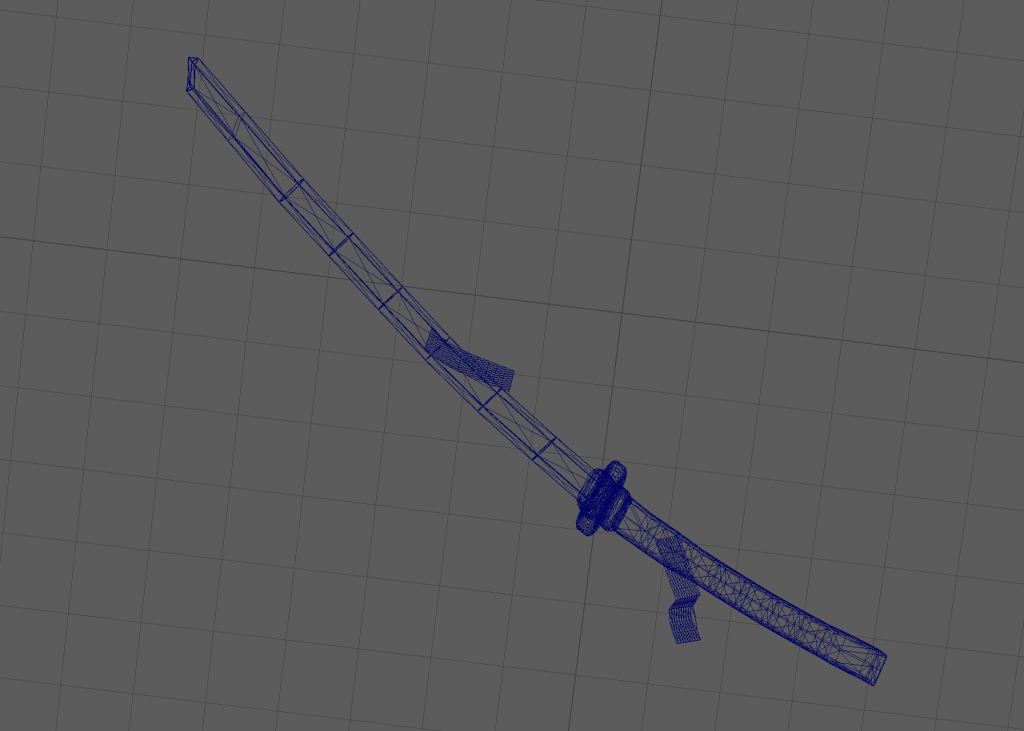
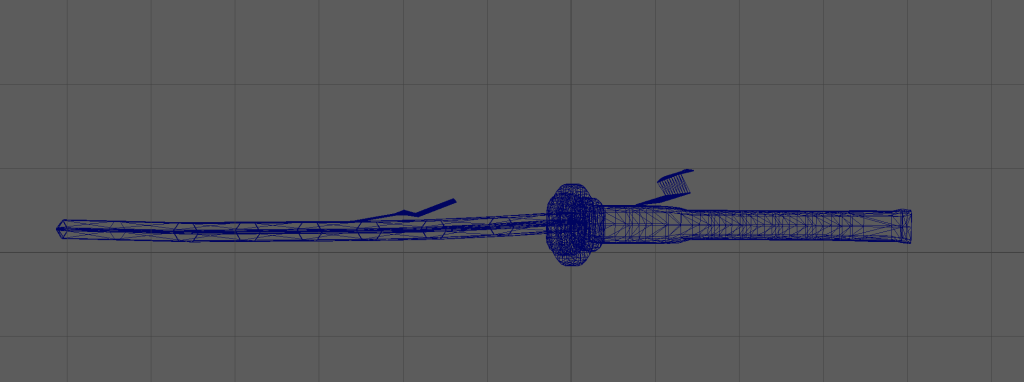
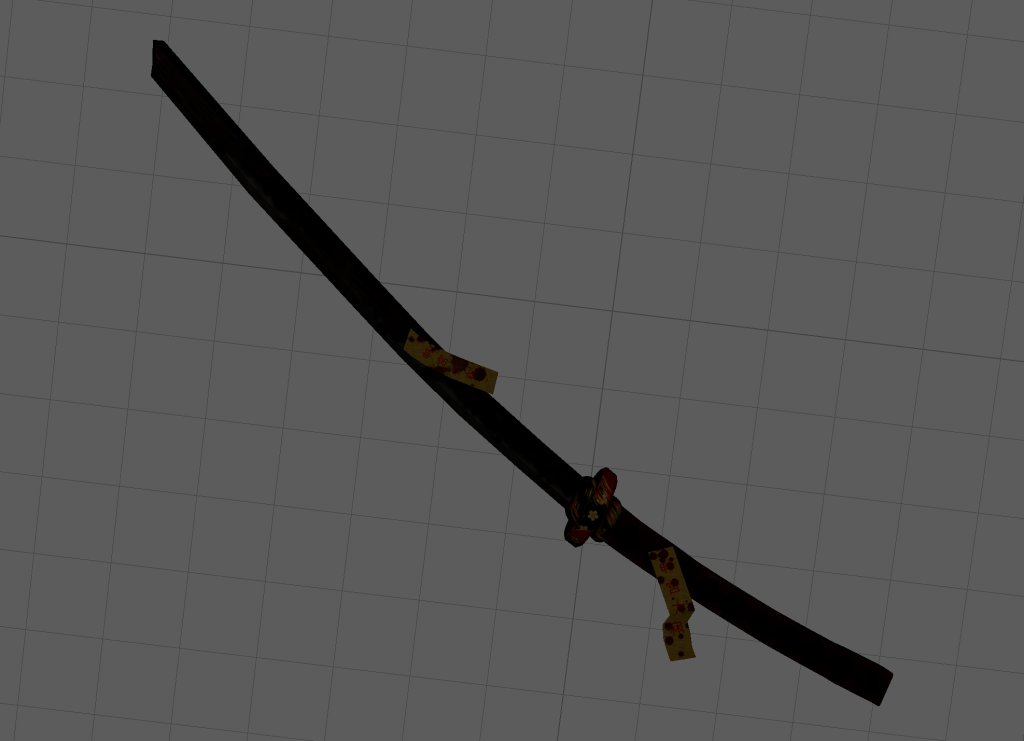
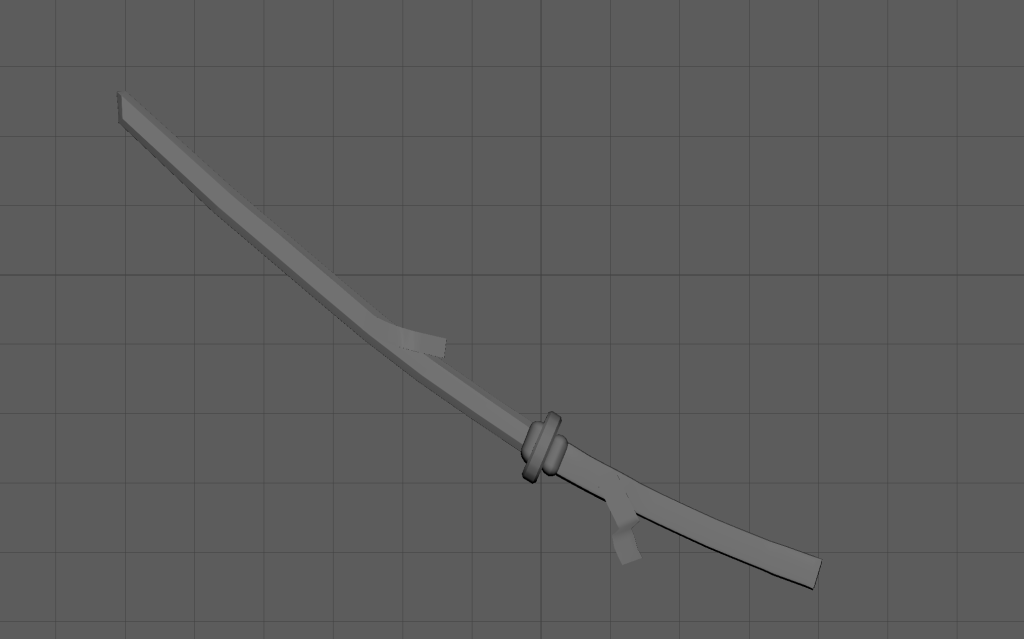
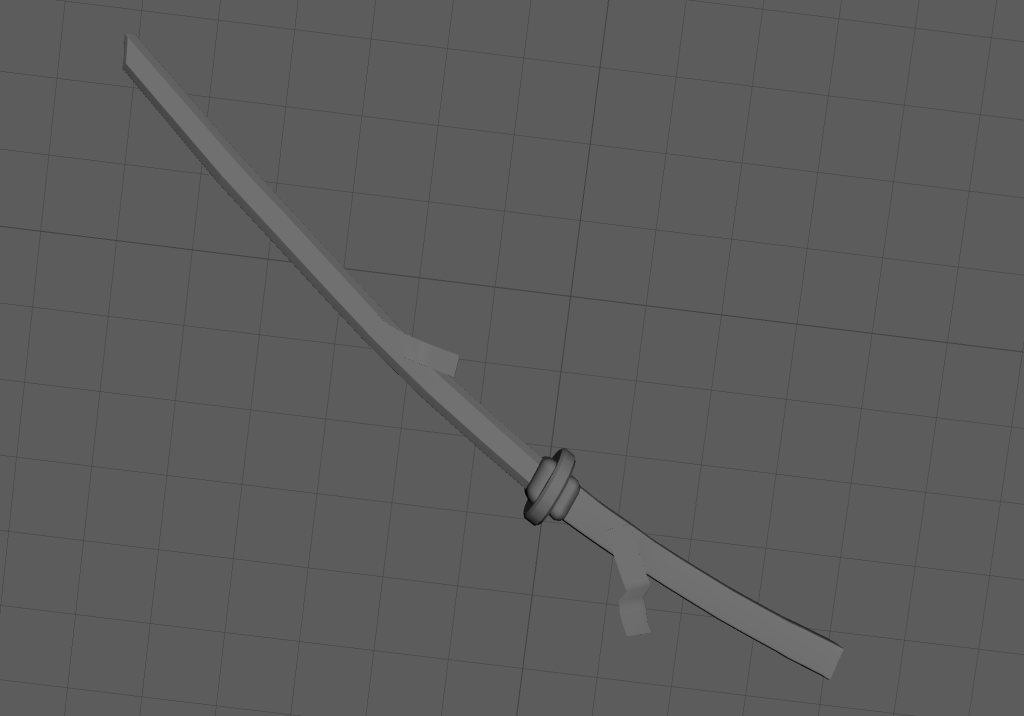
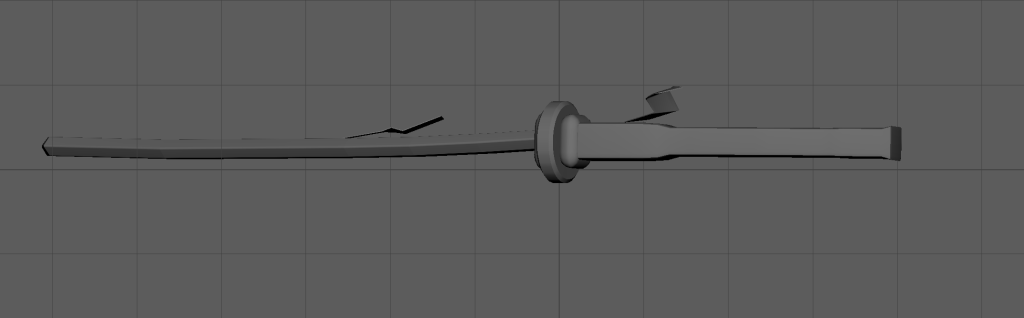
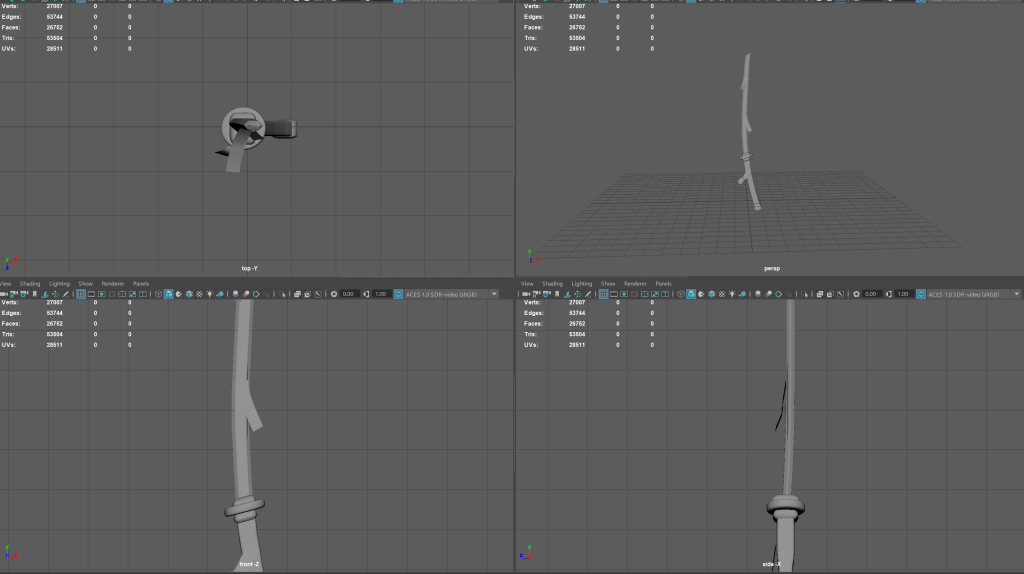
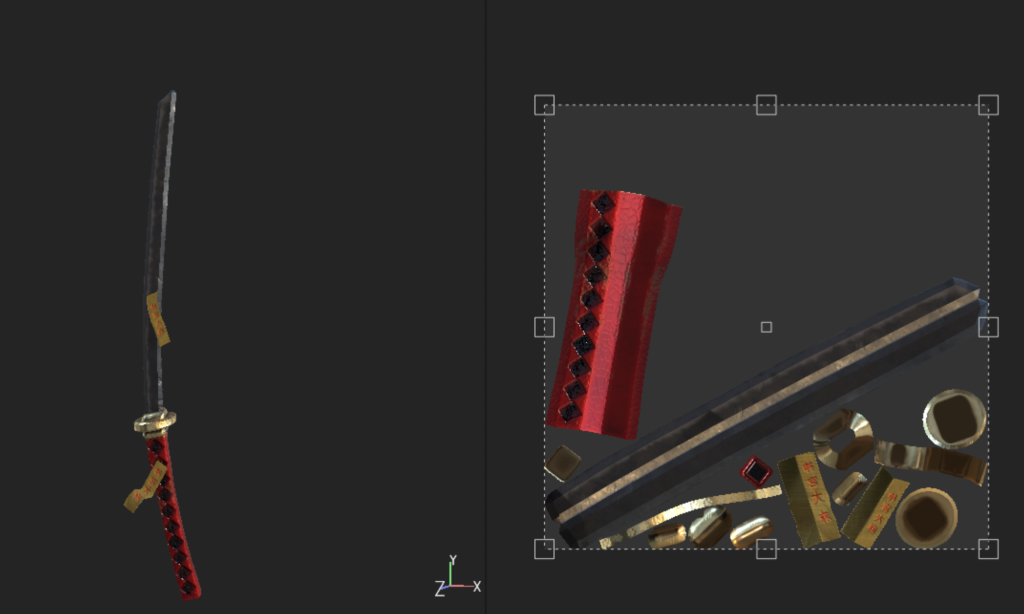
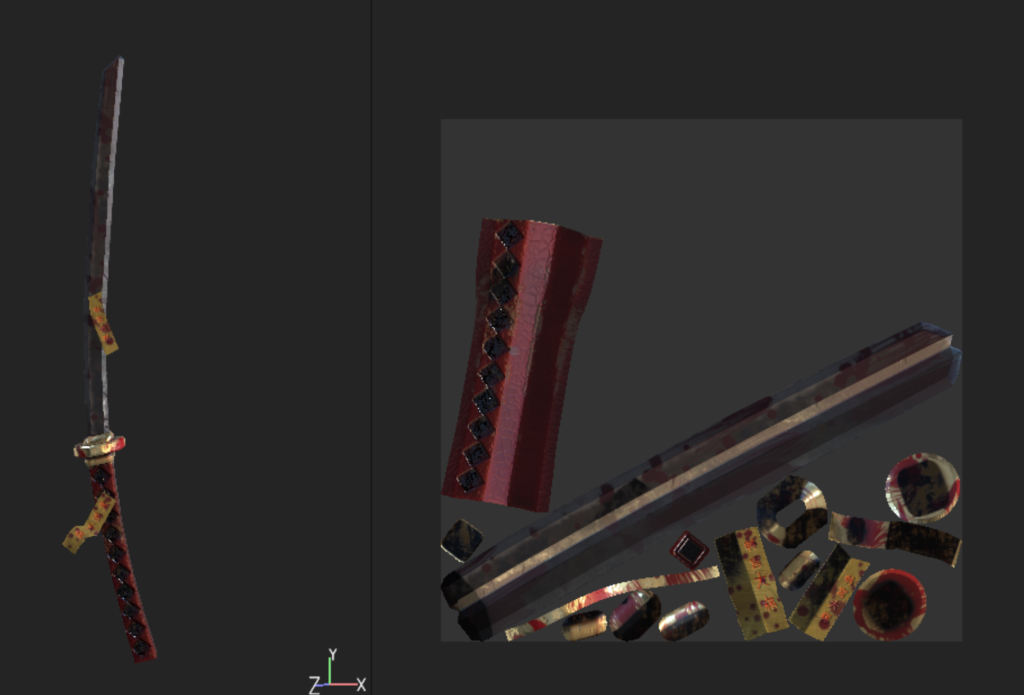
Unlit Screenshots:
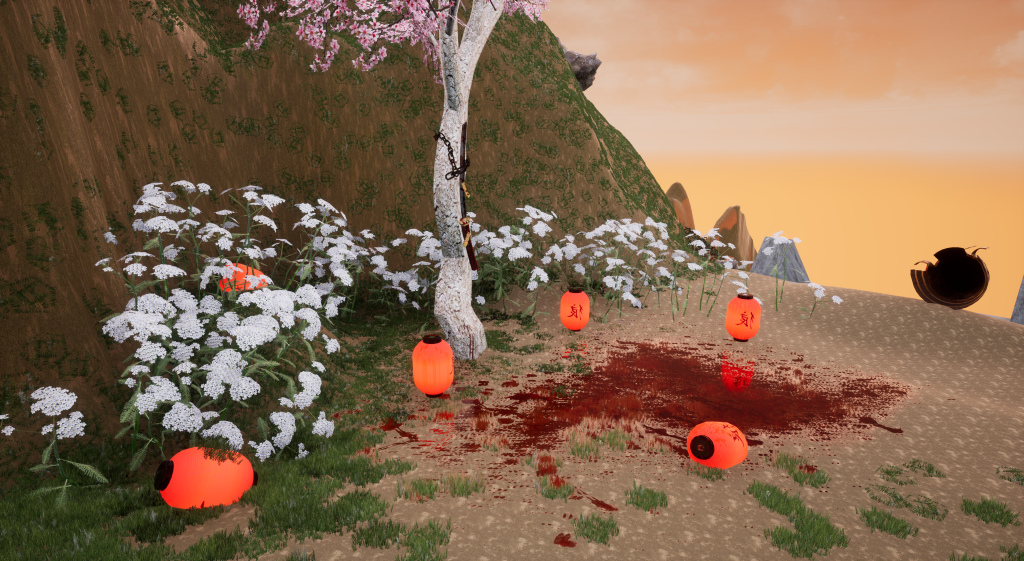
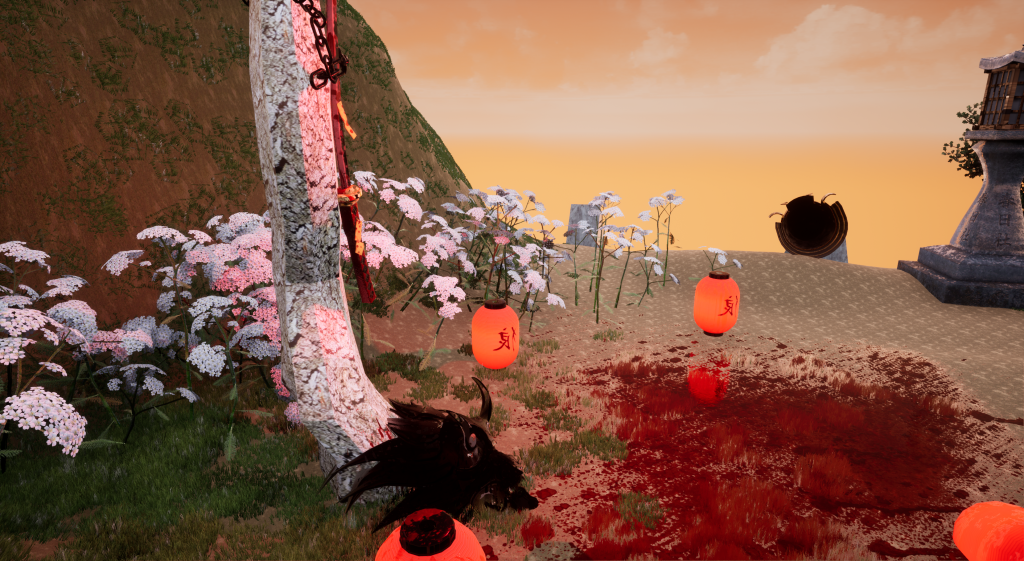
And here are some of the screenshots of the asset in the unreal environment. As mentioned before, I’ve had issues with adding the textures onto my model in unreal engine so I am relieved to say that the Maya version of the render has given the opportunity to show the model in it’s complete stages:
Reflection
When working with Maya, I found it quite difficult to understand the main interface and how I would be able to create the Katana model let alone the stands (shown in alternative designs) or the miscellaneous objects surrounding the weapon. However, this project has gave me much more confidence to create more complex models in the future.
Ontop of this, I was exceptionally pleased with the outcome of the Arnold render as the process included experimenting with the lighting that Maya provided. However, I noticed in the render shots that the indents on the katana don’t show up very well despite added in the correct textures. I hope that the screenshots presented in the texturing section will show the extent the model has in terms of the damages the sword received as well as the detail around the katana as experimenting with substance painter was one of the most interesting experiences in this project.
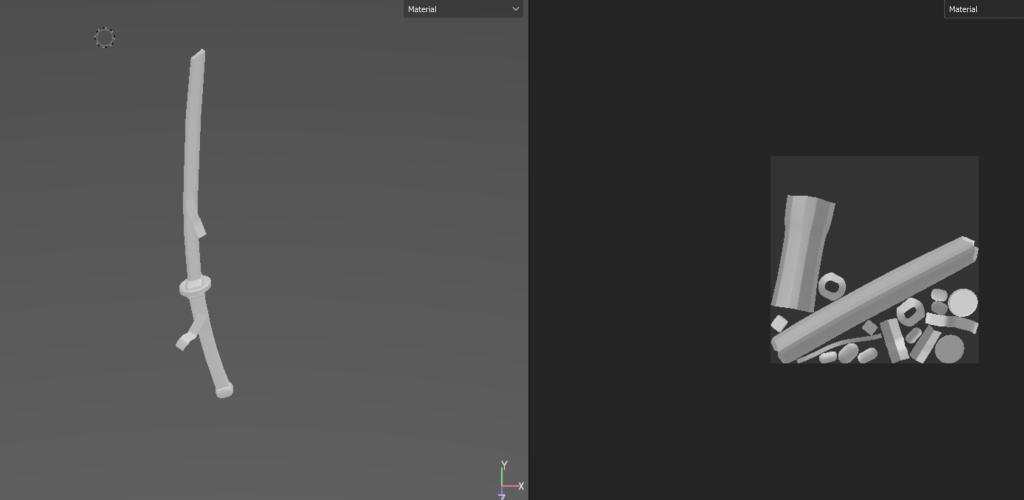
As someone who’s inexperienced with Maya, I decided to first start off with adding basic meshes to understand the model’s structure so I used the cube meshes.
Once I added them, I used the bevel tool to shape out the handle and the guard. For the blades shape, I used the vertex and edge tools so extrude the blades tip to make it sharp.
Originally in my first design, I included small fire orbs alongside the katana so in this image, I tried to model the shape of the orb. Although I was told through peer feedback that adding particle effects such as fire isn’t part of Maya’s software. So instead I decided to focus on just modelling the katana itself.
At this point, I was still trying to learn Maya’s interface, however I experimented with the scale and rotation tools to start off with to get a understanding on the different perspectives I’d have to work with. This also included the orthographic view which proved to be incredibly helpful when adding the talisman’s to the katana as well as adjusting the blade to the handle.
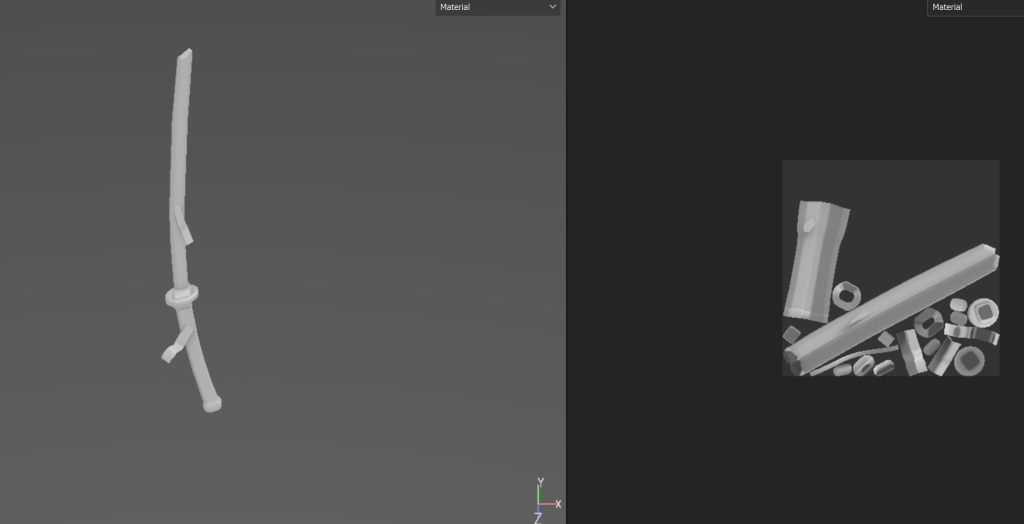
For the katana’s overall shape, I used the soft selection tool and rotated the blade and the handle around until the model was bending to the side. For this, I used a image reference to perfectly capture the angle for the katana.
Version 1 of Low Poly Model – In this image I was experimenting modelling a fire orb using Maya’s modelling and vertex tools. ( shown in original concept art 1)
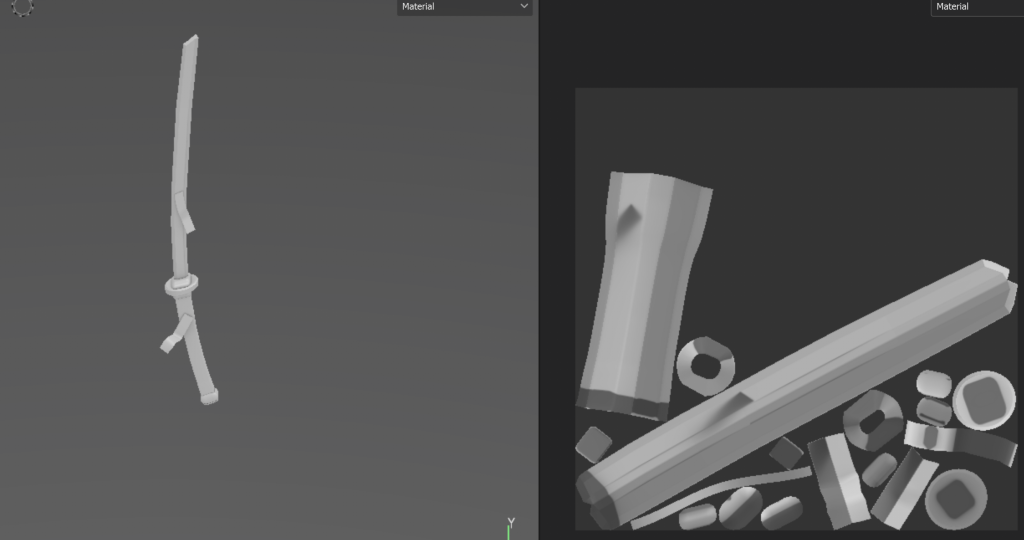
Next, I added the paper talismans using the plane mesh, originally I didn’t extrude these shapes. However, during the model cleanup, I recieved peer feedback to extrude the plane meshes width so substance painter would be able to bake the paper a lot more easily.
For the handle, I was given verbal feedback regarding the anatomy of the mesh. According to the anatomy of the katana, the handle was too short in the model and too thick and the upper-half of the handle would be more thick as it accomposes the blade inside of it. So I adjusted the blade’s handle using the soft select tool and the face adjustment tools.
Added Paper talismans onto the model using the plane tool and extruding it later as feedback from my peers suggested.
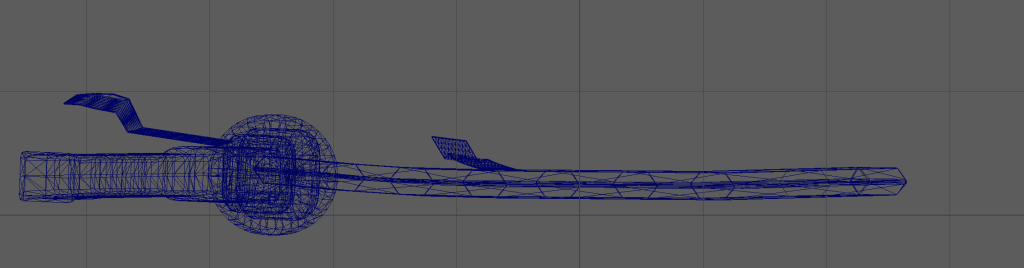
After creating the low poly model of the katana, I need to unwrap my UV maps, so I deleted the original maps and started working on creating different maps of the parts of the katana based on the camera’s view and unwrapping each part by using the cutting tool to separate the different areas.
Afterwards, I used the UV chequered maps to check if there were going to be issues with the texture stretching and luckily there were no issues.
My UV Map Checkered test – Texture mapping test passed – no issues with UV unwrapping
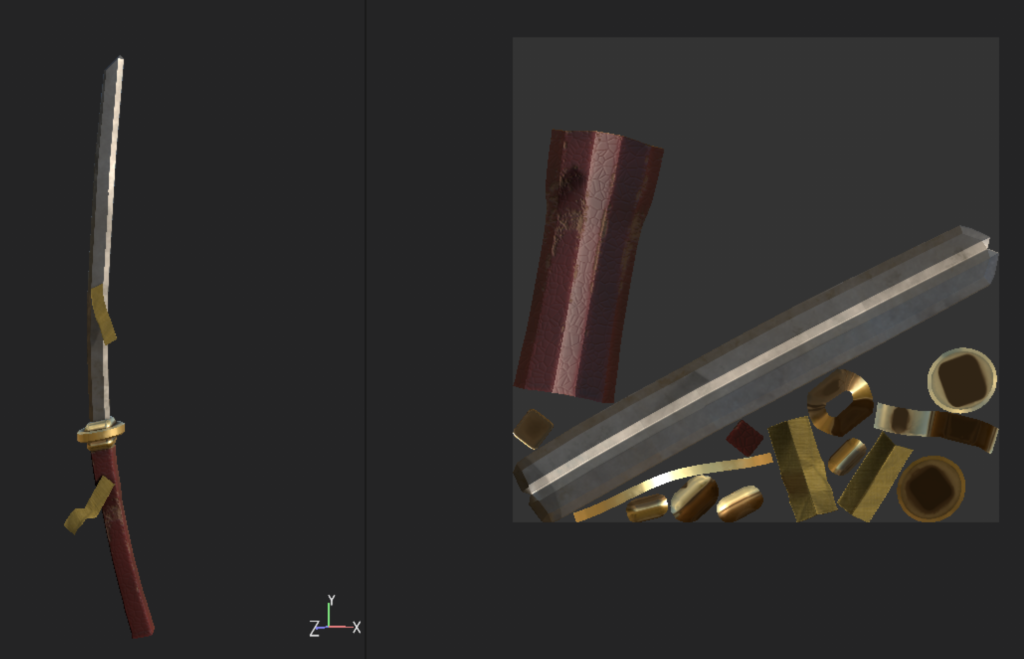
Afterwards I created a low poly and high poly version of the model in an fbx format and sent the low poly model to substance painter. Admittedly it took me a few tries to get the model through substance painter, although I solved this issue by enabling smoothing groups in the export options.
unbaked low poly model in Substance Painter
However, when I baked the higher poly model with the low poly model, there were some issues regarding the bake. This was mainly due to how substance painter baked the paper for the talismans.
Used High Poly mesh and it didnt work because the UV wasn’t rendering the paper properly
So instead, I used the low poly mesh as the high poly mesh in the baking options and it came out with a much better result as the paper was practically stuck to it’s low poly counterpart. This, however, meant the sacrifice of the high poly model and so less polygons. But this was the better option to bake an angled model.
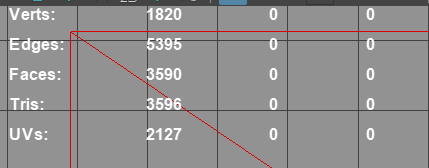
Used the low poly mesh as a high poly mesh for Substance painter to work (Used Low poly model as High poly mesh because the previous HP – LP bake did not work well to bake the paper talismans)Baked Model in Substance Painter This shows the polygon count after the bake
Texturing
I then started texturing the katana based on my original concept art, however, I changed the colour scheme for certain areas. I used the preset materials for the texturing: for instance the damaged leatherette for the handle, the fabric for the paper’s texture and the titanium steel for the handle as well as gold for the blade collar and guard.
First Version of textured model (without alphas)
Next, I added alpha’s to the sword’s guard and later on to different areas of the blade. At this point I was just experimenting how to add them to the UV.
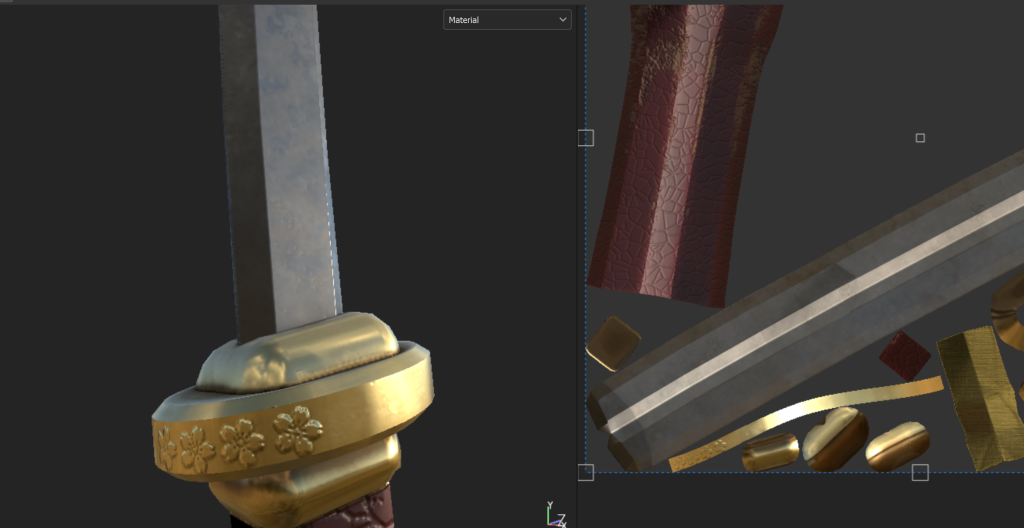
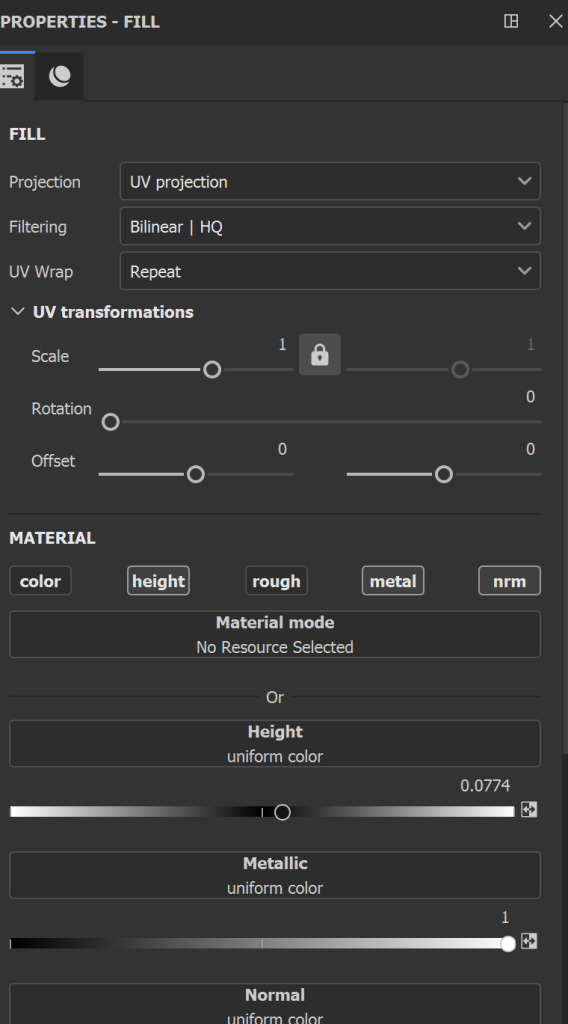
experimenting with the alphasExperimenting with the height and metallic settings of the Sakura Blossoms Alpha, eventually being able to simulate the alpha’s being apart of the engravings of the guard.
I added more dirt alphas to the blade as well as scratches to the blade and the guard to add the wear-and-tear element. From a narrative perspective, I added this element to indicate an unknown being using the sword as the marks are something that a human wouldn’t be able to create easily.
At this point, I was also messing around with the general parameters of the different materials in substance painter.
messed around with the colours and the parameters to see if I could create a more vibrant look to the katana Also added diamond alphas to the handle.
I also added a bamboo effect to the diamond alphas which gave the handle a more grainy effect. It makes the indents in the handle stand out a lot more.
This is the area where I added more details to the blade as mentioned previously. I added finer details such as scratches and claw marks around the guard and the blade. Then I added Japanese text which were also made using alphas to the talismans ( Jingū Taima – Japanese purification wands).
As a final touchup for the model, I added blood to the model to make the katana a lot more sinister. I was also experimenting with gradients and opacity. I placed the blood textures settings as an overlay which makes the blood blend in a lot more with the blade. As a final change, I changed the handle’s base colour.
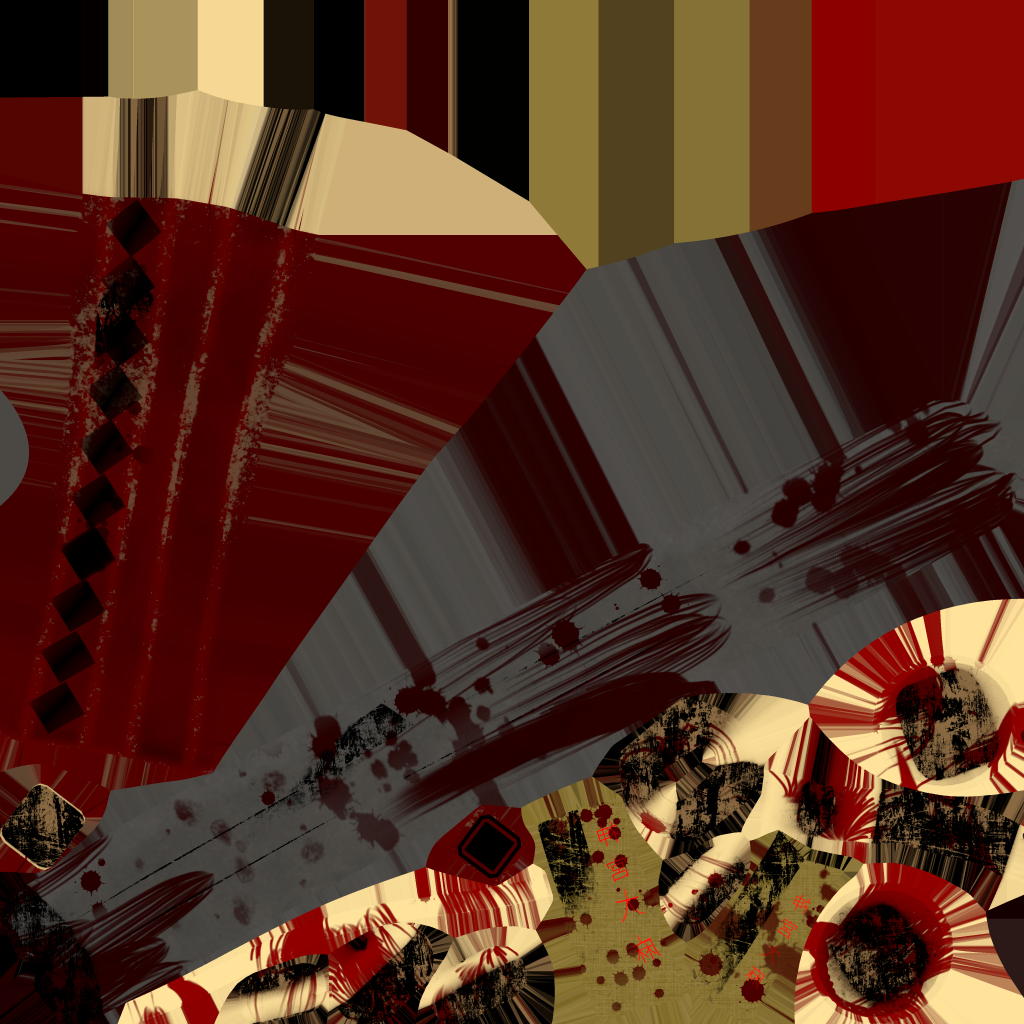
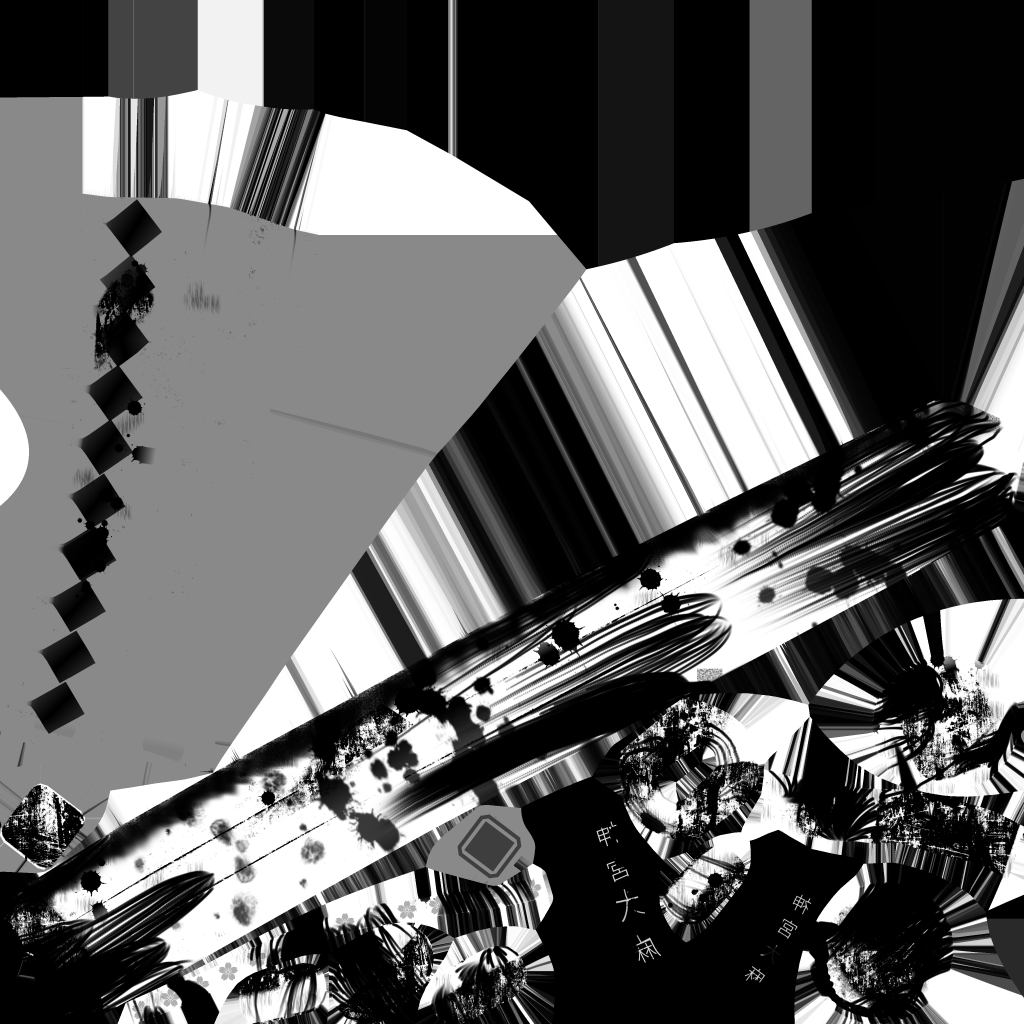
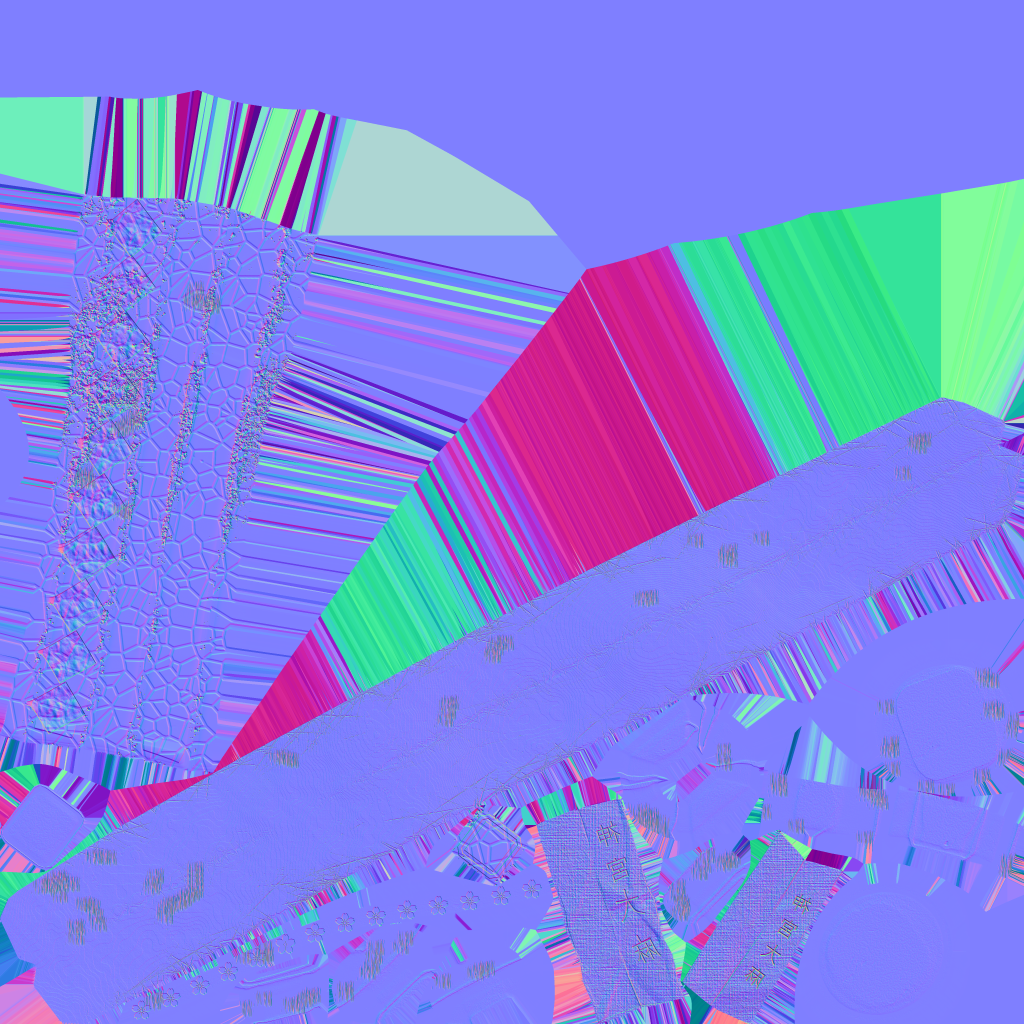
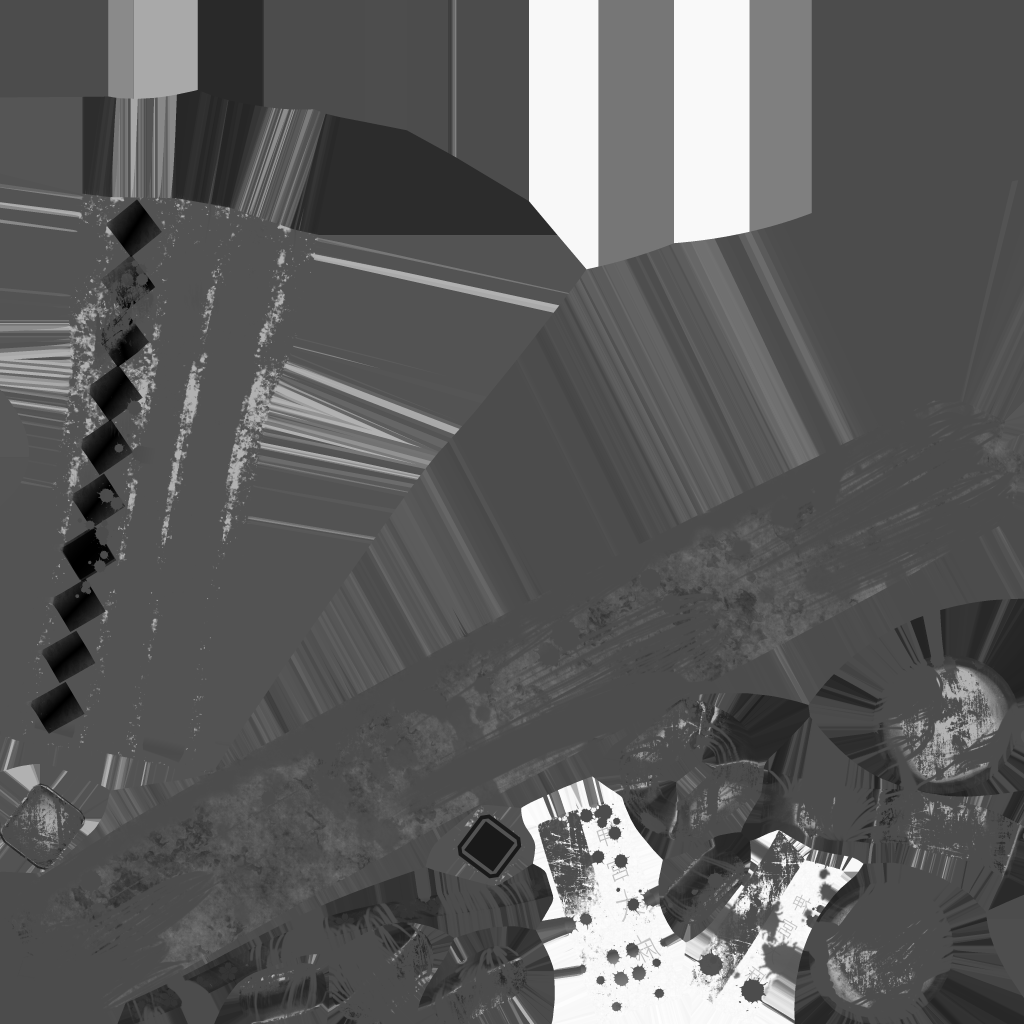
These are the 4K texture Maps that I’ve used for the final render of the Katana. In my environment design, they were some issues where Unreal wouldn’t be able to register the blood textures properly since they were created using a gradient. However, there was no issues with this in Maya:
For my 3D asset design hero piece, I wanted to focus on Feudal Japan weaponary as it would relate to both the blacksmith and Japan themes. My research mainly consisted of collecting different images of weaponary that were part of the time period, mainly different blades, shuriken’s, longbows and poles. I compiled them into a moodboard shown here:
After carrying out my research, I saw a concise pattern that a lot of Feudal Japan weapons they usually use are blades so for my project I wanted to create a katana so I started by working on concept sketches for the sword, using the moodboard as inspiration and also references.
As a quick reminder, the narrative behind the environment design goes as follows:
In our timeframe set in the story, the blacksmith’s has recently been ravaged after an large scale Oni attack, Oni’s are evil spirits that are mainly surrounded in Japanese folklore and they usually come in the form of demons or orcs. This narrative is also meant to show the destruction and remnants of someone’s generational acheivements. This katana is part of the tragic story of the blacksmith’s work turning into a work of malice and horror.
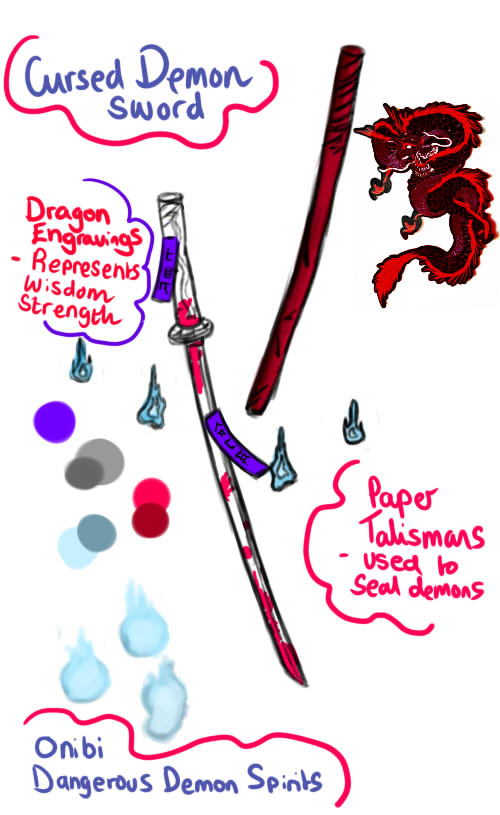
This was my initial design for the katana – I wanted to add different supernatural and horror elements to the design in order to for the sword to be implemented into the Environment Design’s narrative and to also visually tell a story about the hero prop. In the original design, I had a case for the katana. However, I decided against making it as I didn’t have a solid idea on how I would implement it along with the katana without covering the blade itself.
The blue orbs surrounding the katana were just additonal visuals that would make it more clearer that the weapon was cursed but instead I decided to add paper talismans to make it more of a subtle nod to the concept of possession. These are alternate designs I created before deciding on a final reference piece.
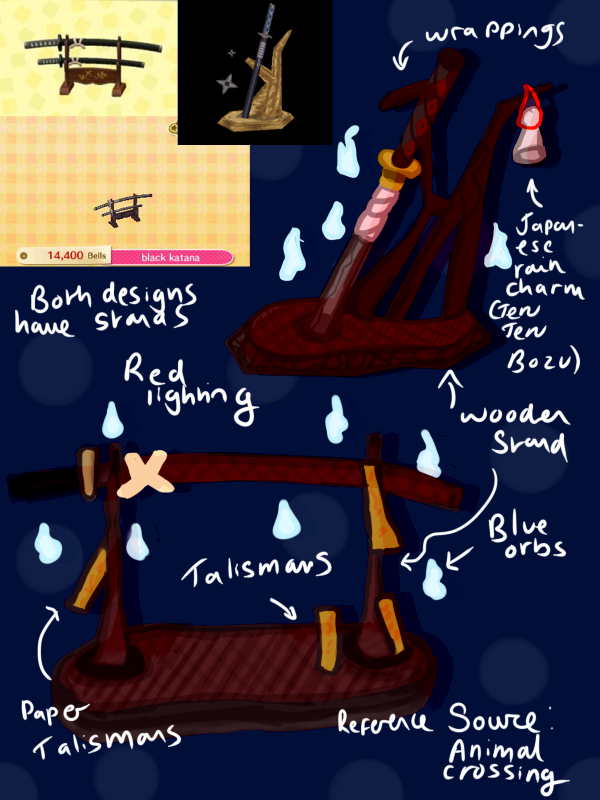
At that time, I was still trying to figure out how to implement my katana into my environment so I designed stands that I would model along with the katana. These designs were inspired from games that focused on having the katana as a household item, I chose these because at the time I wanted the katana to be inside the blacksmith’s building or at least a large display piece, possibly advertising the blacksmith’s works.
These katana’s designs were heavily inspired by funiture pieces in Animal Crossing since they are game-ready objects and they also provided an idea on how to possibly present my weapon in a display.
However, At the time, I had very little modelling experience with Maya or Substance Painter so as soon as I started modelling the katana itself I knew making the stands would also be ambitious to carry out. Ontop of this, I had decided to work on the outside area of my environment so I wanted to dedicate my own area to the katana. Ontop of this, my group had decided to work on different areas of the interior so since the building is quite small, there wouldn’t be much place to have the katana be it’s own centre focus so I took away the stand.
I wanted to give the impression that the katana was an threatening item so I wanted to add a sense of foreboding danger to the asset by adding paper talismans and blood to the model itself so I kept parts of the original design.
The katana is also meant to also hold a large significance to the visual story as in the environment, it’s meant to be out of place with the rest of the items. It’s shown visually that the weapon caused part of the destruction by the way it’s presented in the design.
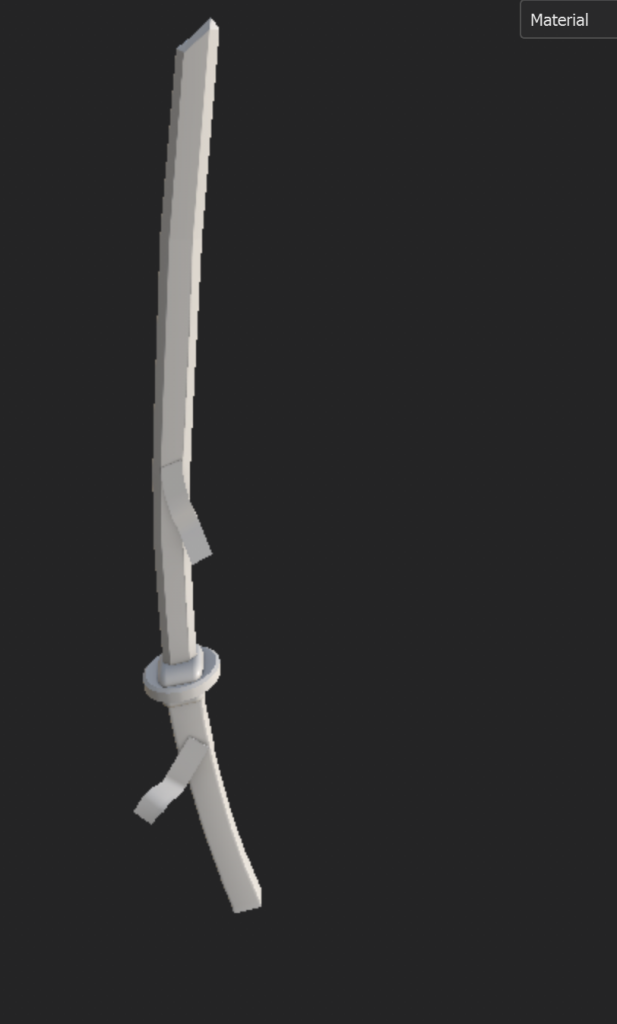
In my final design, I also removed the dragon texture and instead added the wrappings around the handle to make the katana more historically accurate.
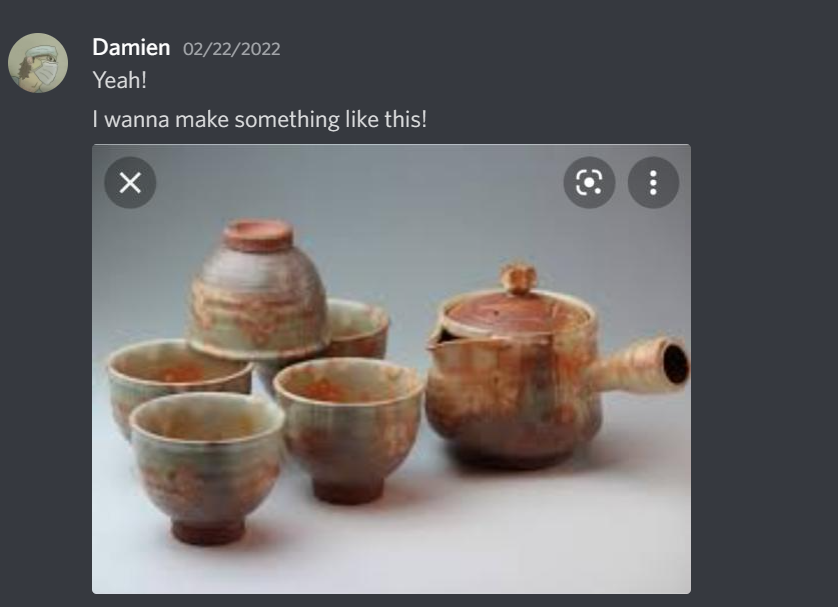
My environment design team are creating similar items however within different contexts, some being weapons that were forged in the blacksmith that would be presented inside the building and another member is creating an heirloom tea set that was damaged in the turmoil of the environment.
The correlations with each other assets is that these are meant the represent the blacksmiths valuables, with the high detail in our assets, it’s meant to show that they used to take pride in their work even taking care of something as fragile as a tea set, something that’s usually vulnerable in a blacksmith environment. However, the katana, being their most prized and dangerous project ironically took his life along with the lives he sworn to protect.