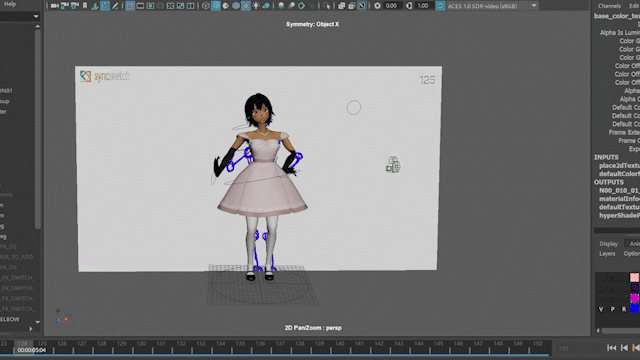
Animation 1: Run Cycle
The run cycle took the longest amount of time due to the different moving parts, the changing directions of the limbs and the timing.
This was, however, the best sequence to start off with because this introduced me to the basics of animation.
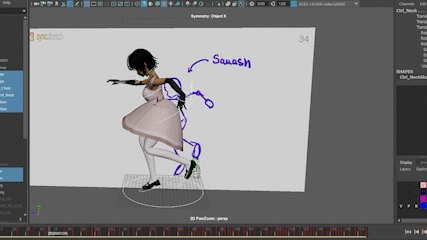
I blocked out the key poses from the reference, starting off with anticipation, with the character floating down, adding in a squash and stretch in the action by having her land and jump back up again in preparation of the run.
The many key poses for this sequence was due to the clear difference in animation between the sources. The video source is from an 80’s anime – therefore there are lot of extra frames to provide a smooth action cycle. This meant it was best to use the stepped animation technique. However, this also means that the movement can be precise and it’s a good learning tool for positioning as well as experimenting with the straight ahead actio
This took the longest because of the limbs having to consistently move in time with one another. This also created arcs within the sequence as the limbs would slow in and out of position.
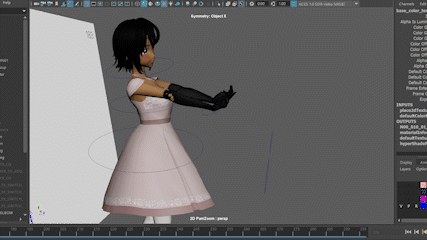
I had also started to notice issues with the weight painting as the gloves start to clip upon movement. I tried to fix this issue – without re-altering the model.
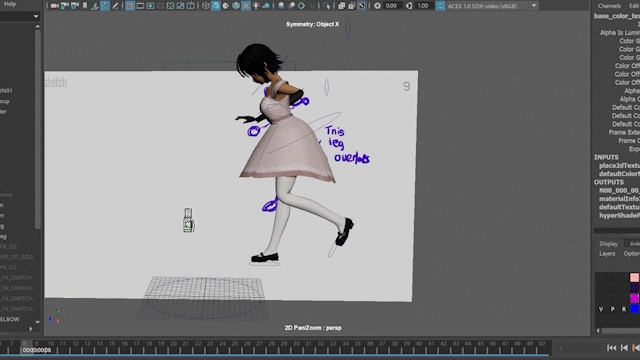
There where restrictions to chest movements, which prevented the model from twirling around. So this section had to be scrapped and replaced.
Once I finished making the first cycle of frames – I was able to duplicate them throughout the sequence. The blockout, timing and motion were the most important part with adding in-between frames making the movements slower but smoother. Then I went into the graph editor and translated the graphs to produce stepped animation.
Whilst the stepped animation does simulate that 2D style, the sequence became blocky and unnatural despite the use of extra frames.
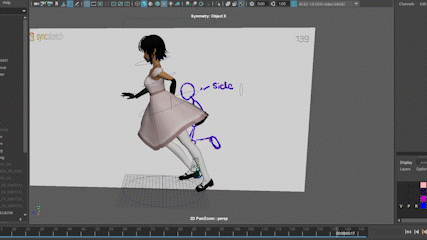
Whereas in the interpolation version, the movements were still snappy but they were able to produce a much smoother outcome. I adjusted the timing with the legs and added neck movements as secondary actions to make the animation dynamic.
Animation 2: Dancing
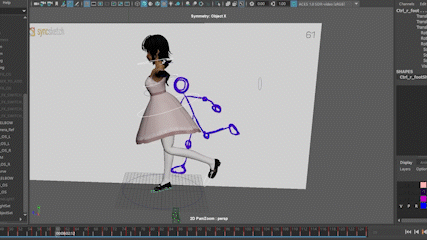
I started with a simple block out of a couple of key poses rather than making all of them from the reference. This process is known as Pose to Pose method as this sequence won’t use the stepping animation style. This helps speed up the animation process as I don’t have to block out the hand gestures or neck movements till much later on.
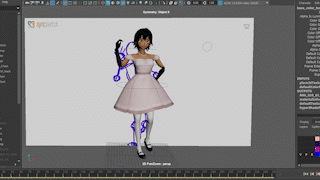
The main focus is the coordinated movements. Whilst the character isn’t constantly moving, each limb moves at different times. For instance, the legs would slow in and out of movements whilst the arms would consistently create large arcs.
After blocking out the dance sequence, I adjusted the timing and added in-between frames to produce smoother movements. I also added in neck and hand gestures as secondary actions.

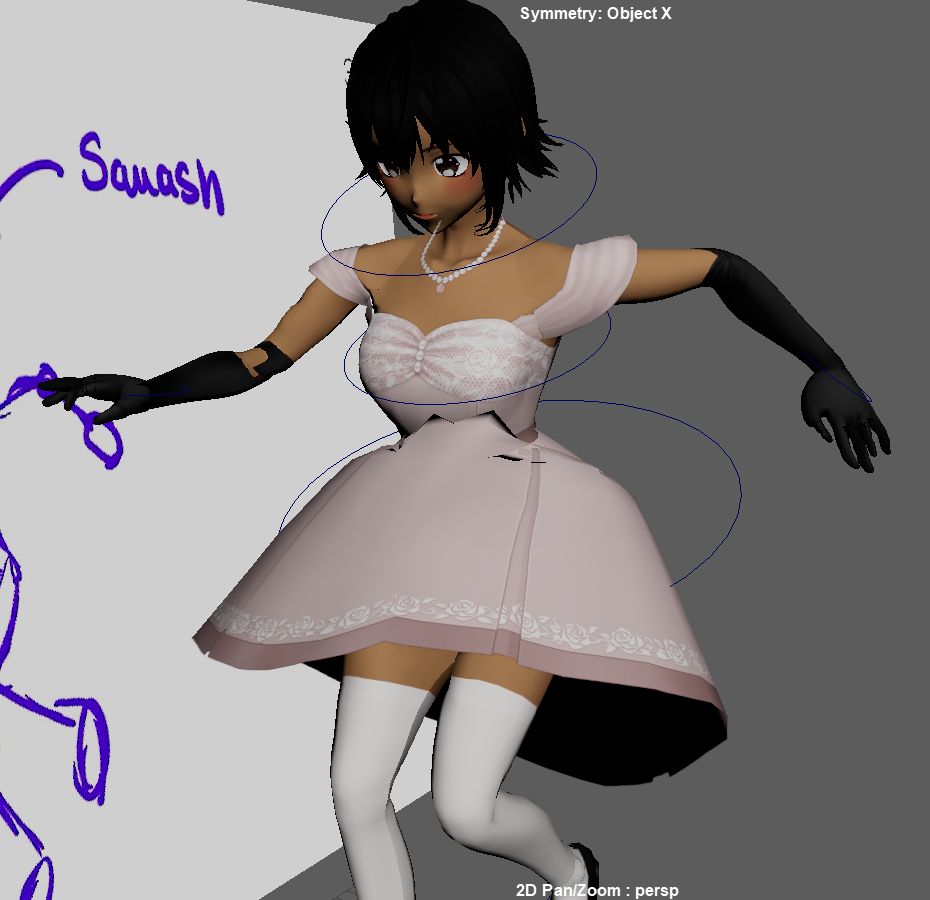
The only issue with this sequence however was the jump when it came to moving the controls. So instead, I added a small squash and stretch to the jump.
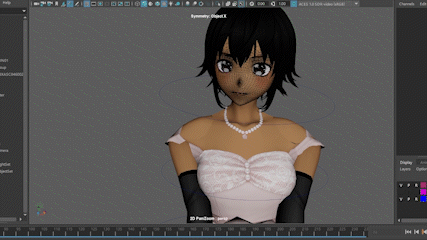
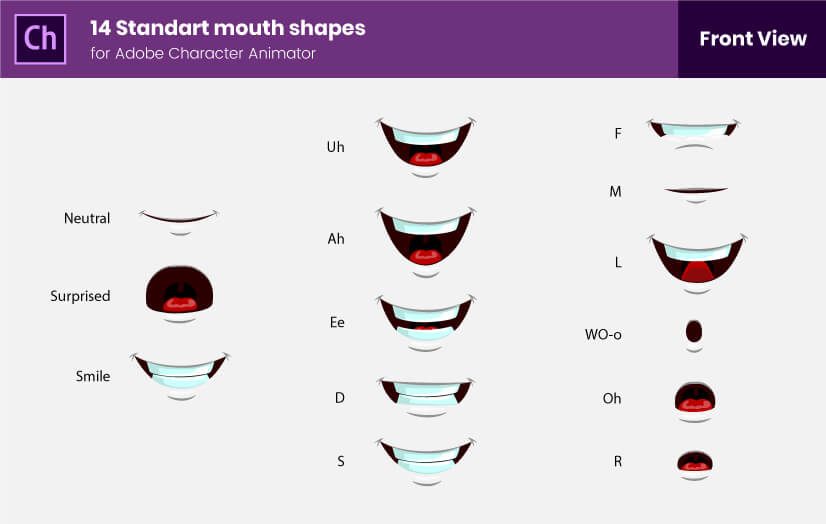
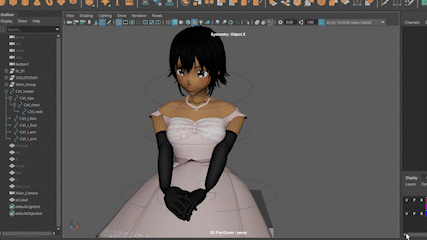
Animation 3: Voice-Overs
My final animation sets out to overcome the challenge of animating voice lines. Because of this, I don’t plan to make a overly dynamic sequence – instead this will be used to show blendshape capabilities.
In 2D animation, I’ve had previous experience in animating voice lines using the standard mouth guides as shown here:
However, I was also planning to experiment with a different variant of lipsyncing – mainly used in a lot of anime to simulate speaking. I used this video as a reference for this technique.
However, whilst I’m trying to imitate an anime style, if I were to only translate this method into 3D, it could possibly create stiff movements and therefore it’d be difficult to understand the character’s speech if we were to take out the voice lines.
So I decided to combine both methods together. I had a limited amount of blendshapes mainly due to the lack of flexibility in the models retapology but this meant I can experiment with different mouth shapes to create even more blendshapes possibilities.

So before I started animating the mouth, I worked on adding secondary actions by blocking out some movements with subtle queues in her body language. This allows her to become much more expressive, further adding to her appeal.
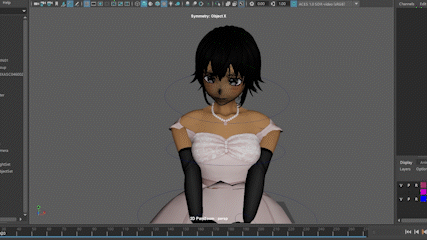
After finishing the blockout, I started to animate the facial expressions and mouth movements. So I used the straight ahead method to mimic the spoken lines. Her speech also slow in and out within the animation depending on the word’s duration.
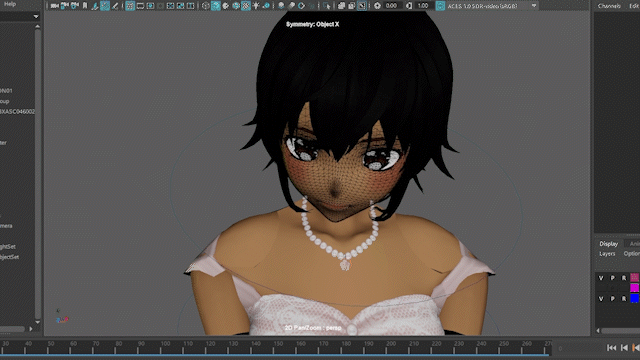
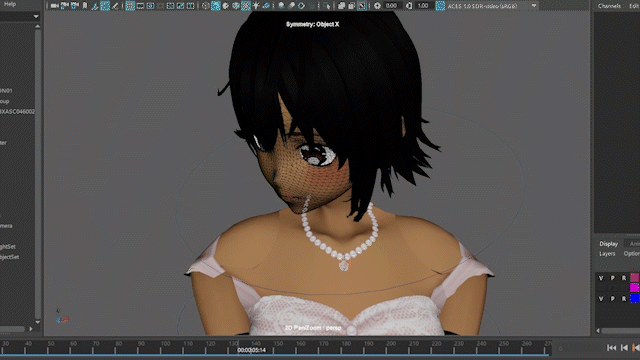
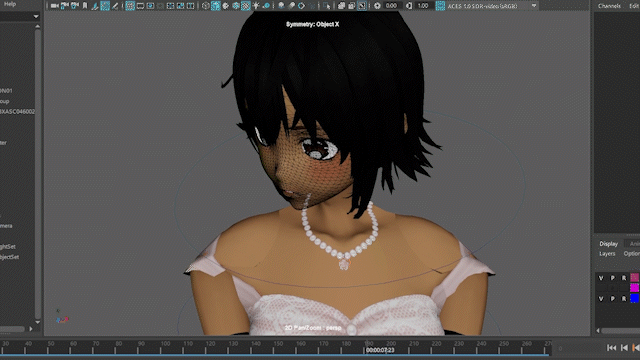
Finally, I adjusted the timing of the different lines to sync the Mimi’s body movements along with adding her facial expressions into the final rendition, slowly becoming more apparent and her face moves away from the camera.