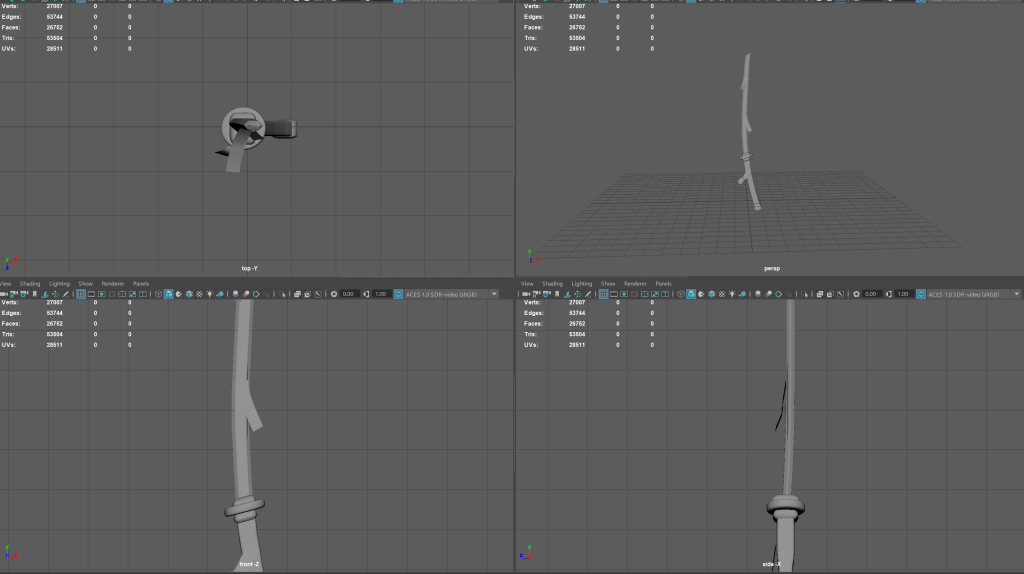
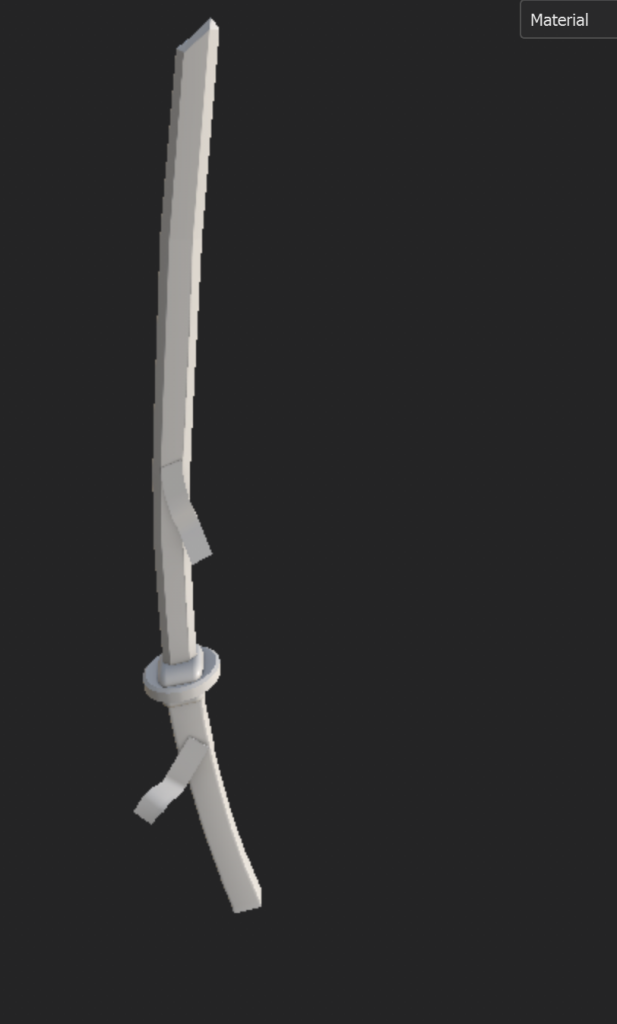
As someone who’s inexperienced with Maya, I decided to first start off with adding basic meshes to understand the model’s structure so I used the cube meshes.
Once I added them, I used the bevel tool to shape out the handle and the guard. For the blades shape, I used the vertex and edge tools so extrude the blades tip to make it sharp.
Originally in my first design, I included small fire orbs alongside the katana so in this image, I tried to model the shape of the orb. Although I was told through peer feedback that adding particle effects such as fire isn’t part of Maya’s software. So instead I decided to focus on just modelling the katana itself.
At this point, I was still trying to learn Maya’s interface, however I experimented with the scale and rotation tools to start off with to get a understanding on the different perspectives I’d have to work with. This also included the orthographic view which proved to be incredibly helpful when adding the talisman’s to the katana as well as adjusting the blade to the handle.
For the katana’s overall shape, I used the soft selection tool and rotated the blade and the handle around until the model was bending to the side. For this, I used a image reference to perfectly capture the angle for the katana.

Next, I added the paper talismans using the plane mesh, originally I didn’t extrude these shapes. However, during the model cleanup, I recieved peer feedback to extrude the plane meshes width so substance painter would be able to bake the paper a lot more easily.
For the handle, I was given verbal feedback regarding the anatomy of the mesh. According to the anatomy of the katana, the handle was too short in the model and too thick and the upper-half of the handle would be more thick as it accomposes the blade inside of it. So I adjusted the blade’s handle using the soft select tool and the face adjustment tools.
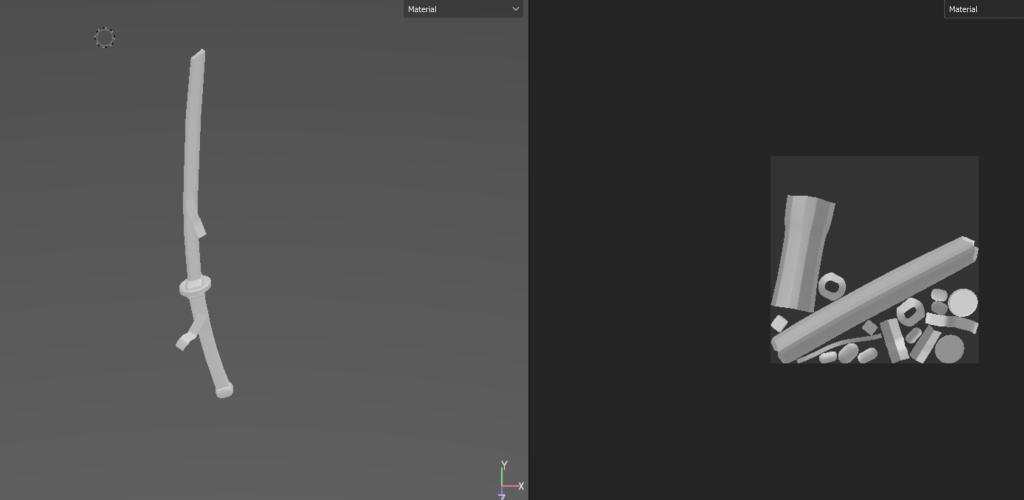
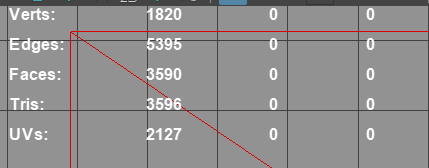
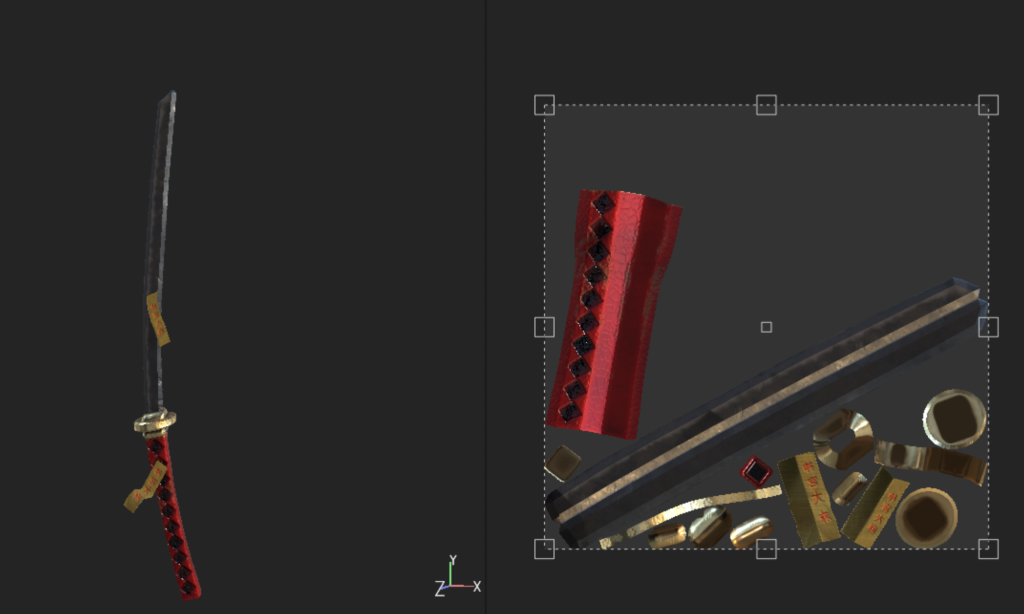
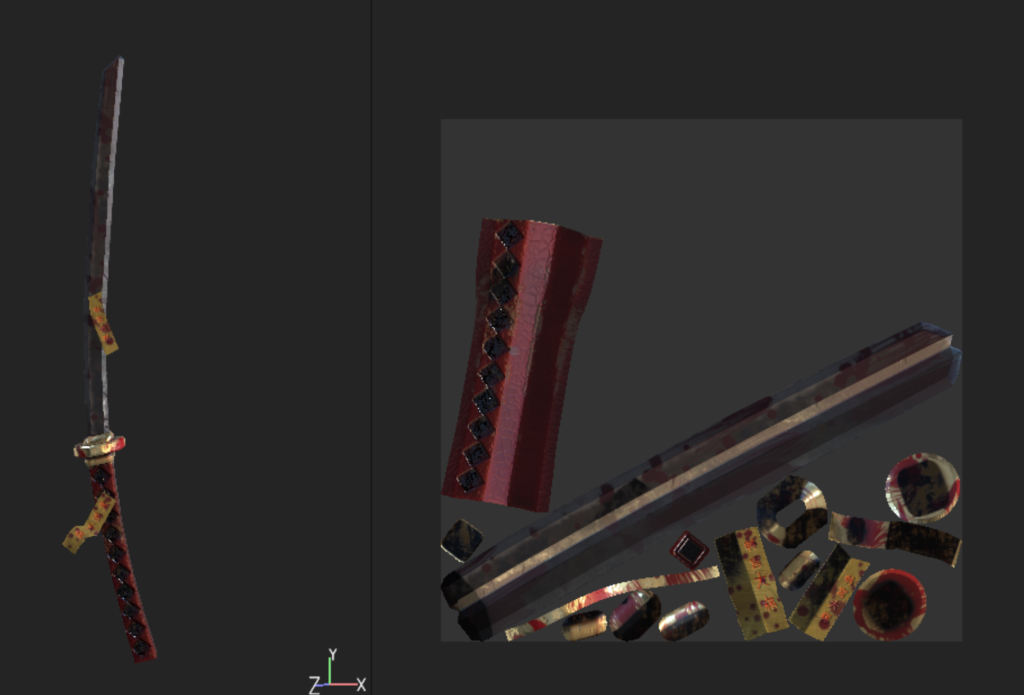
After creating the low poly model of the katana, I need to unwrap my UV maps, so I deleted the original maps and started working on creating different maps of the parts of the katana based on the camera’s view and unwrapping each part by using the cutting tool to separate the different areas.
Afterwards, I used the UV chequered maps to check if there were going to be issues with the texture stretching and luckily there were no issues.

Afterwards I created a low poly and high poly version of the model in an fbx format and sent the low poly model to substance painter. Admittedly it took me a few tries to get the model through substance painter, although I solved this issue by enabling smoothing groups in the export options.
However, when I baked the higher poly model with the low poly model, there were some issues regarding the bake. This was mainly due to how substance painter baked the paper for the talismans.
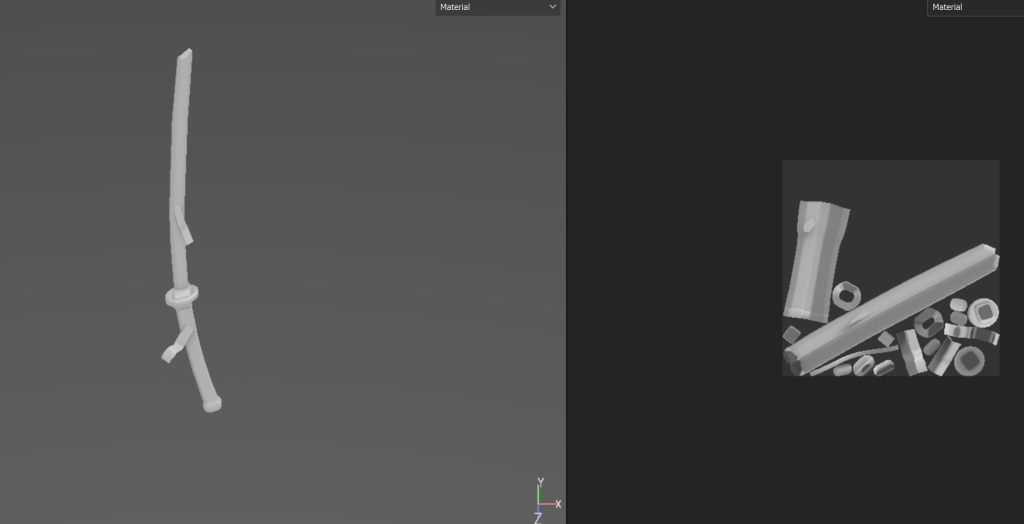
So instead, I used the low poly mesh as the high poly mesh in the baking options and it came out with a much better result as the paper was practically stuck to it’s low poly counterpart. This, however, meant the sacrifice of the high poly model and so less polygons. But this was the better option to bake an angled model.
Texturing
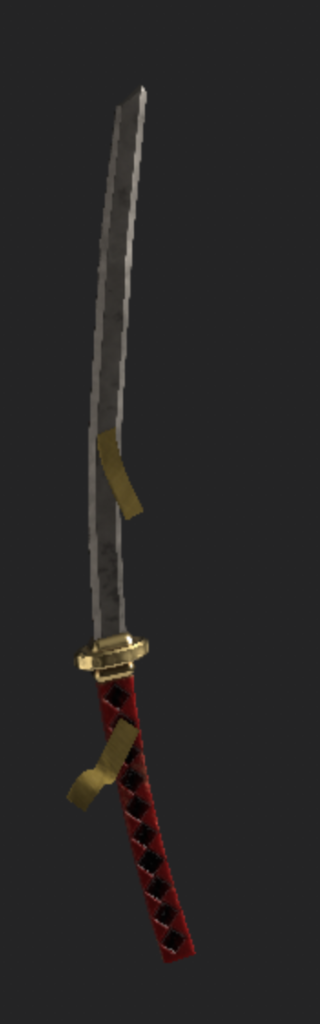
I then started texturing the katana based on my original concept art, however, I changed the colour scheme for certain areas. I used the preset materials for the texturing: for instance the damaged leatherette for the handle, the fabric for the paper’s texture and the titanium steel for the handle as well as gold for the blade collar and guard.
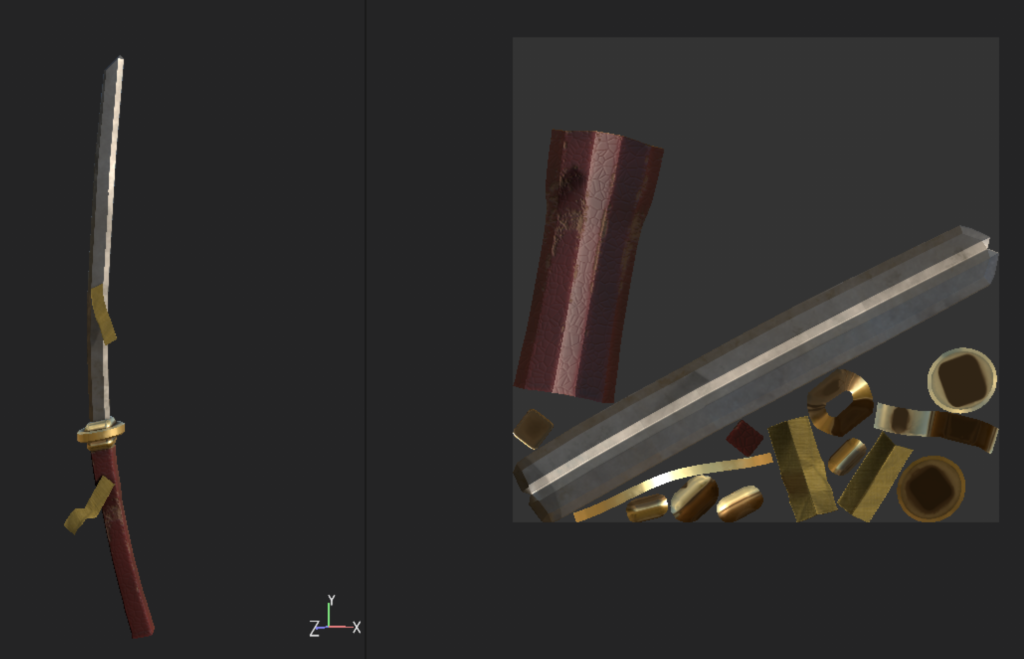
Next, I added alpha’s to the sword’s guard and later on to different areas of the blade. At this point I was just experimenting how to add them to the UV.
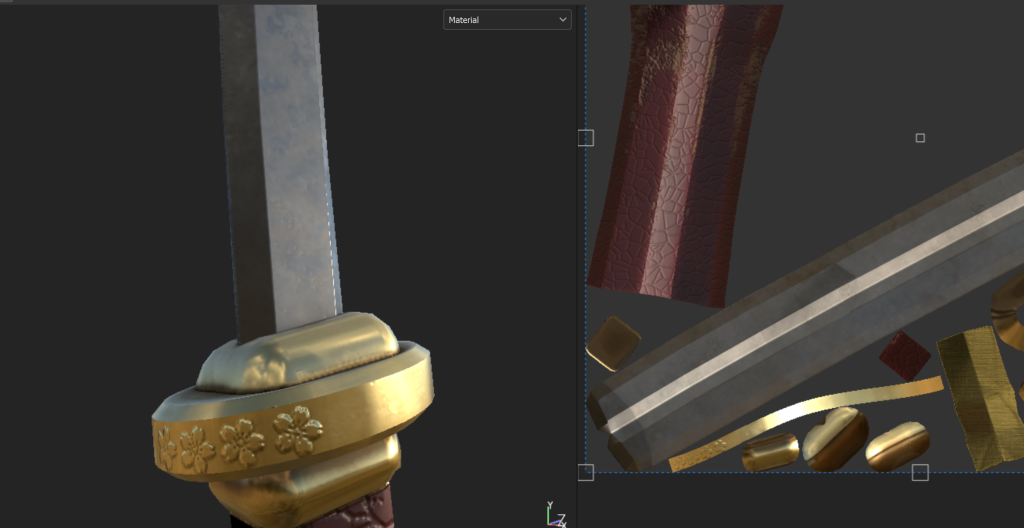
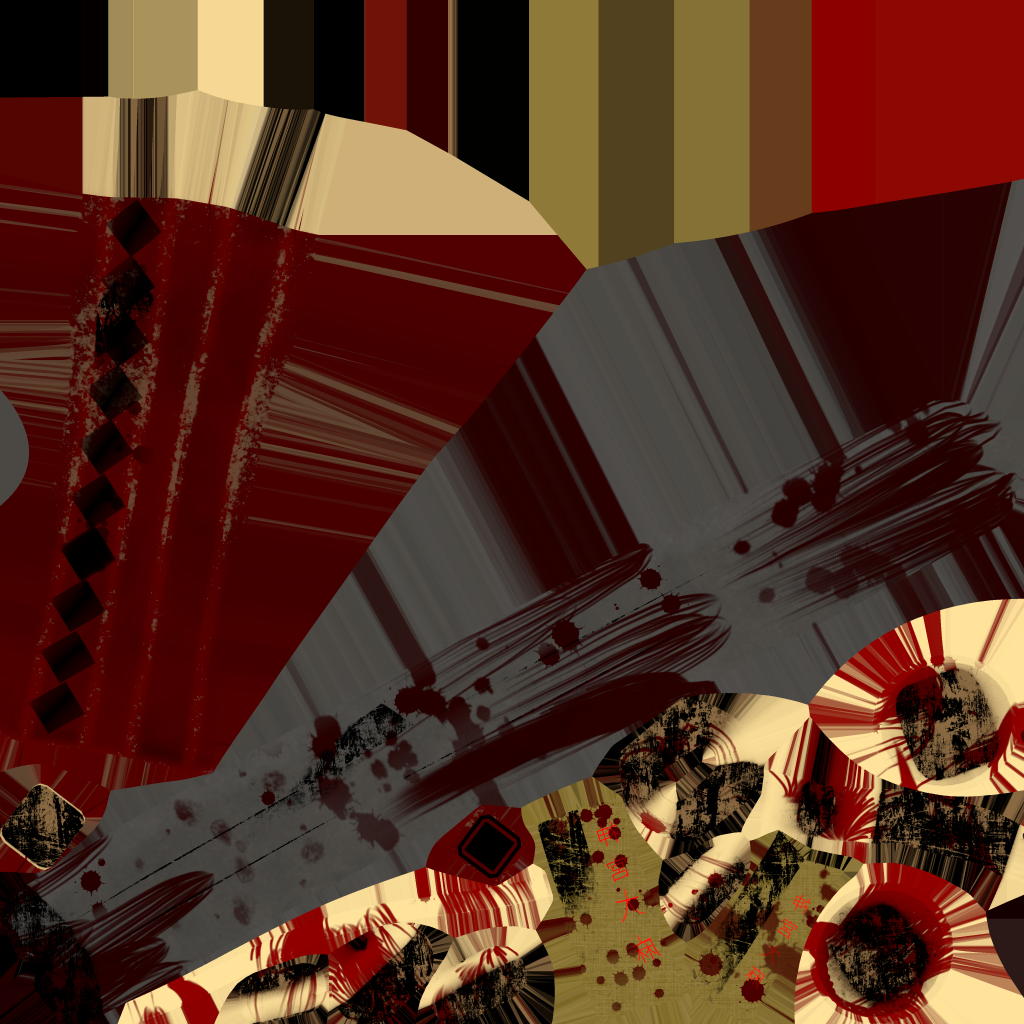
I added more dirt alphas to the blade as well as scratches to the blade and the guard to add the wear-and-tear element. From a narrative perspective, I added this element to indicate an unknown being using the sword as the marks are something that a human wouldn’t be able to create easily.
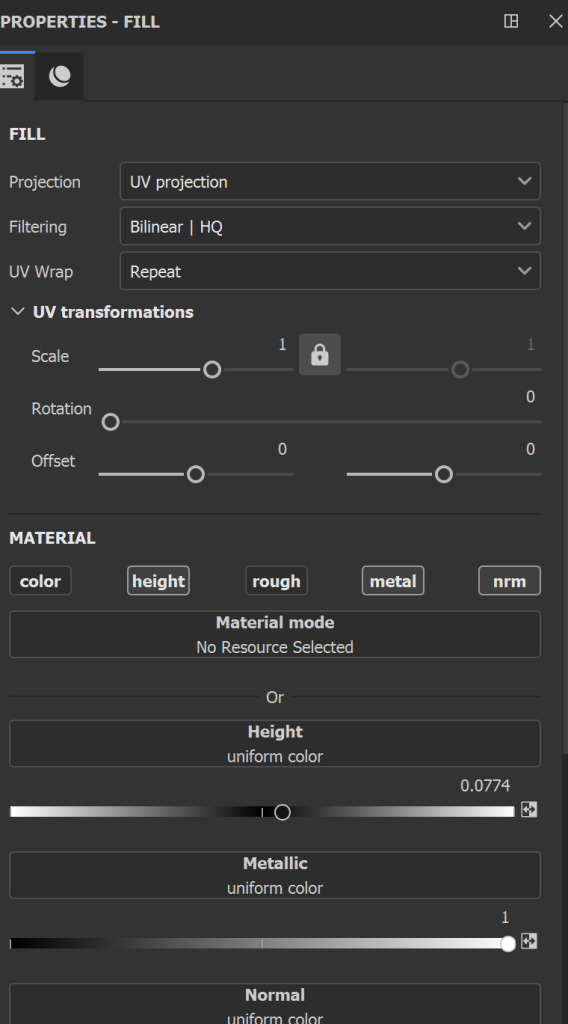
At this point, I was also messing around with the general parameters of the different materials in substance painter.
I also added a bamboo effect to the diamond alphas which gave the handle a more grainy effect. It makes the indents in the handle stand out a lot more.
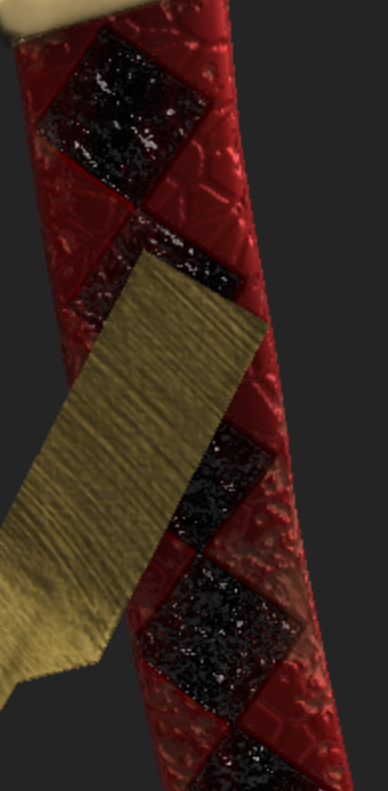
This is the area where I added more details to the blade as mentioned previously. I added finer details such as scratches and claw marks around the guard and the blade. Then I added Japanese text which were also made using alphas to the talismans ( Jingū Taima – Japanese purification wands).
As a final touchup for the model, I added blood to the model to make the katana a lot more sinister. I was also experimenting with gradients and opacity. I placed the blood textures settings as an overlay which makes the blood blend in a lot more with the blade. As a final change, I changed the handle’s base colour.
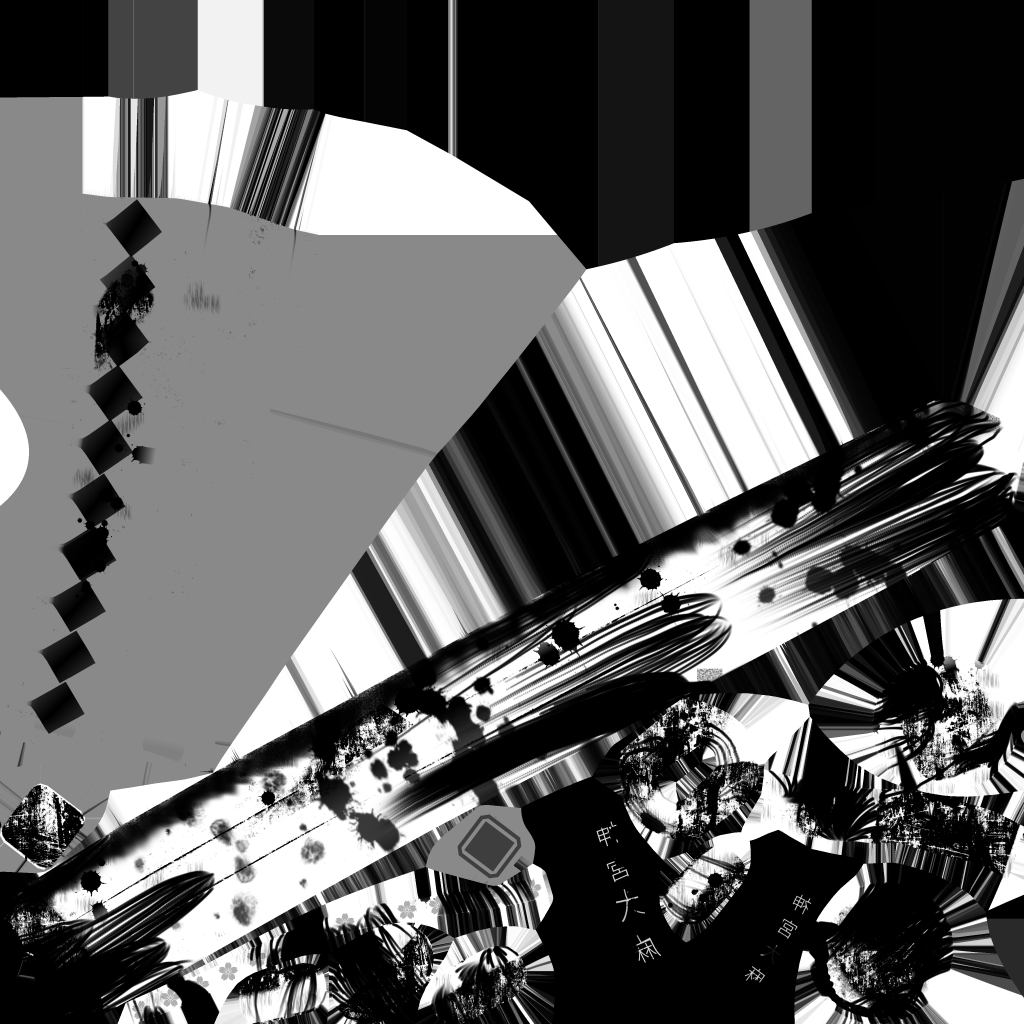
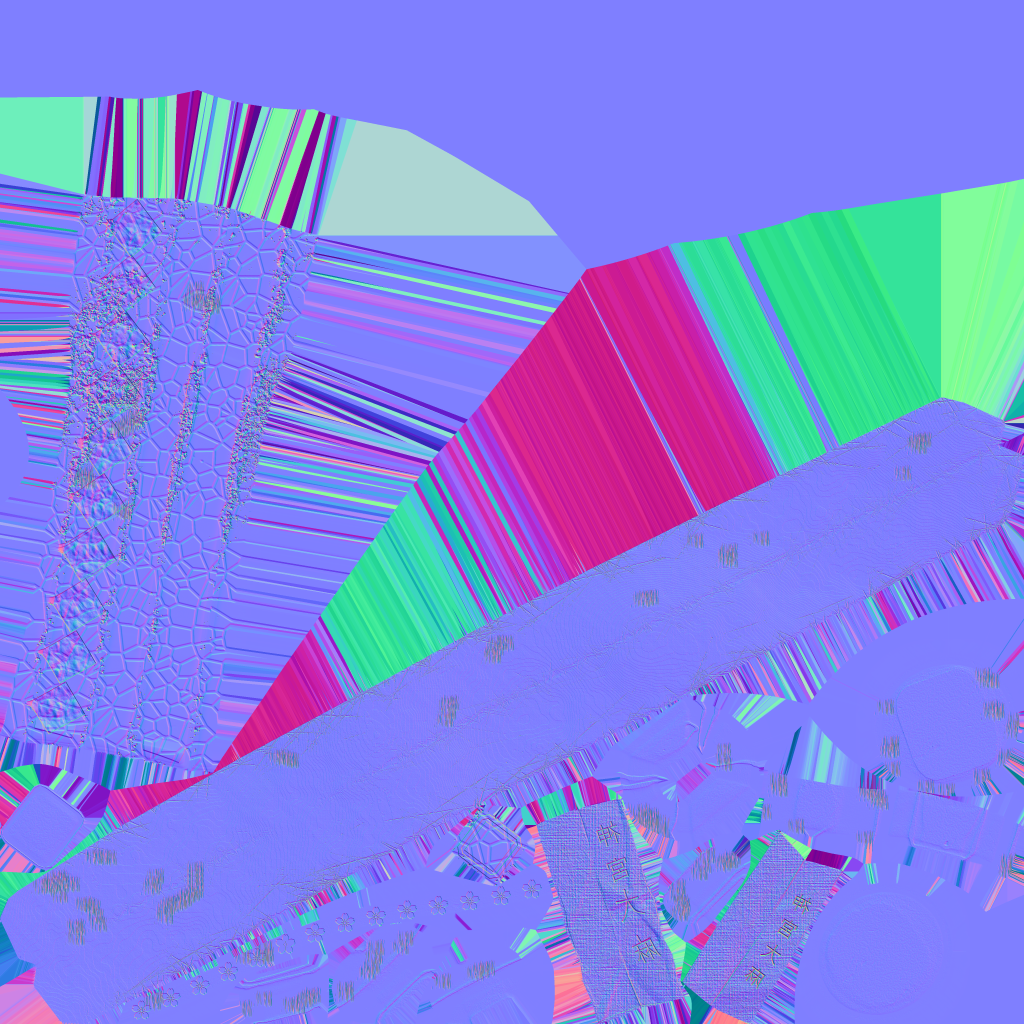
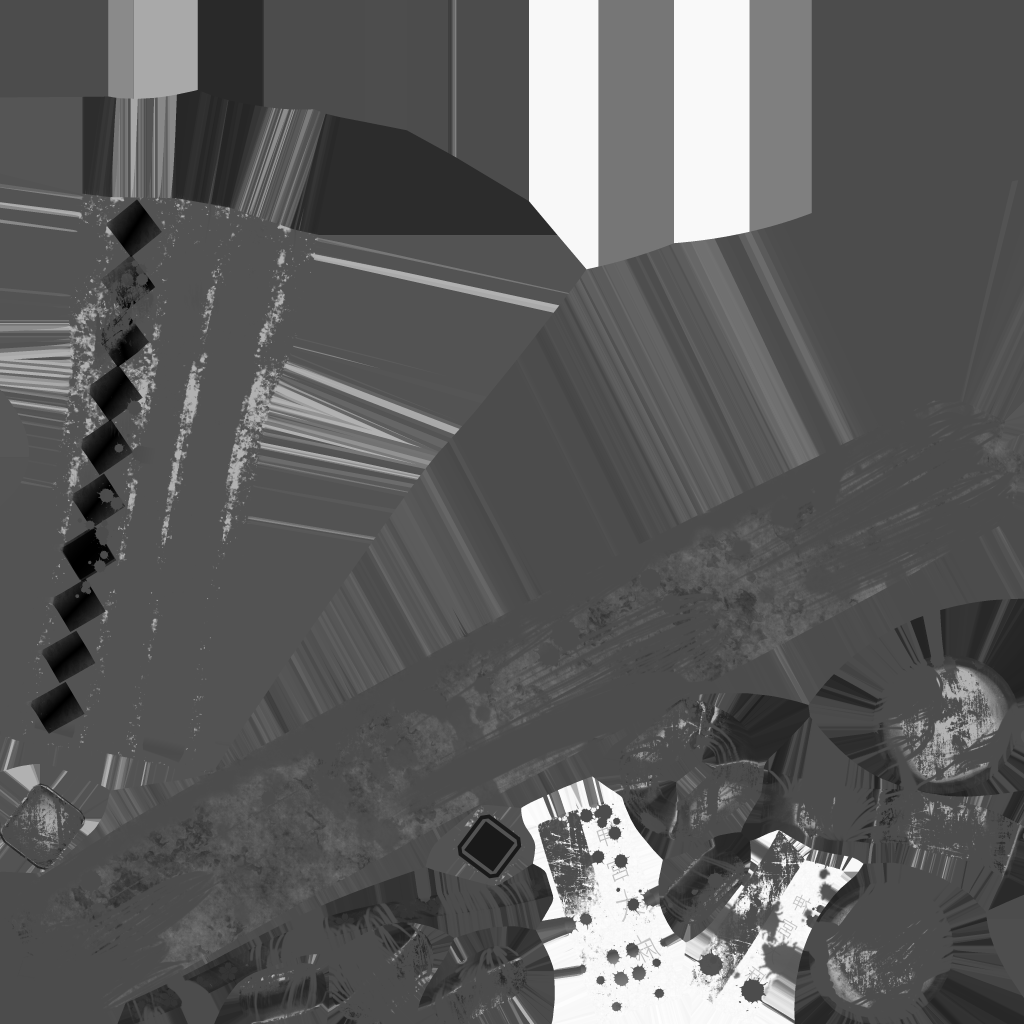
These are the 4K texture Maps that I’ve used for the final render of the Katana. In my environment design, they were some issues where Unreal wouldn’t be able to register the blood textures properly since they were created using a gradient. However, there was no issues with this in Maya: