Before showing my final renders of my models, I need to talk about the process I went through in order to create these render shots.
To start off with, I imported the model from substance painter as a .fbx file into Maya. Then I exported the textures with the optimized settings for the Arnold render, keeping them in a seperate folder.
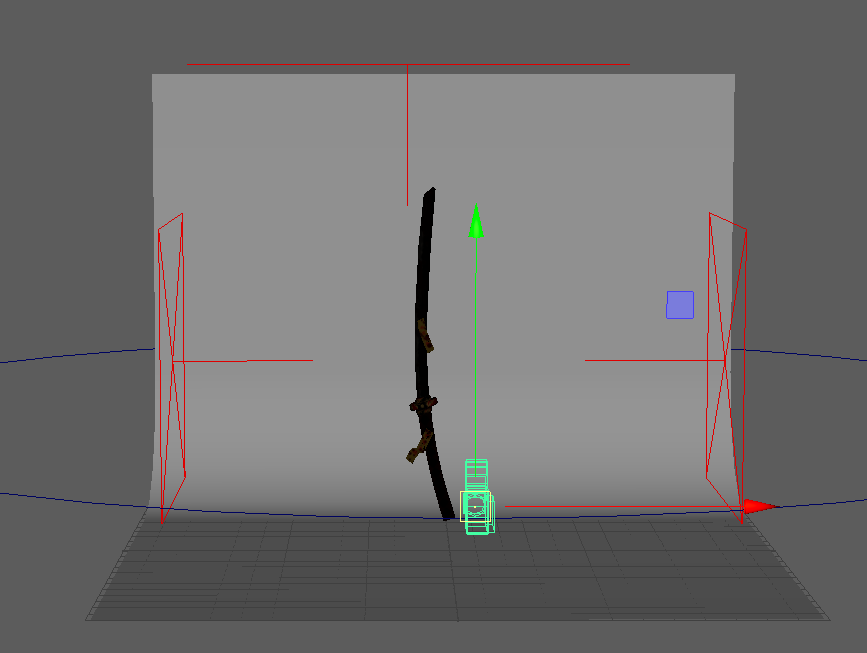
After, placing the model in Maya, I set up the rendering window and started adding in 3 stage lights and increased the intensity of the lights. This way, the reflection of the metal can be seen more clearly during the rendering. Before, there were issues regarding the lighting, since I used dark colours for my textures, the lighting needed to be more intense in order for the textures to be properly registered on the model.
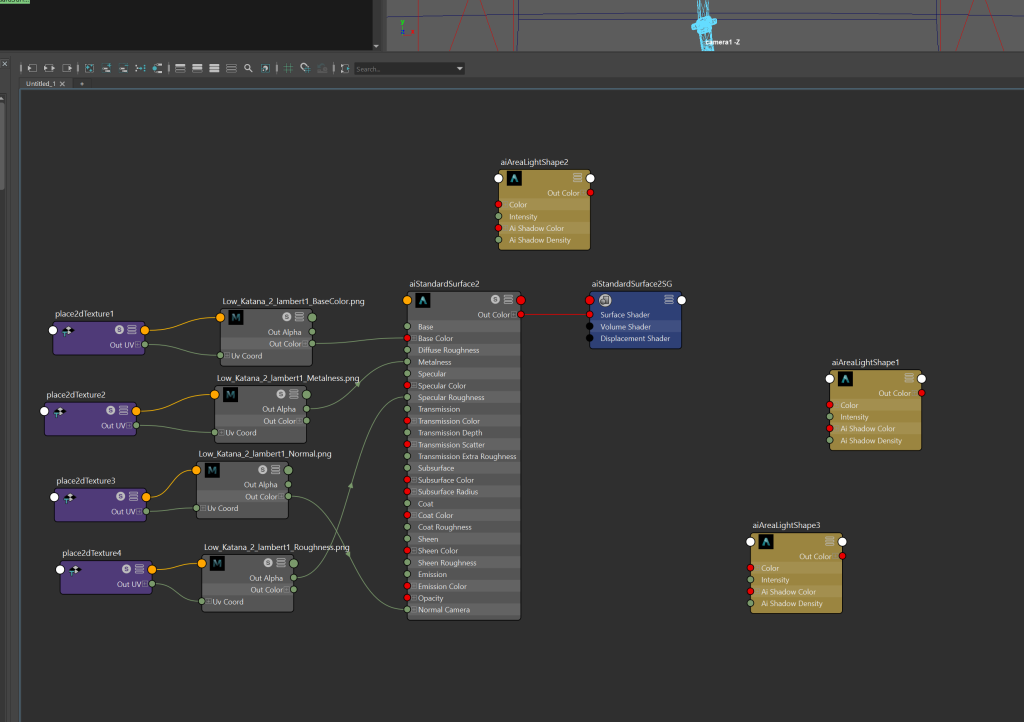
Next I added in the textures for the model, this was done through Arnold’s hypershade editor.
I added a camera in to the scene as well as a NURB sphere, this was to set up the rotational angle for the video, merging them together and then using the keyframe technique, I went up to 480 frames per second and started the render using viper.
Setting up the model for arnold was the most difficult area to work on, I was mainly quite anxious about ecountering errors from rendering but luckily with the help of my peers, I managed to understand how to do basic rendering for Maya.
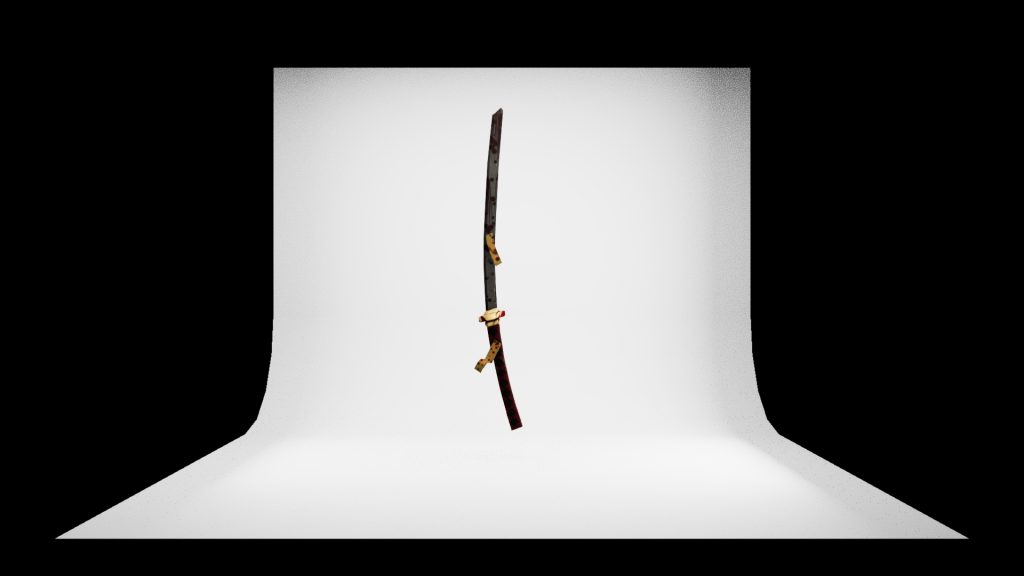
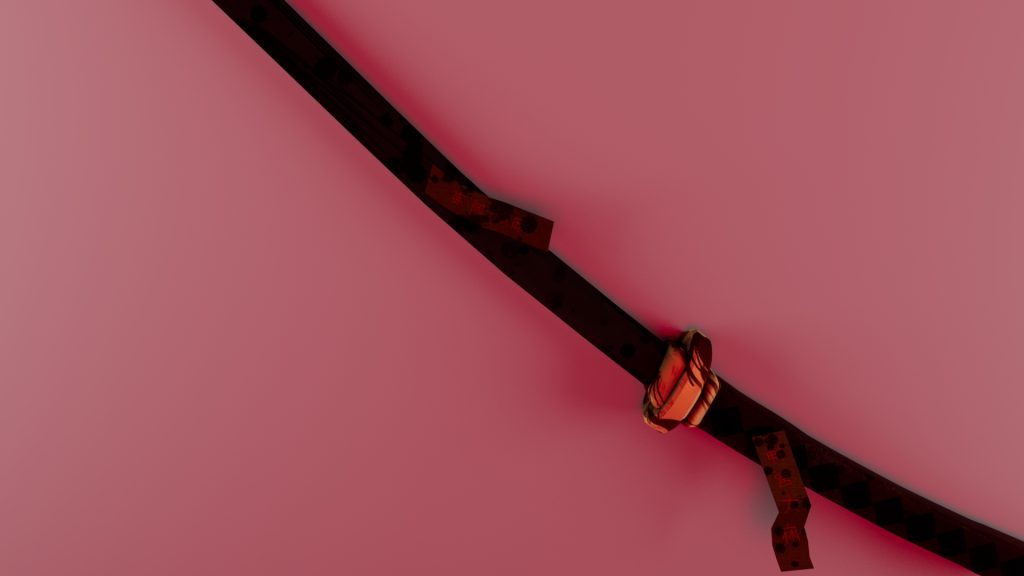
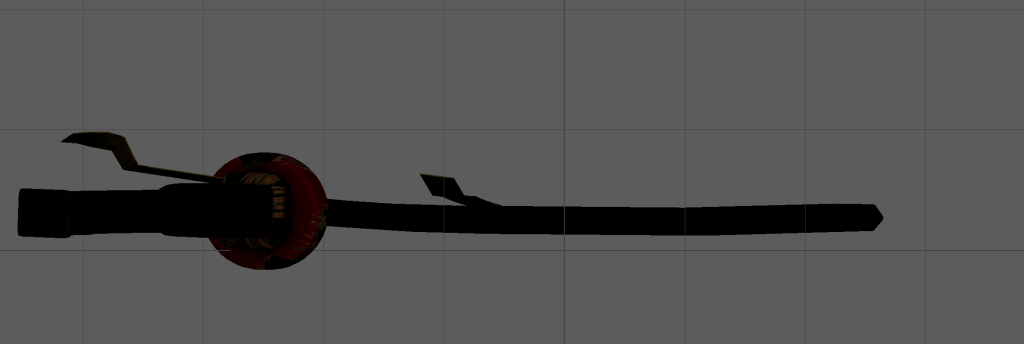
This was my original 360 render of the model as a whole:
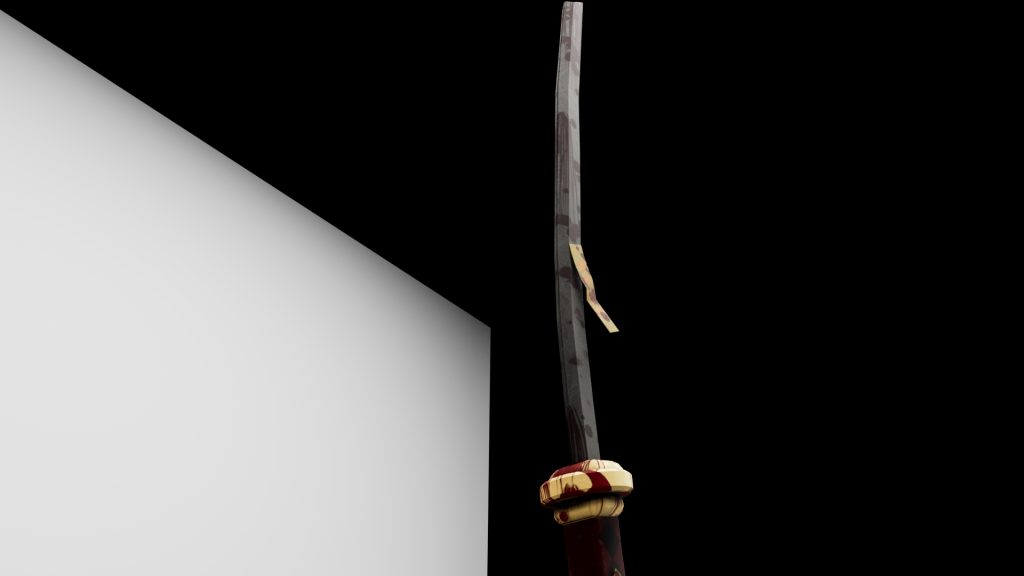
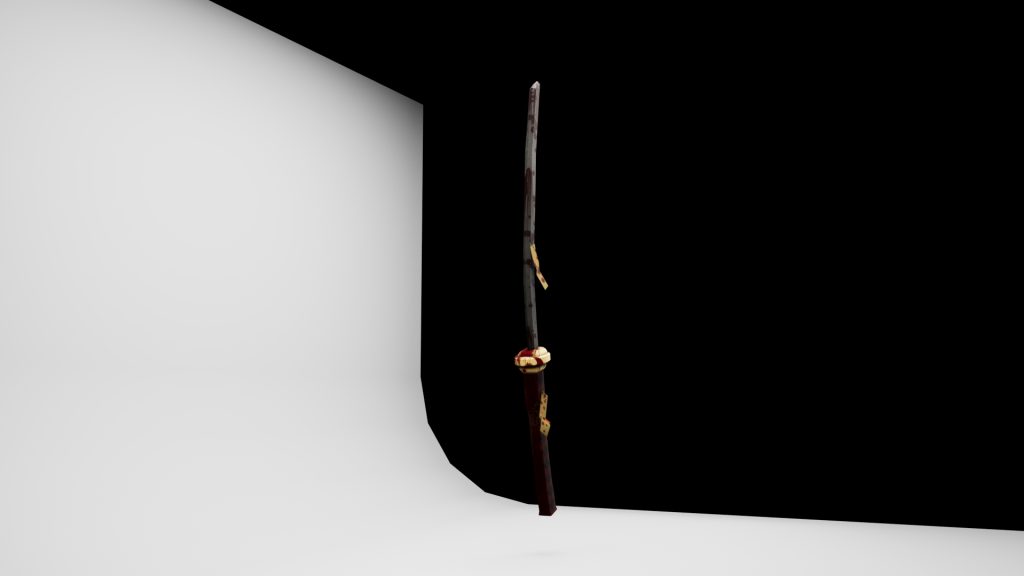
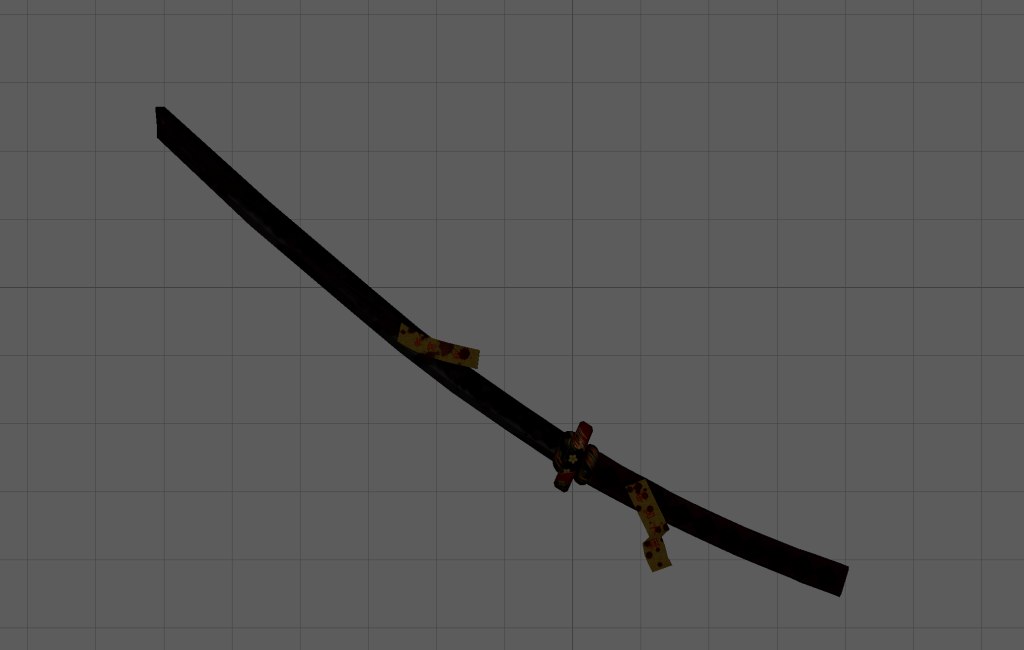
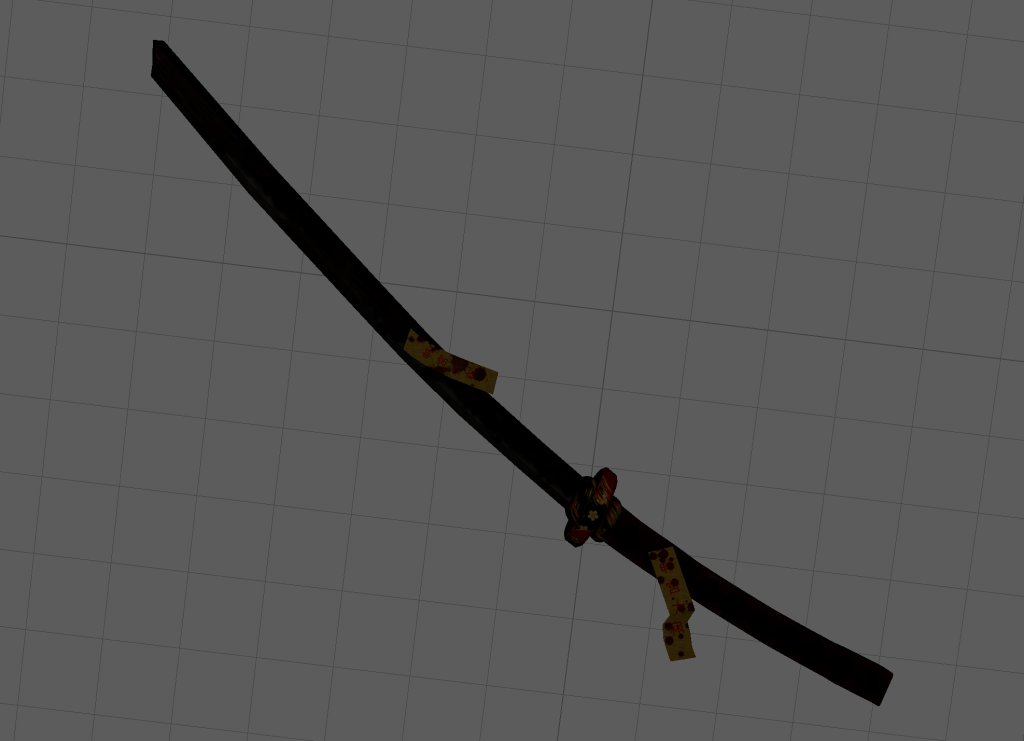
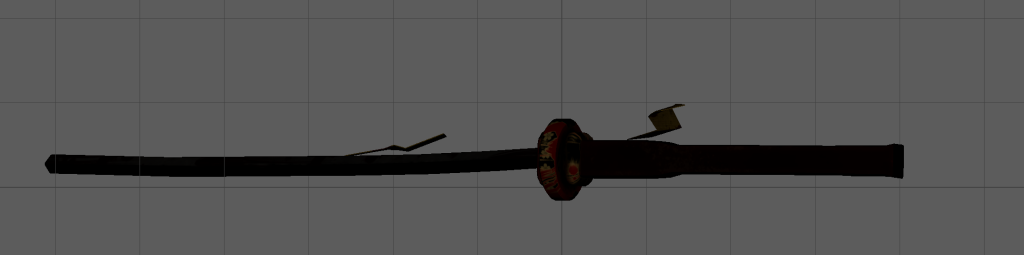
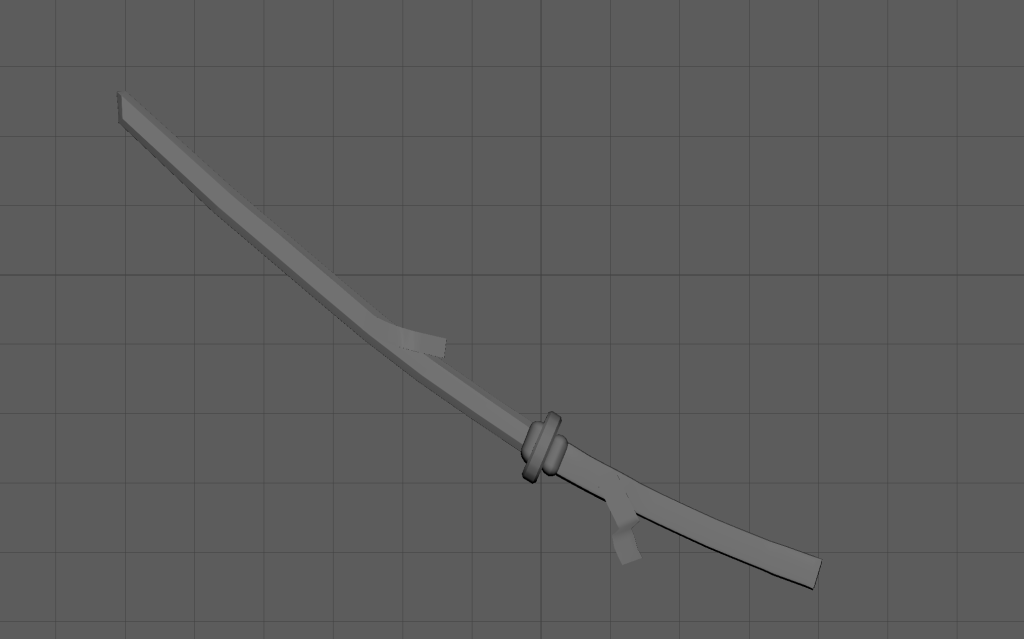
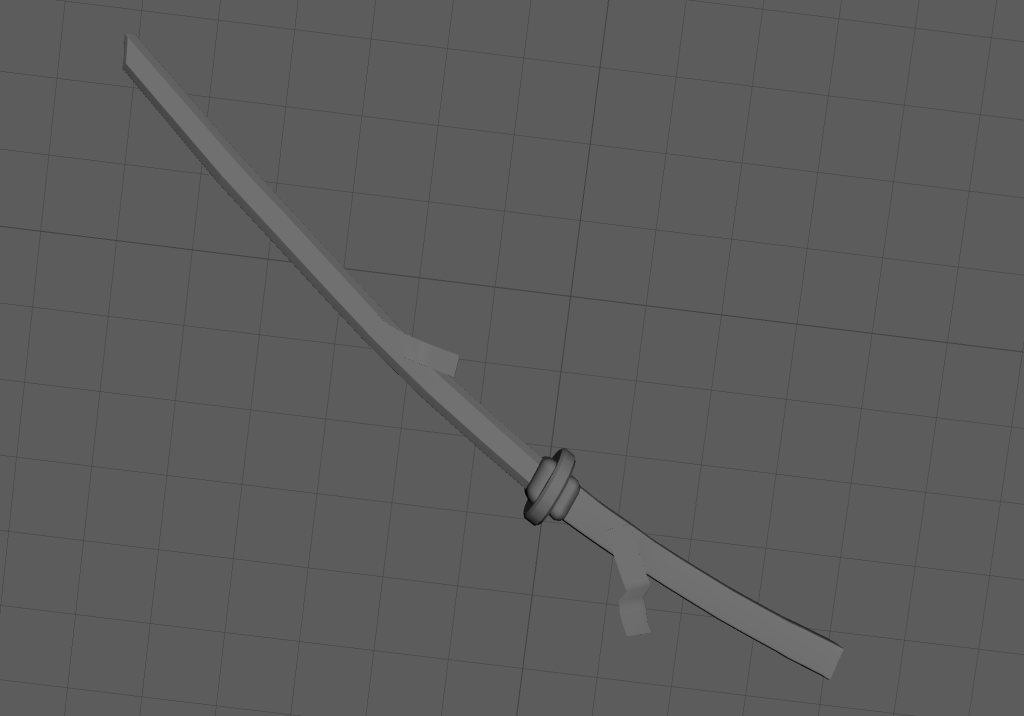
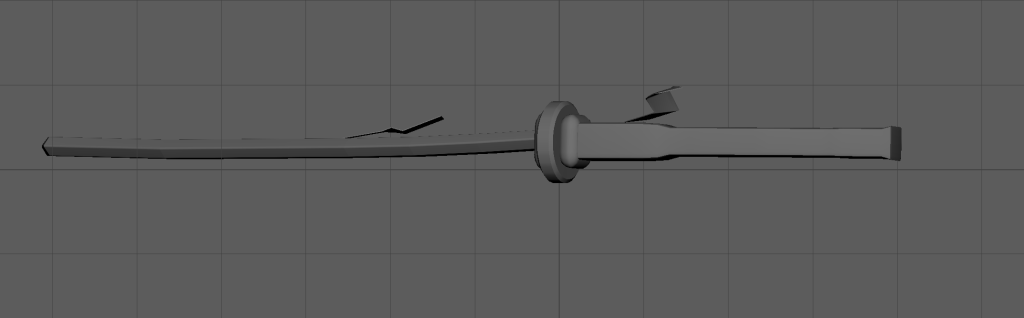
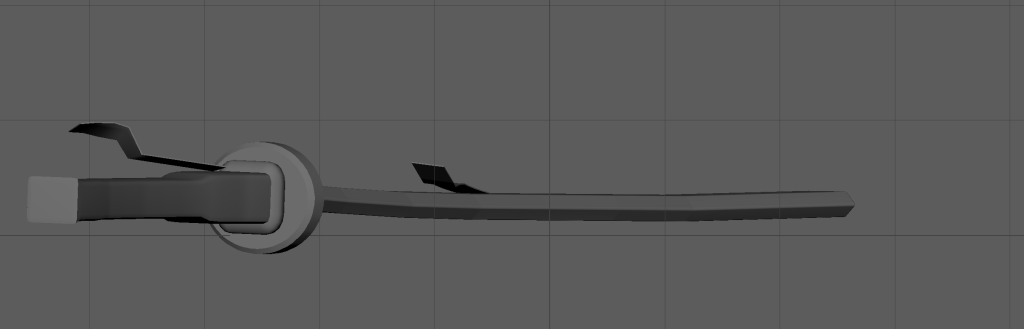
and these are screenshots of the model:
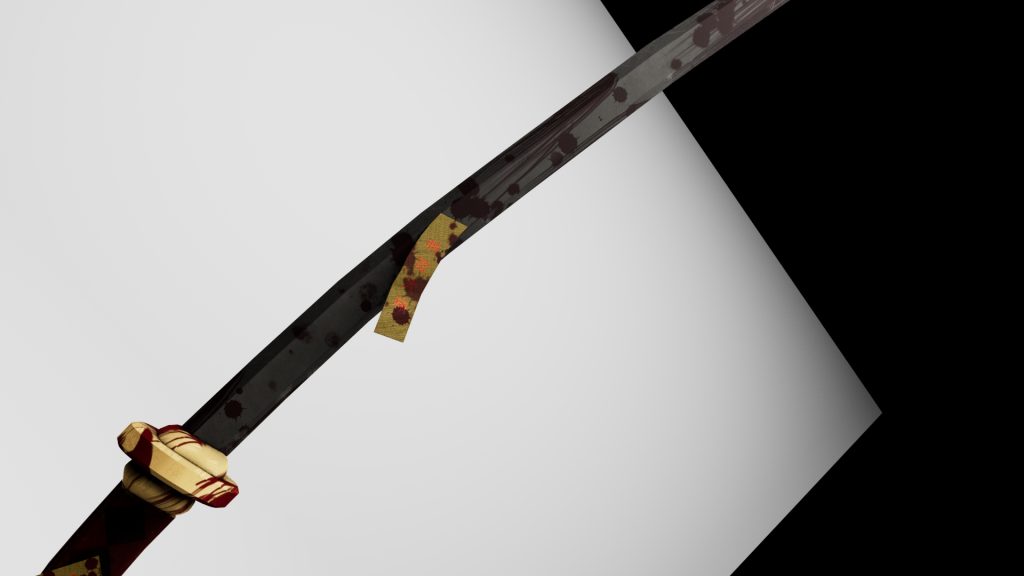
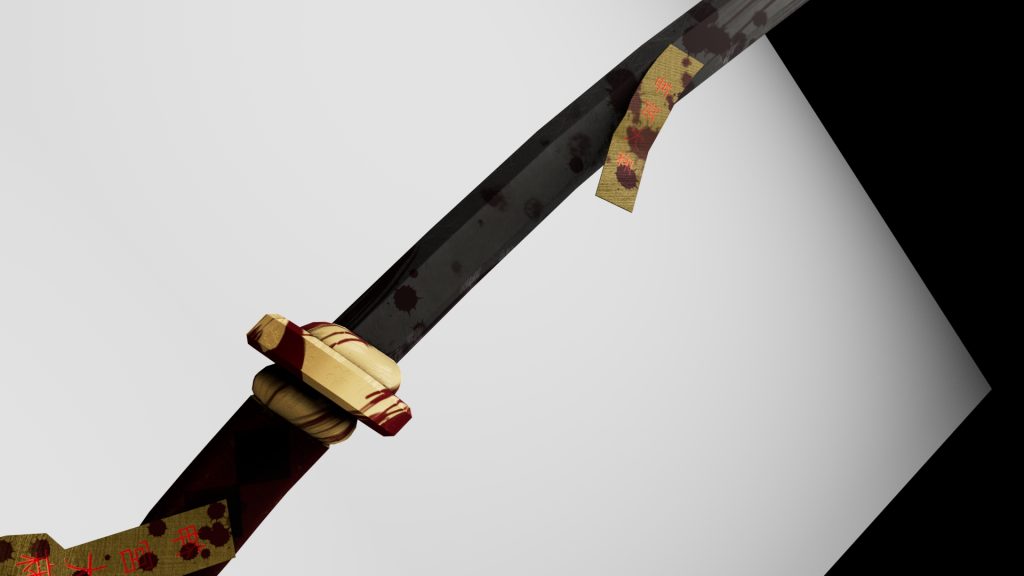
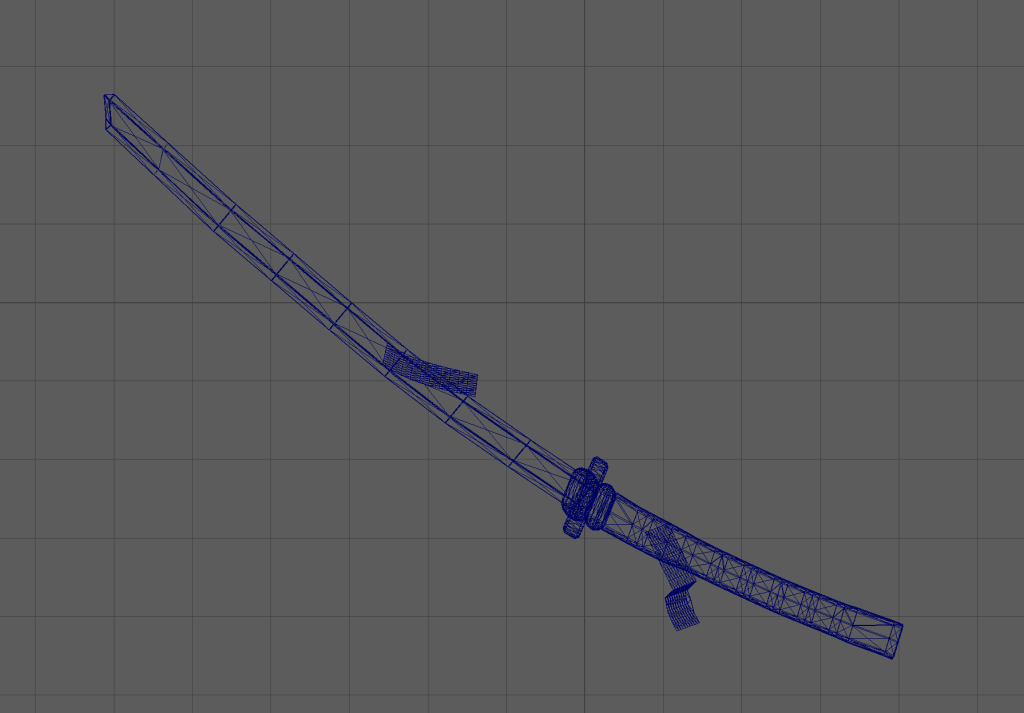
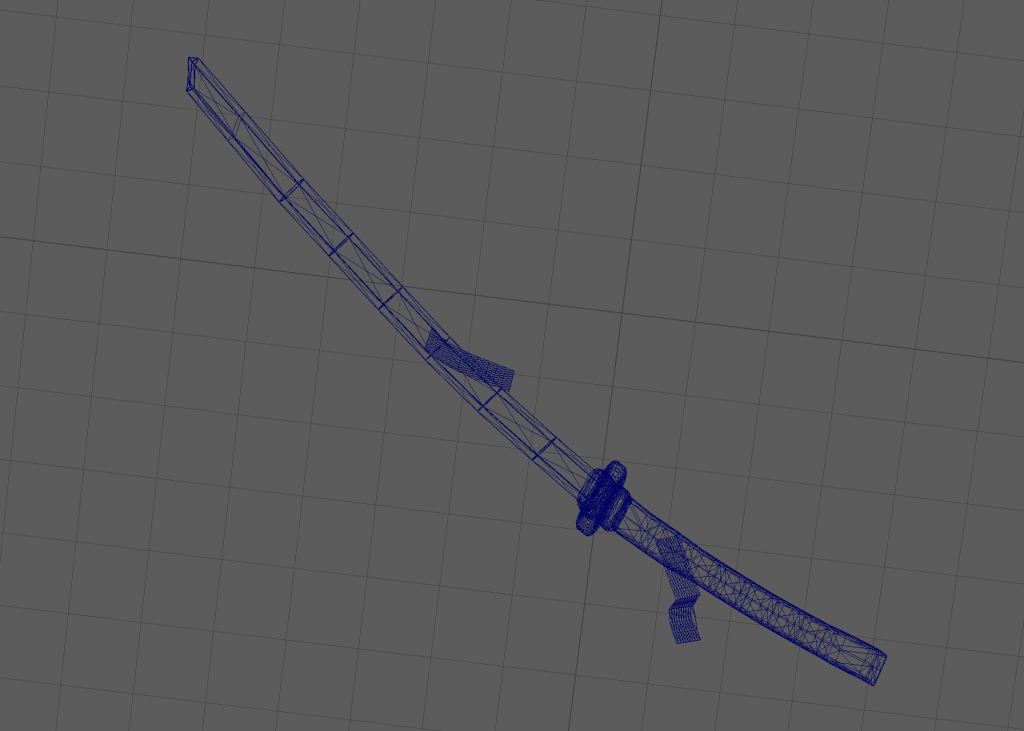
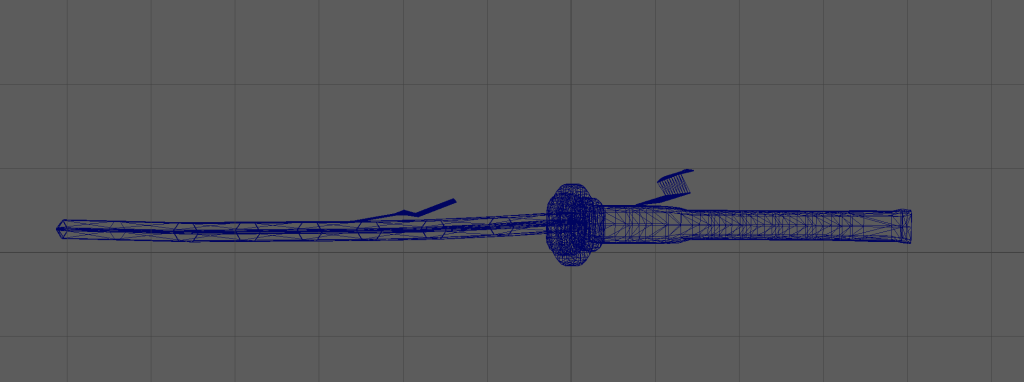
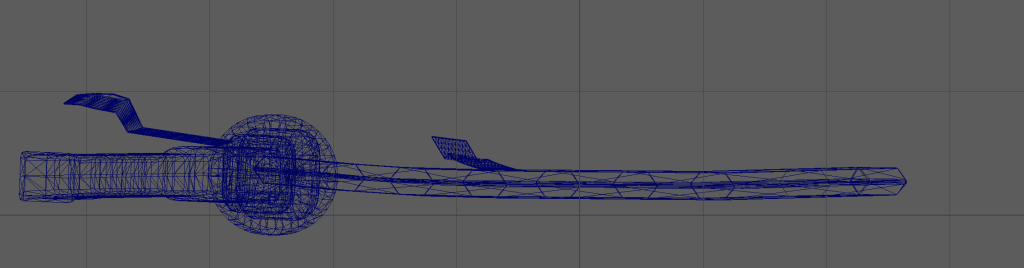
Unlit Screenshots:
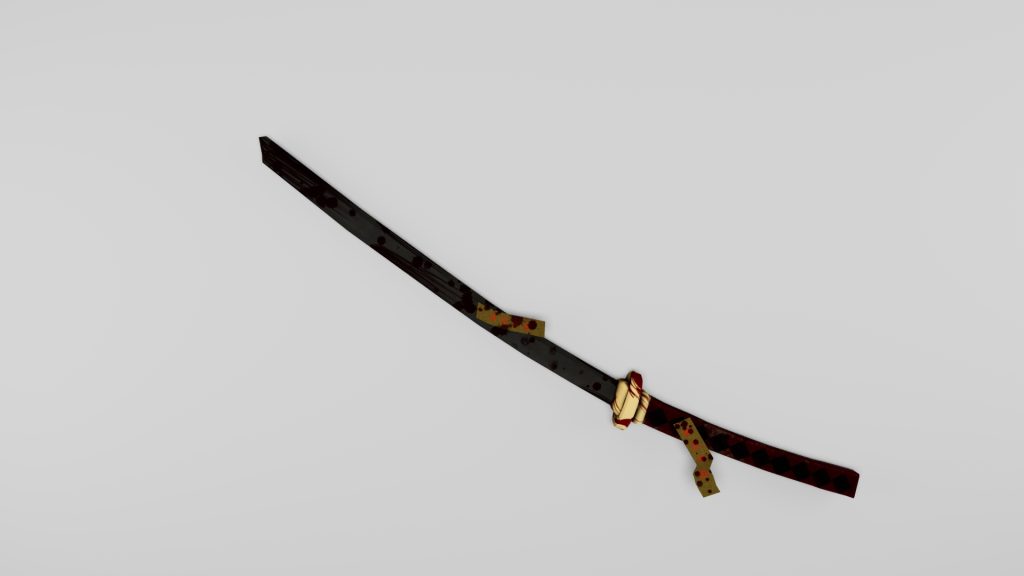
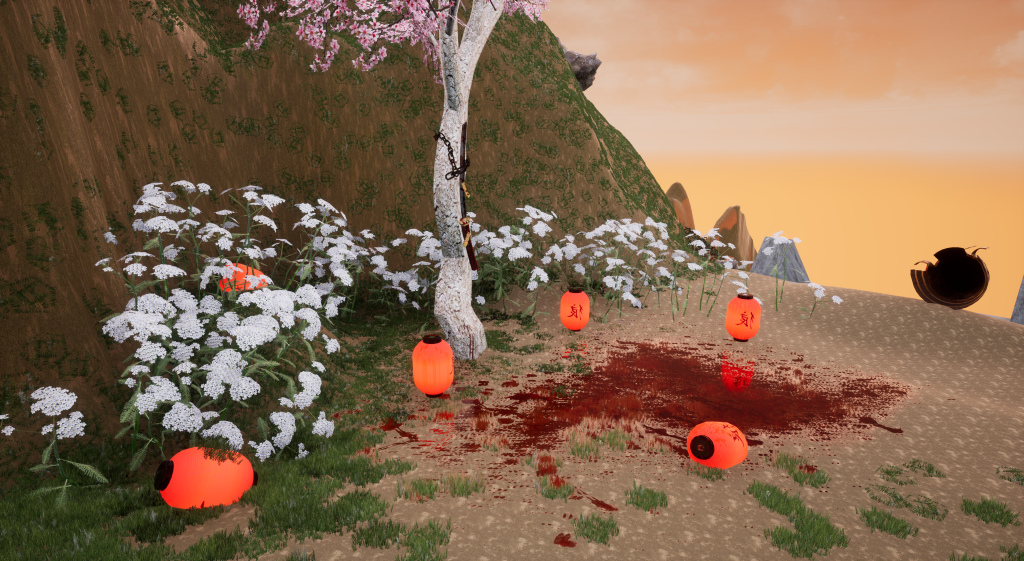
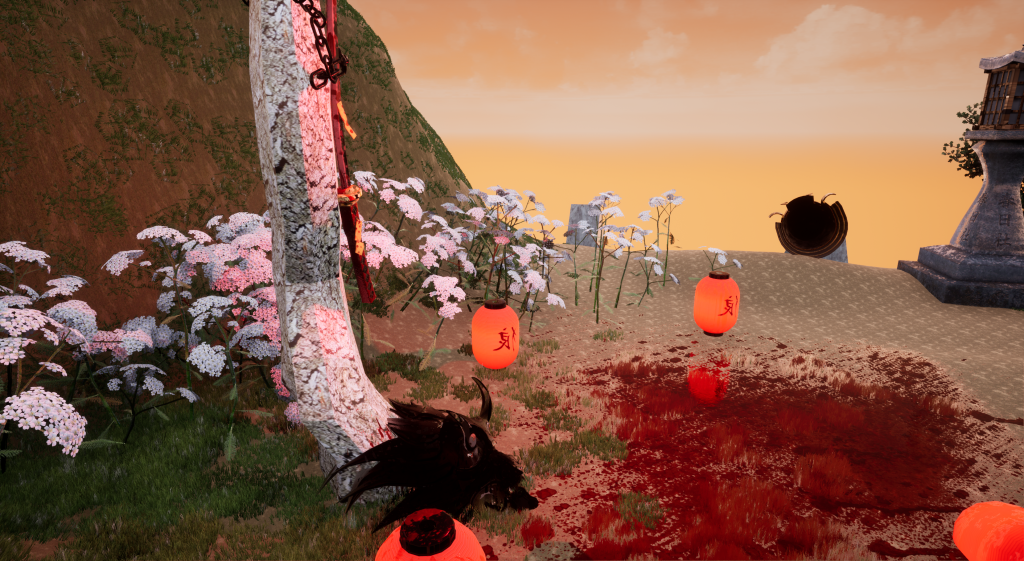
And here are some of the screenshots of the asset in the unreal environment. As mentioned before, I’ve had issues with adding the textures onto my model in unreal engine so I am relieved to say that the Maya version of the render has given the opportunity to show the model in it’s complete stages:

Reflection
When working with Maya, I found it quite difficult to understand the main interface and how I would be able to create the Katana model let alone the stands (shown in alternative designs) or the miscellaneous objects surrounding the weapon. However, this project has gave me much more confidence to create more complex models in the future.
Ontop of this, I was exceptionally pleased with the outcome of the Arnold render as the process included experimenting with the lighting that Maya provided. However, I noticed in the render shots that the indents on the katana don’t show up very well despite added in the correct textures. I hope that the screenshots presented in the texturing section will show the extent the model has in terms of the damages the sword received as well as the detail around the katana as experimenting with substance painter was one of the most interesting experiences in this project.