Retapology
The longest part in this project was forming the retapology in Maya. This part of the workflow consisted of trial and error as the process would require experiencing several learning curves. By doing Retapology, as mentioned prior, not only does this create a “game ready” model but it also allows the model to be UV unwrapped and later on textured.
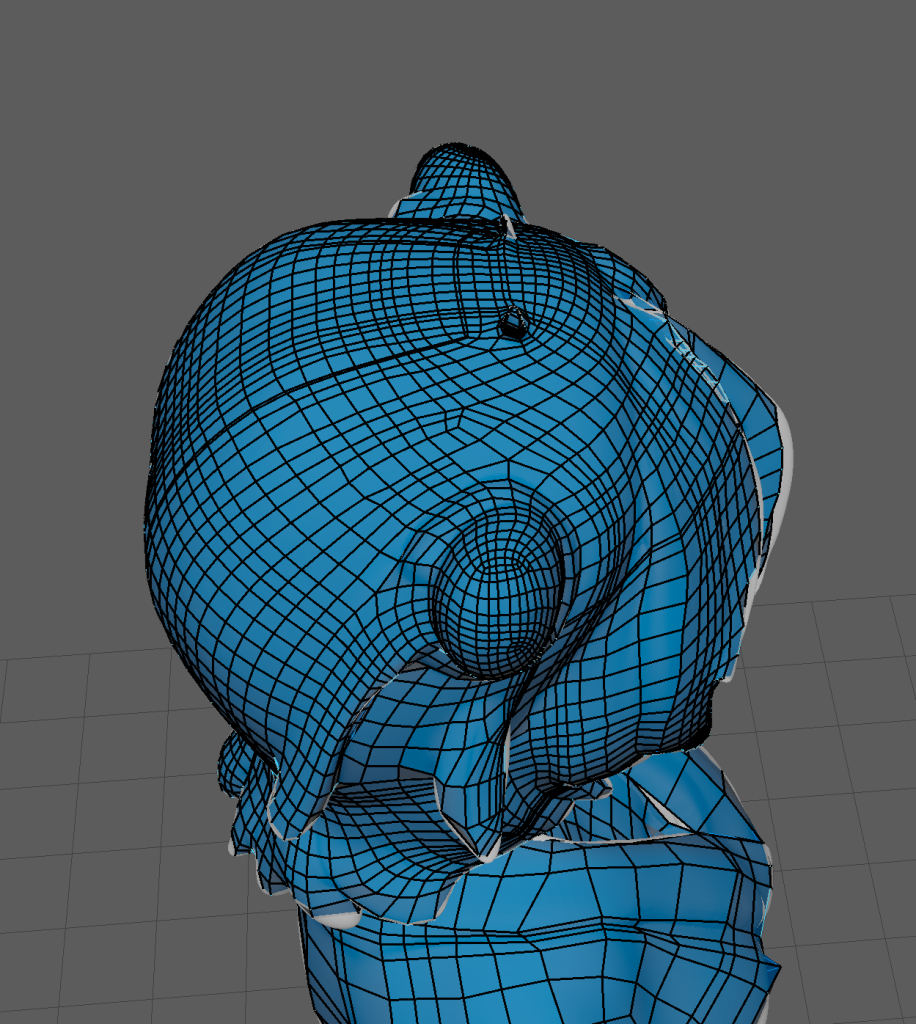
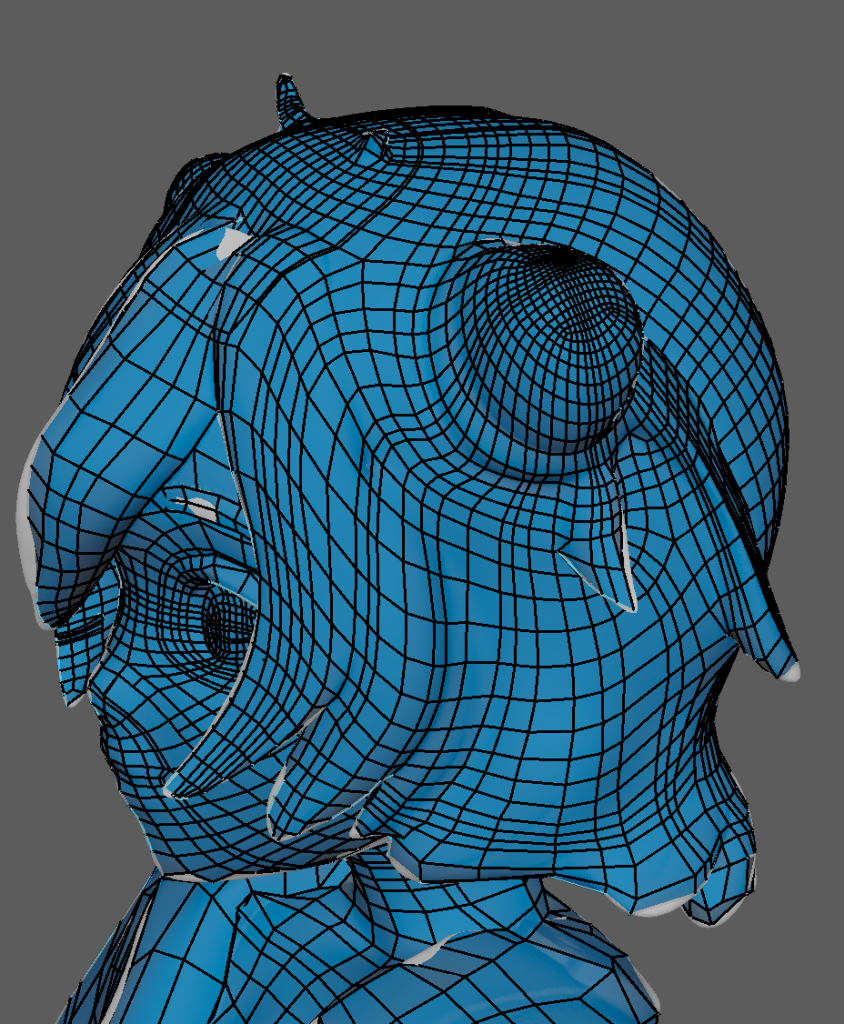
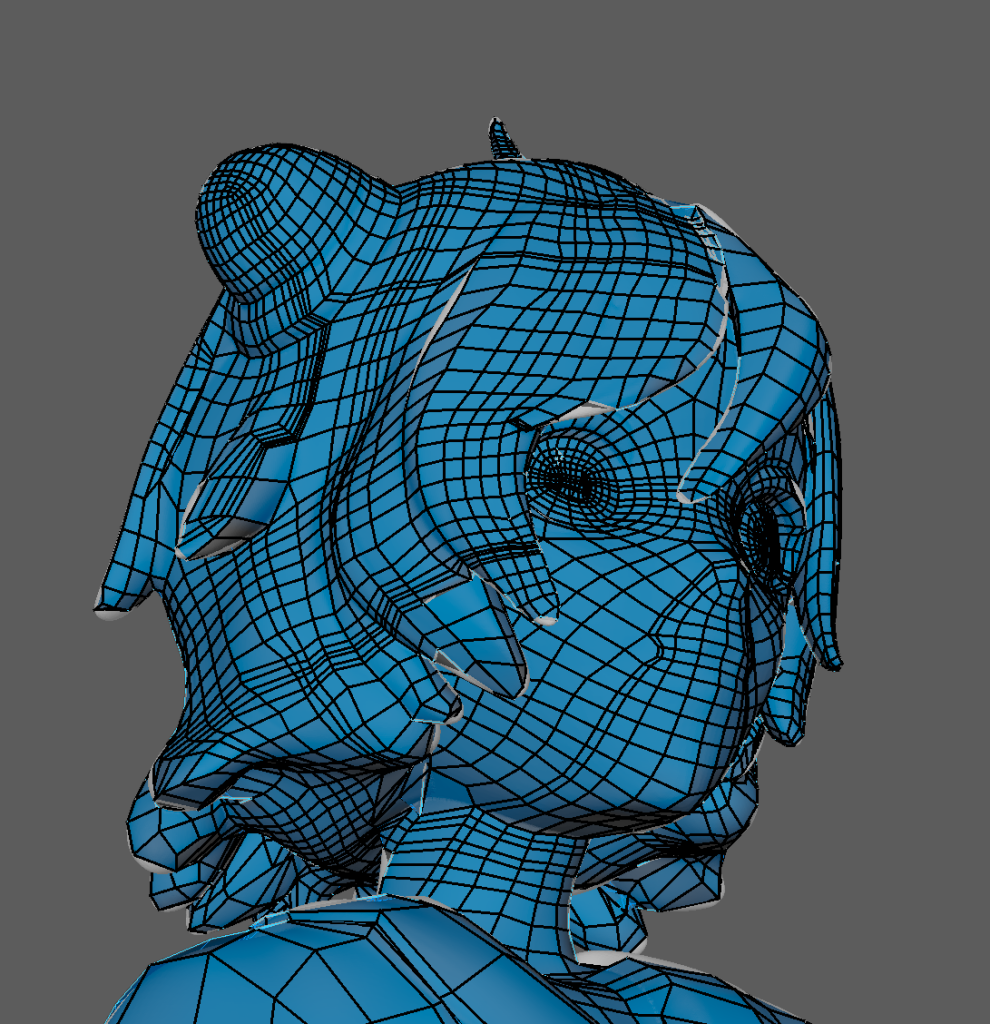
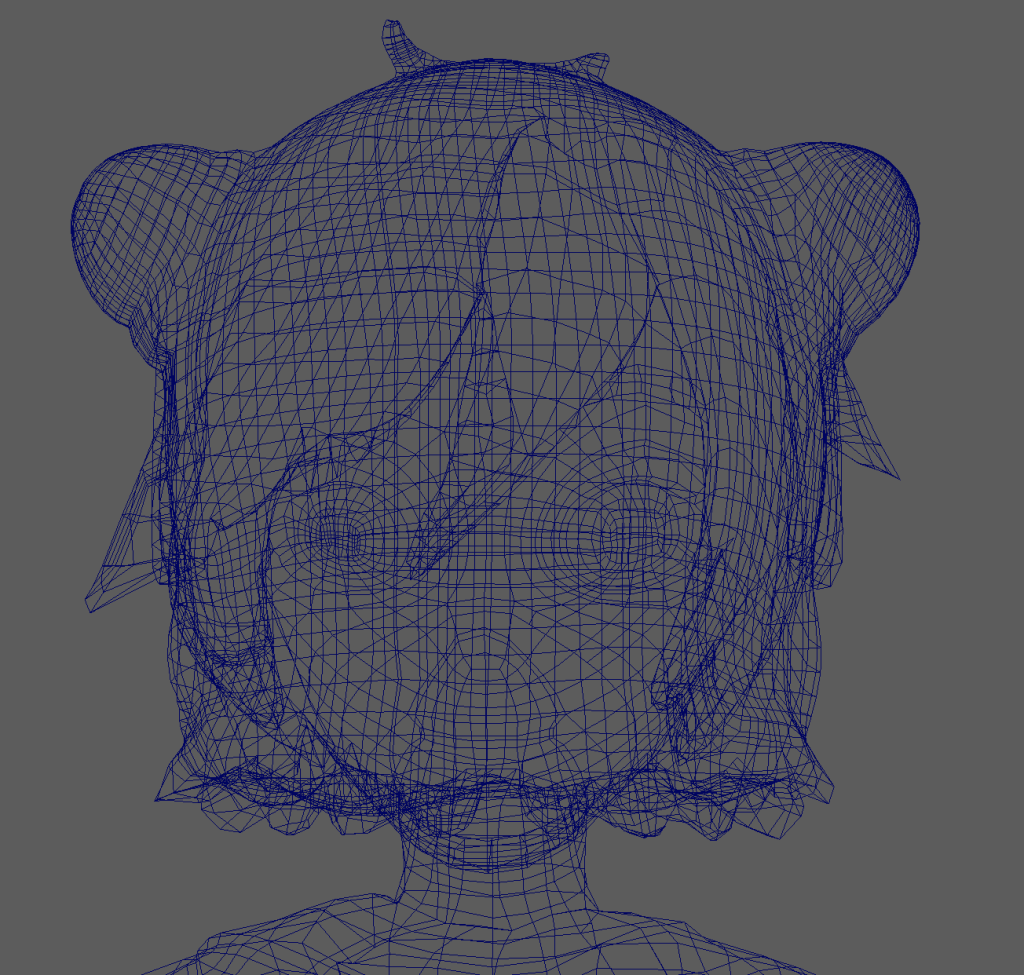
So for the start of the retapology, I began with working on the head and hair, working my way down the body. Working on the head, especially the areas that were covered by strands of hair or tight corners were incredibly difficult to retapologise as more often than not, it can lead to hidden faces which can create issues when UV unwrapping. These, however, were cleaned out during the final stage.
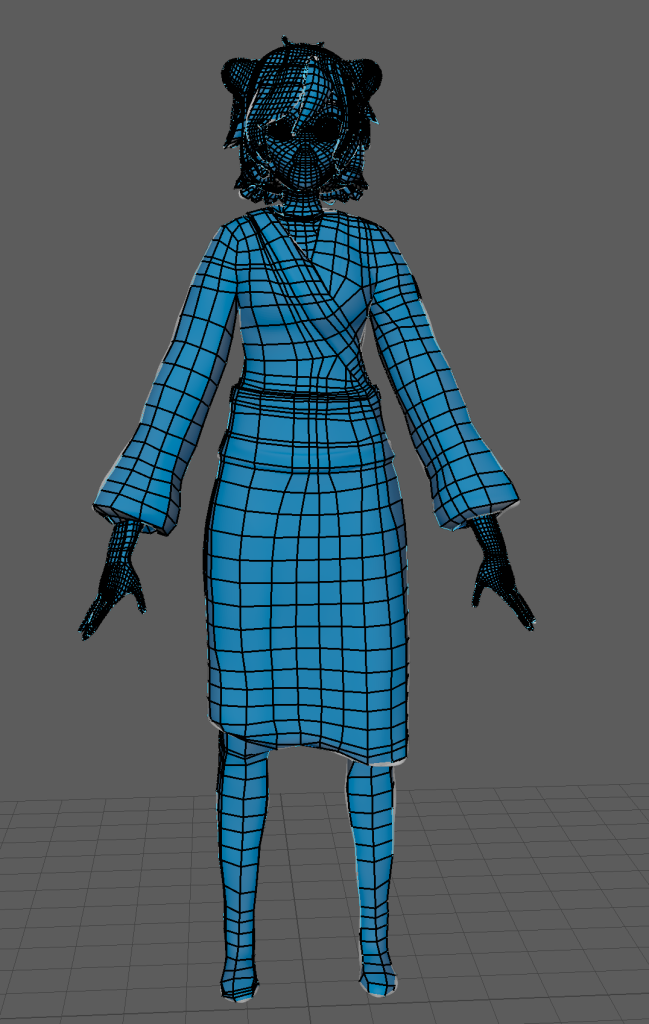
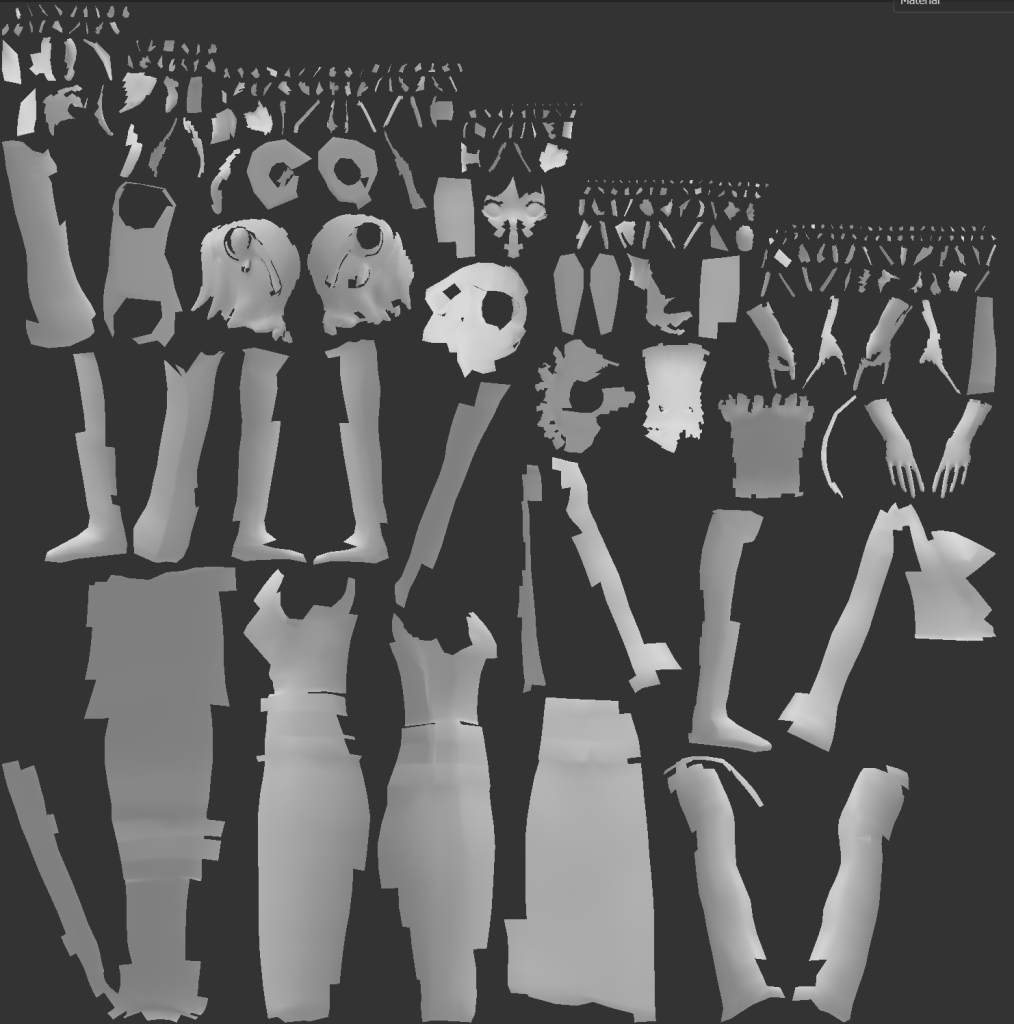
Here are a collection of screenshots detaling the retapology of the upper part of the model.
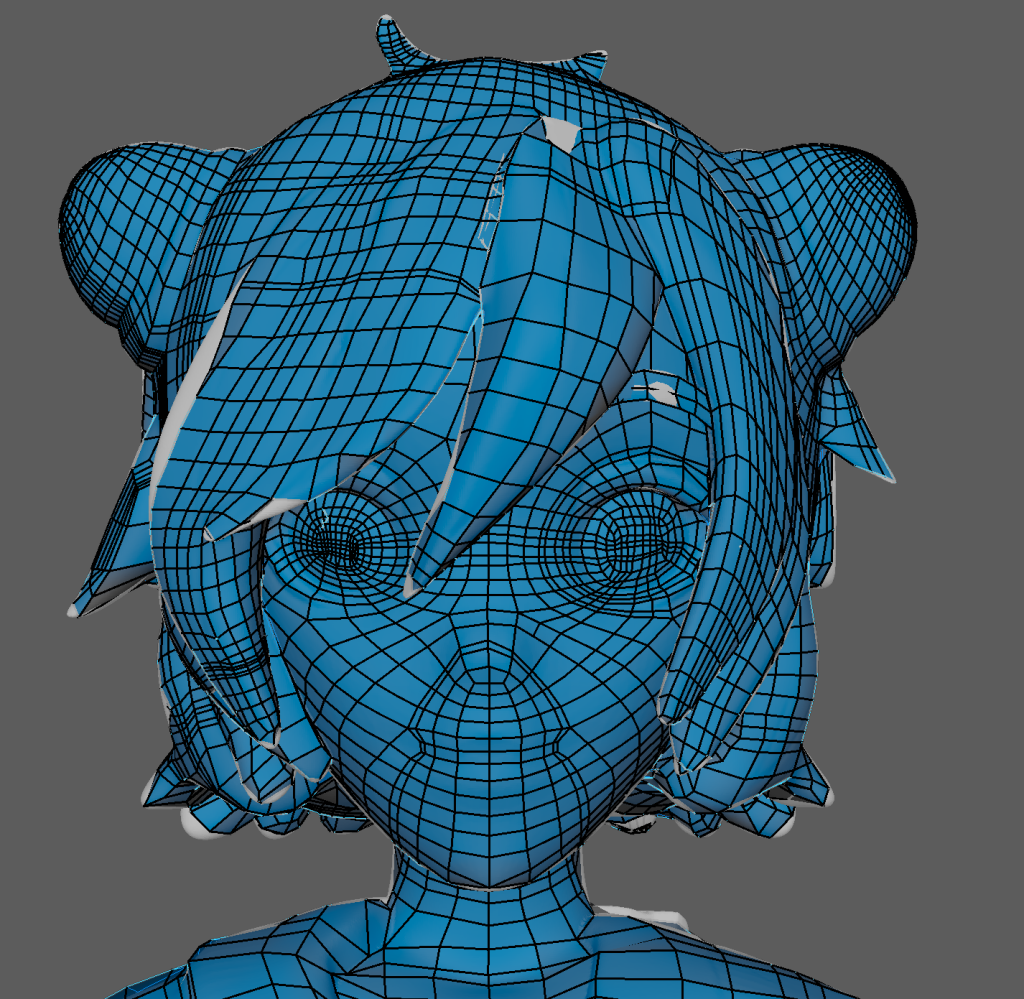
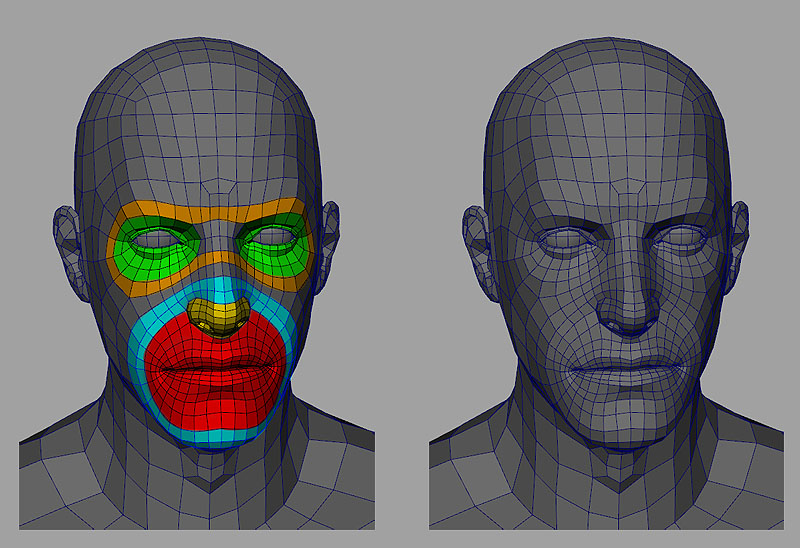
The high amount of edge loops around the eyes, nose and mouth areas are used in preparation for animation. (This is due to these features being deformed when animating. So it protects the model’s polys from breaking.)

Looking back on the head’s retapology (and a reflective criticsm that can be said for the whole model) There are a lot of unneeded edgeloops which causes the quads to become tightly bound together – when trying to solve this issue using the relax brushes, however, the quads would become either disjointed or uneven to the face. So in the future, I want to be able to dedicate the time to further redoing / cleaning up the retapology and it’s edgeloops.

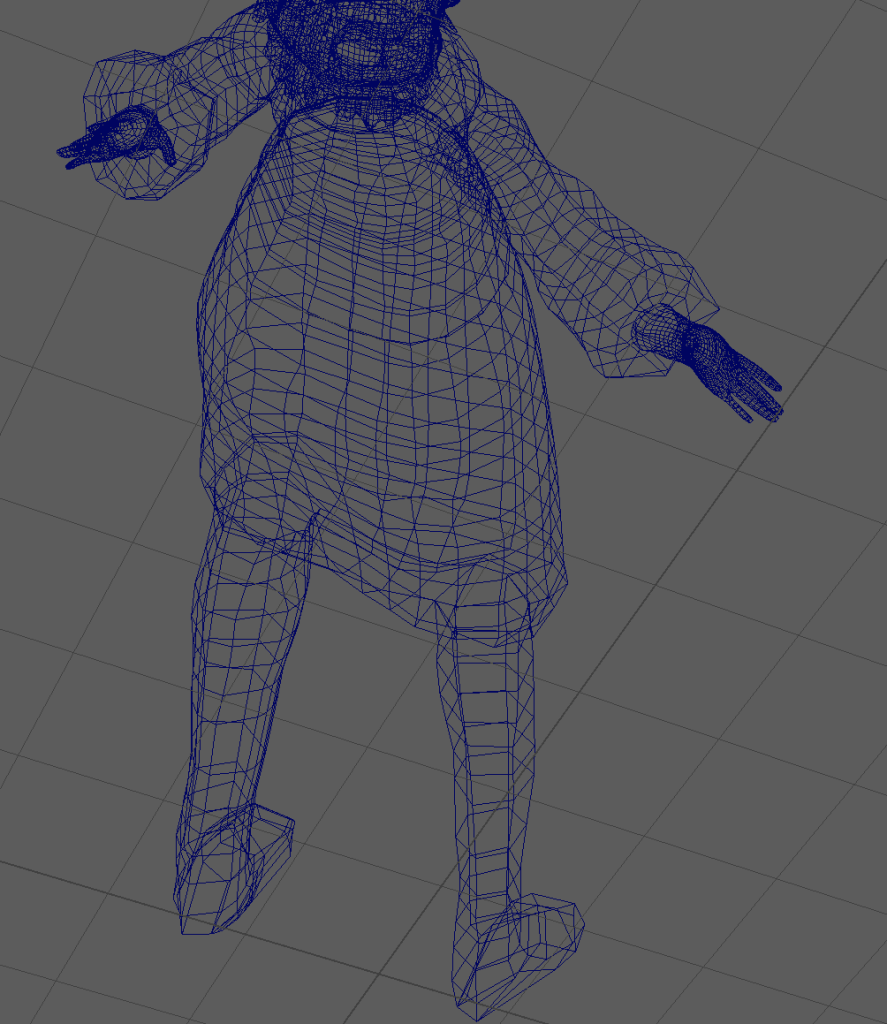
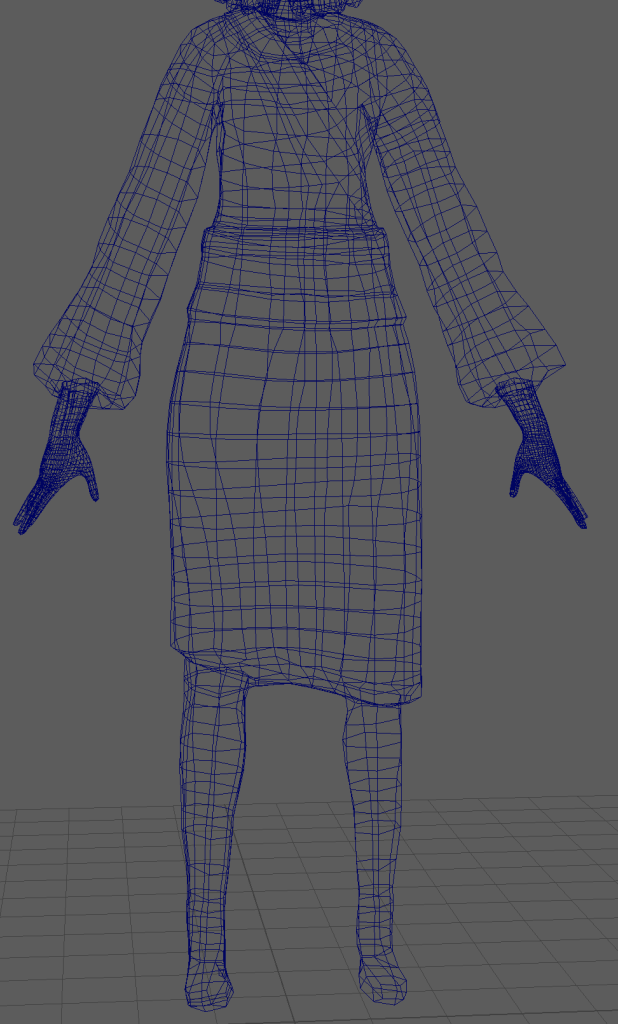
Body Retapology (Kimono)
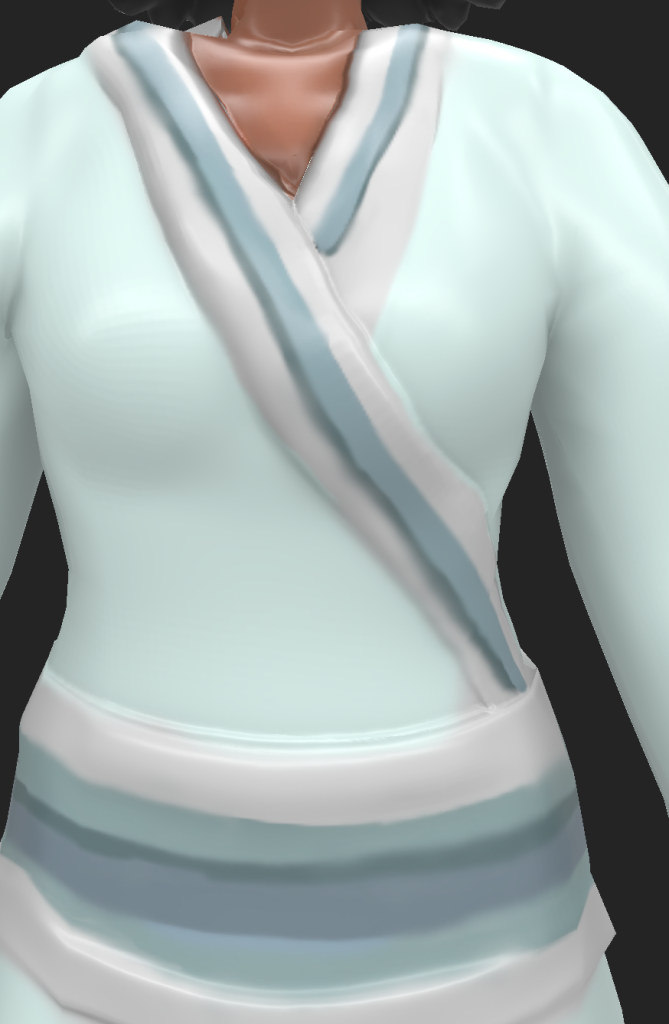
When working on the Kimono, I focused on adding larger quads rather than continously adding edge loops. This is due to the body having less details. The main focus here was to add edge loops to the sash wrapping around her stomach (the Obi) as well as the folds and the collar. This also applies to the arms because certain parts of the clothes this helps seperate the torso and limbs from parts of the clothes when UV unwrapping.
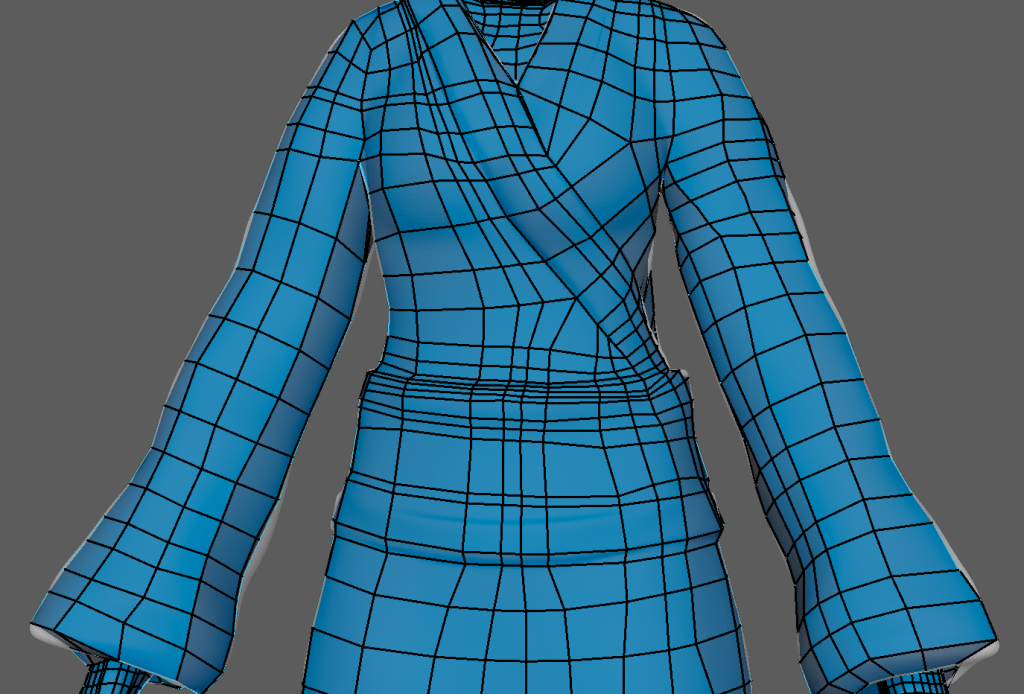
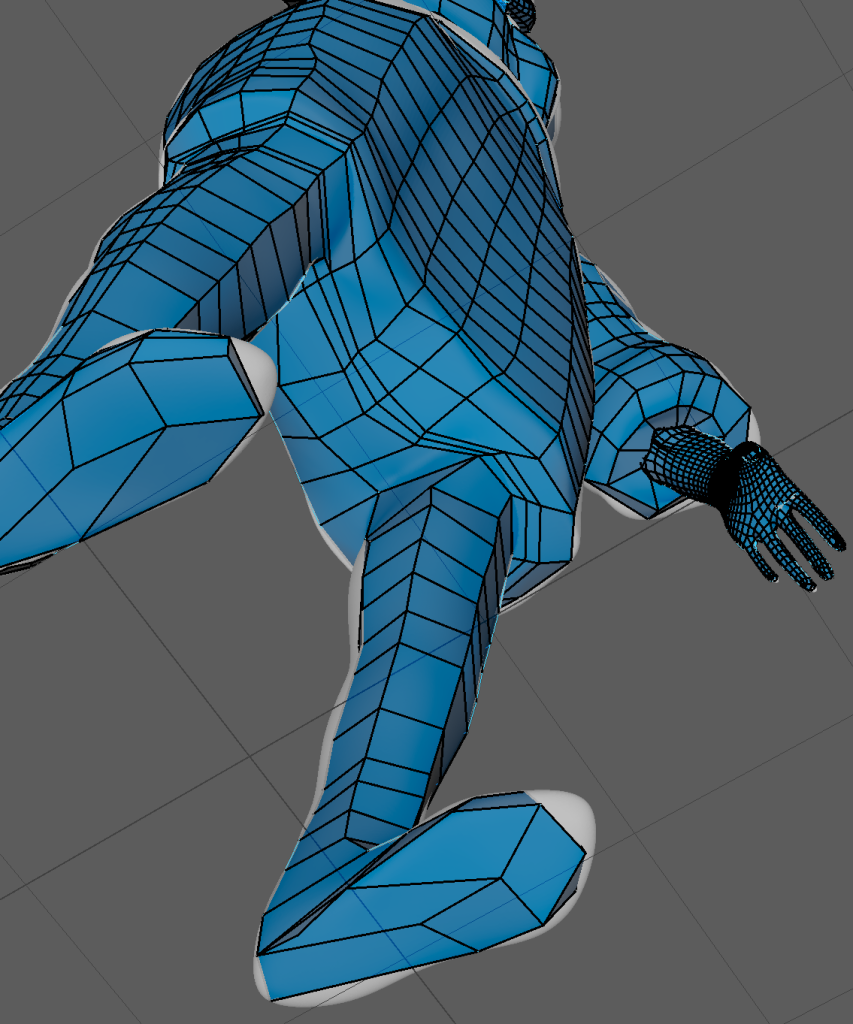
In certain areas – there were struggles in keeping the retapology clean and simplified (for instance the feet and bottom of the Kimono) but I managed to keep the retapology fairly simple by adding edge loops around the lower section to replicate the fabric’s tightness in the high poly version.
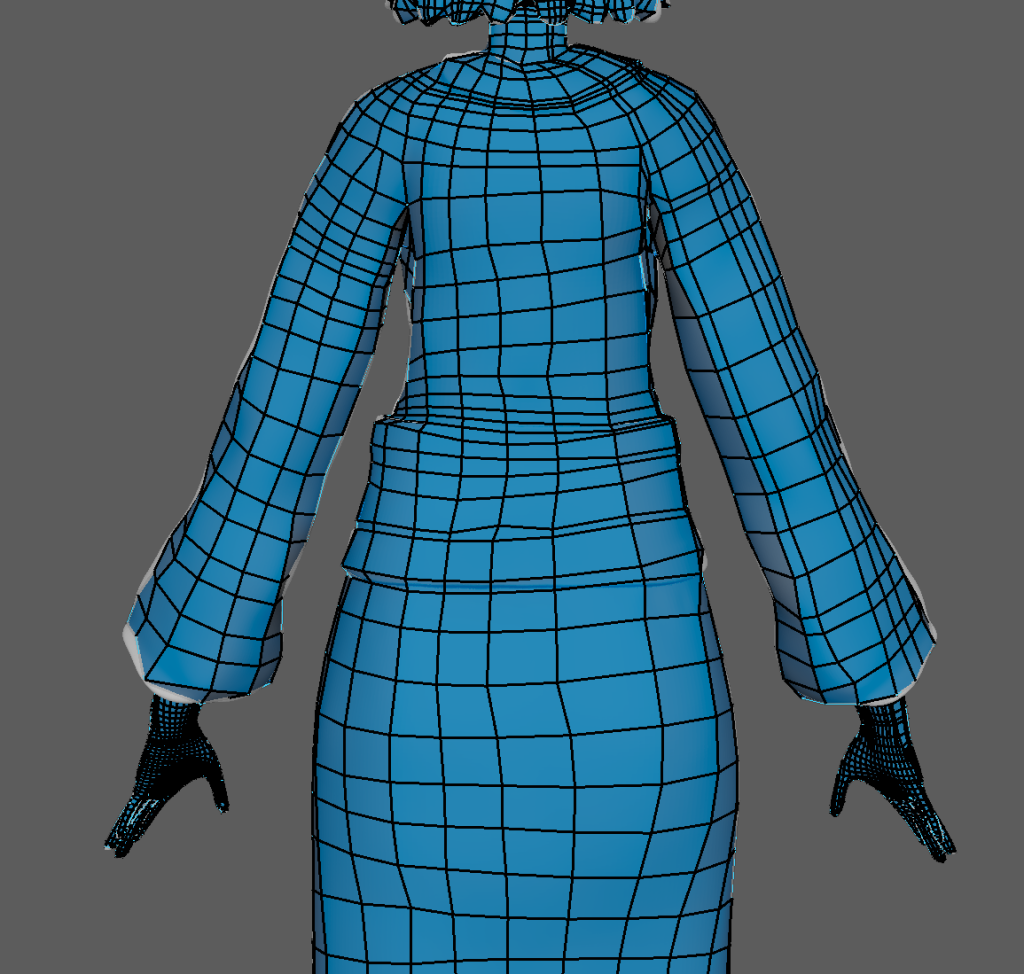
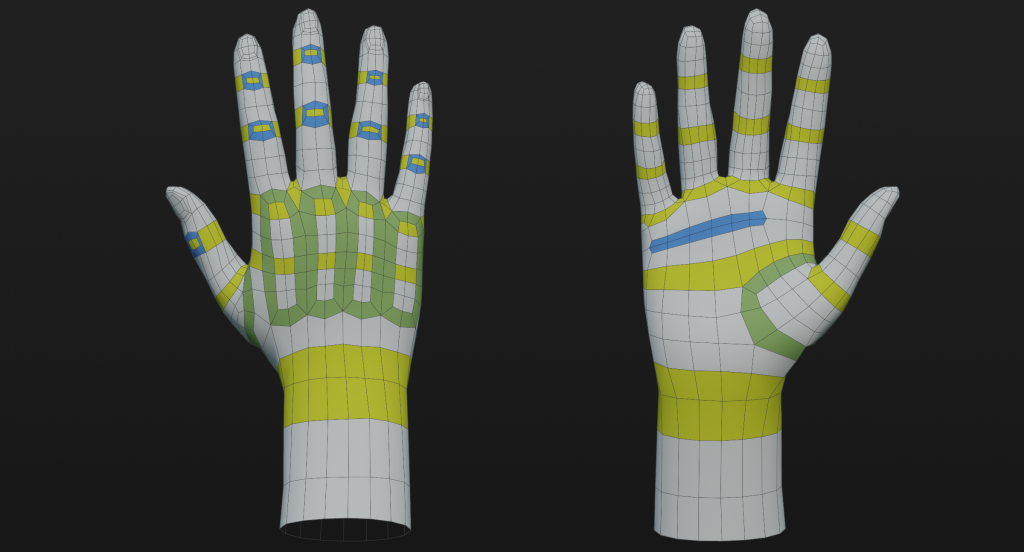
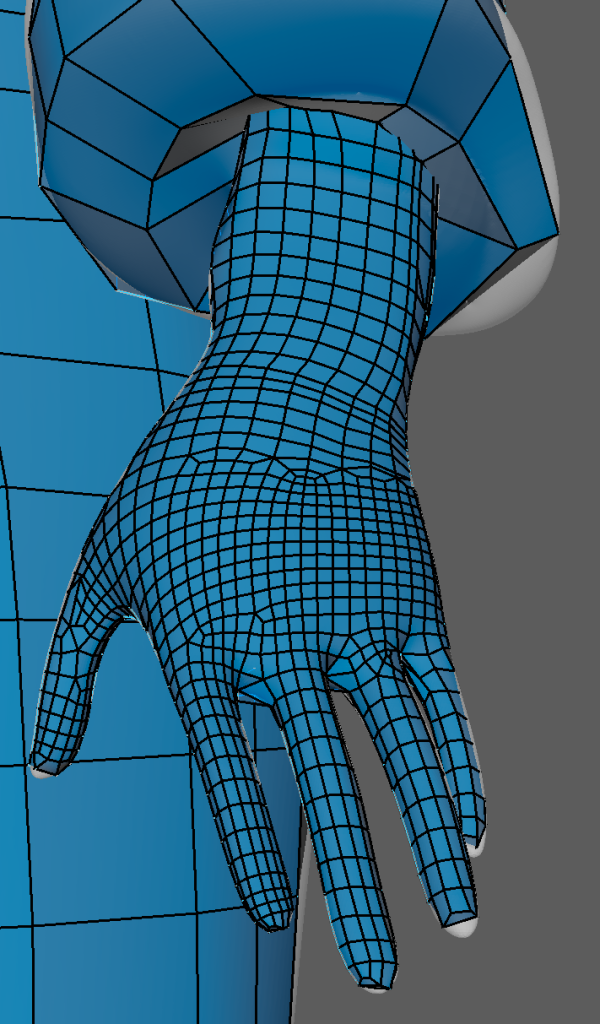
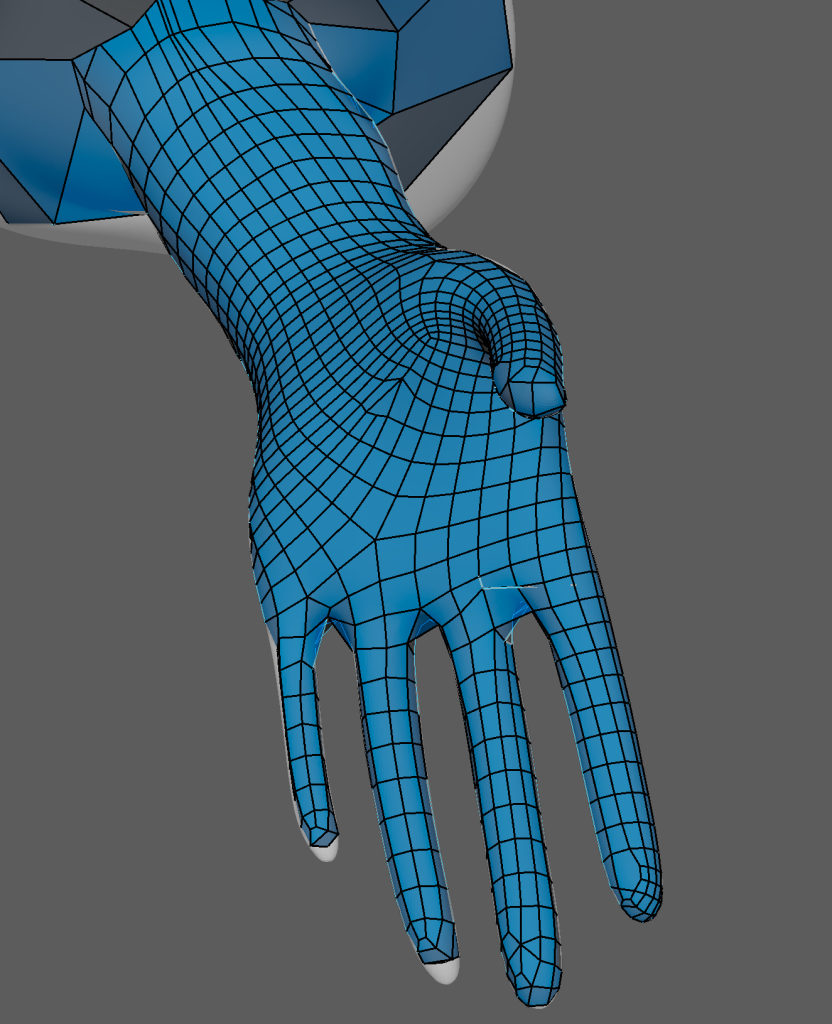
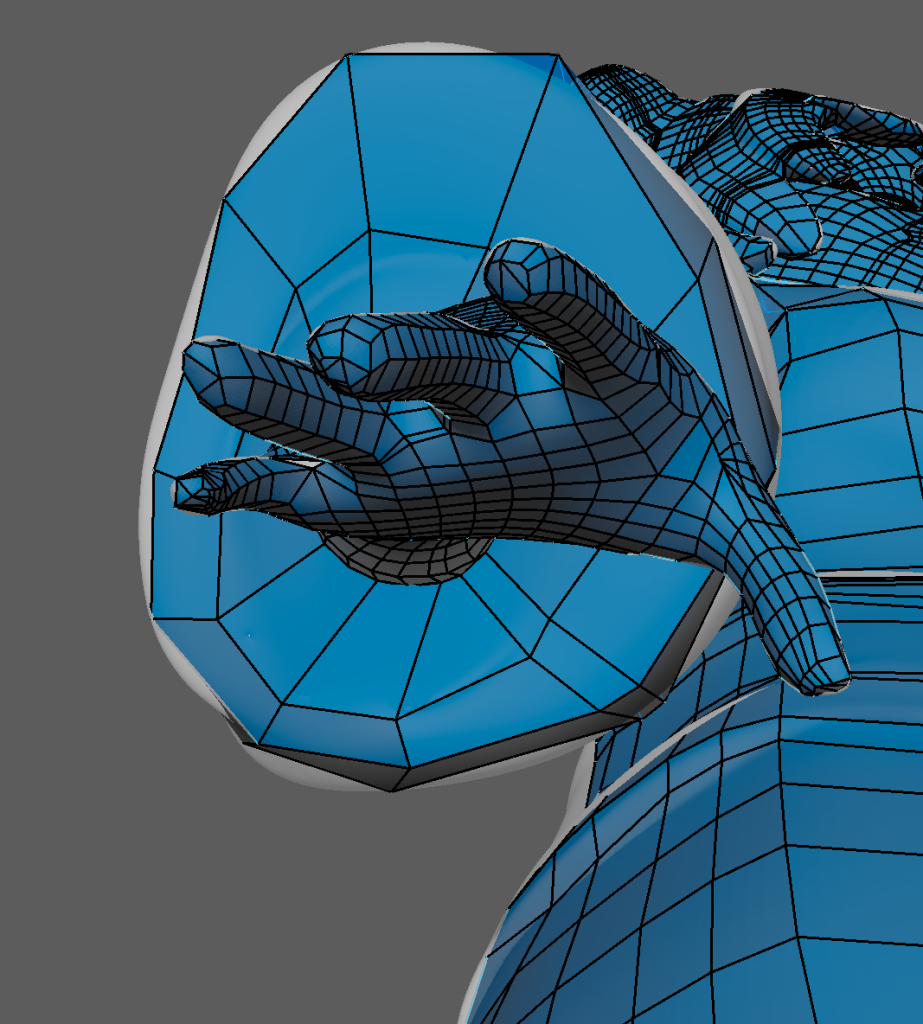
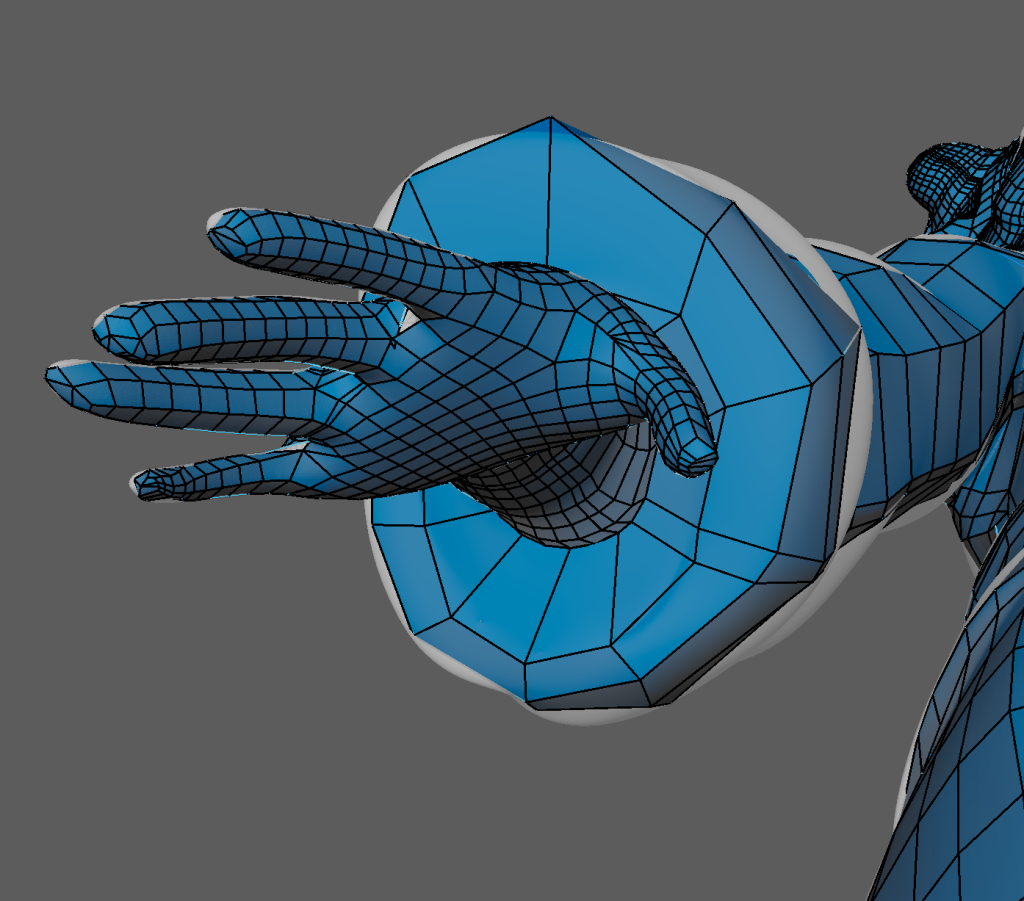
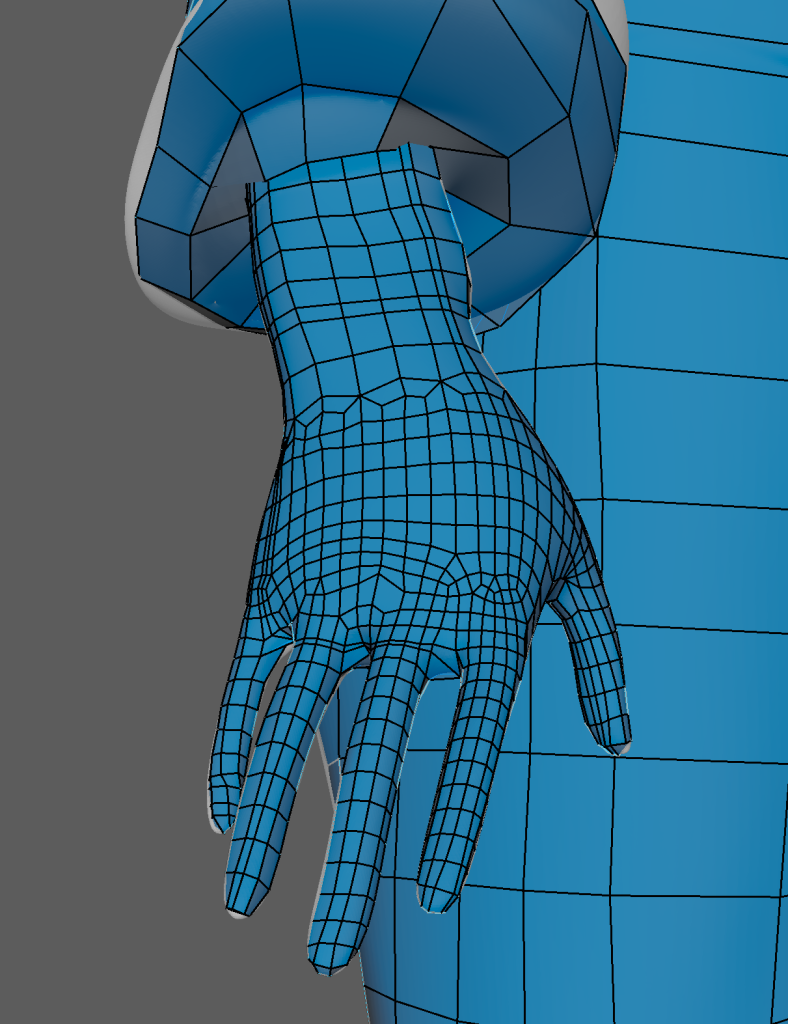
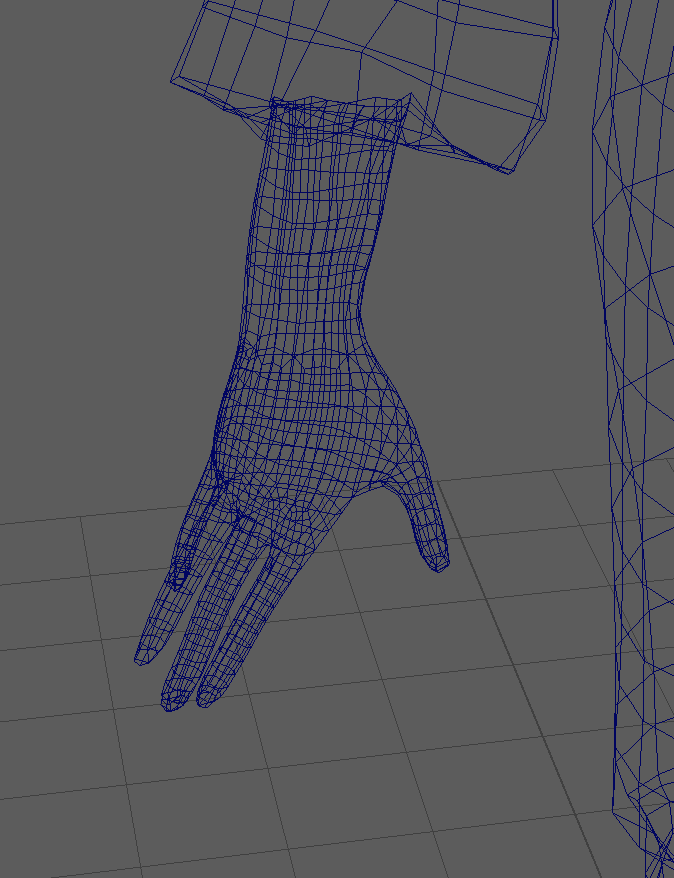
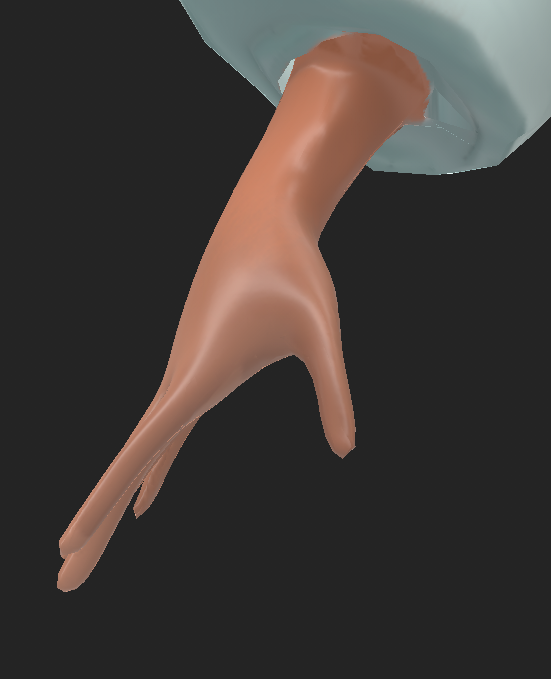
Hand Retapology
For the hands, since they will deform during animation and rigging – they had to be retapologised in a similar way to the face. I added quads in a certain pattern around the joints and fingers. This way – when they move, the texture and the mesh won’t deform. For the pattern, I had to work around the previous arm retapology I started making.


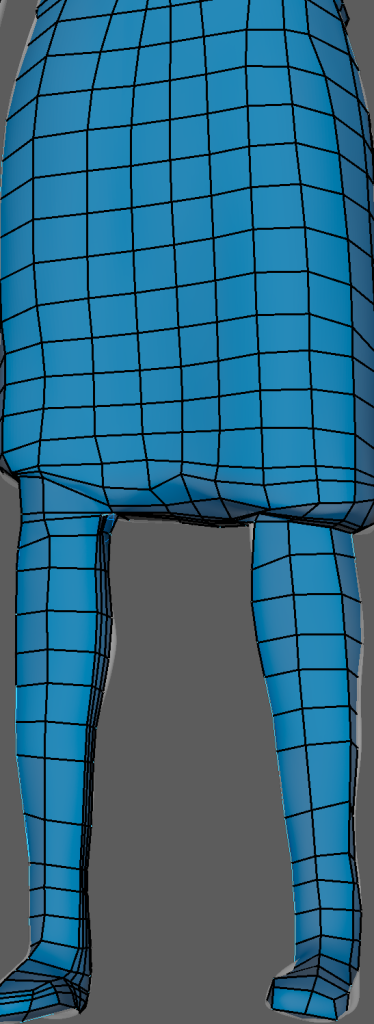
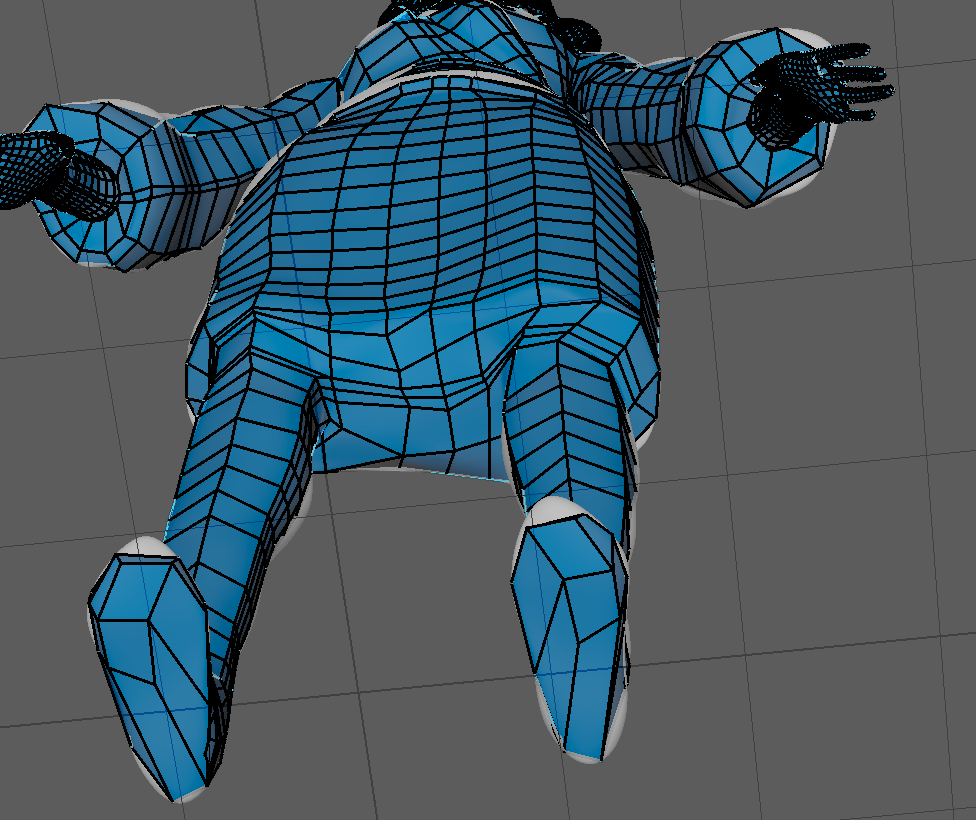
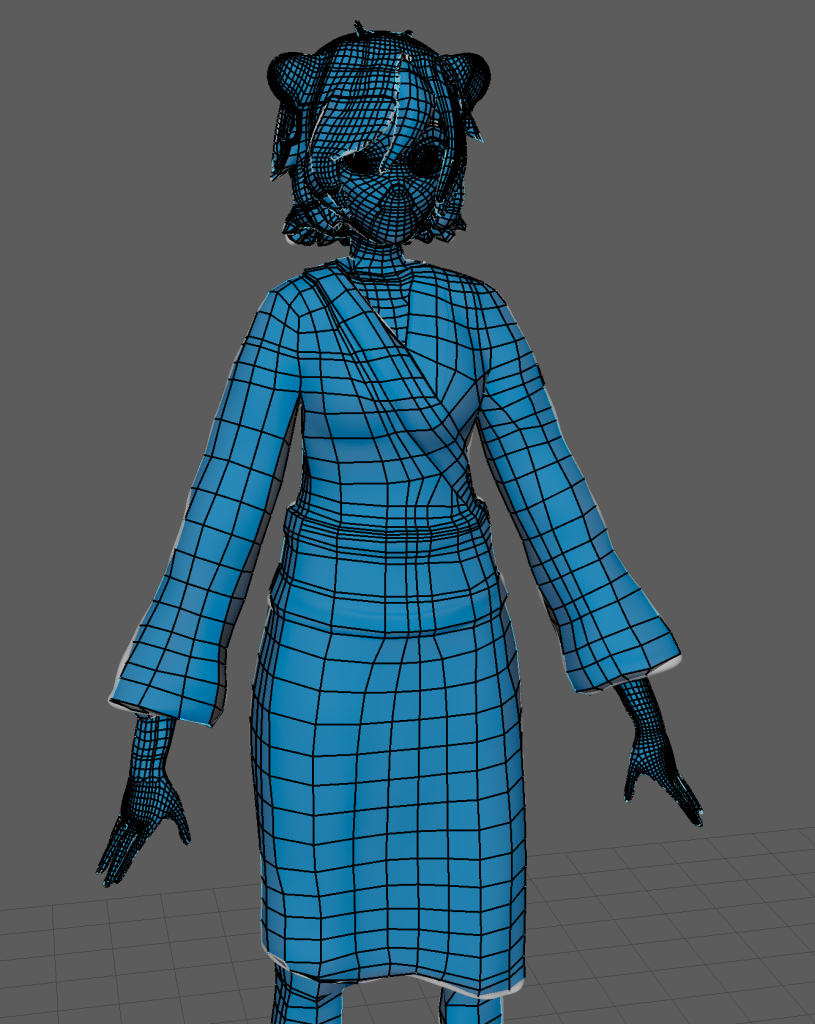
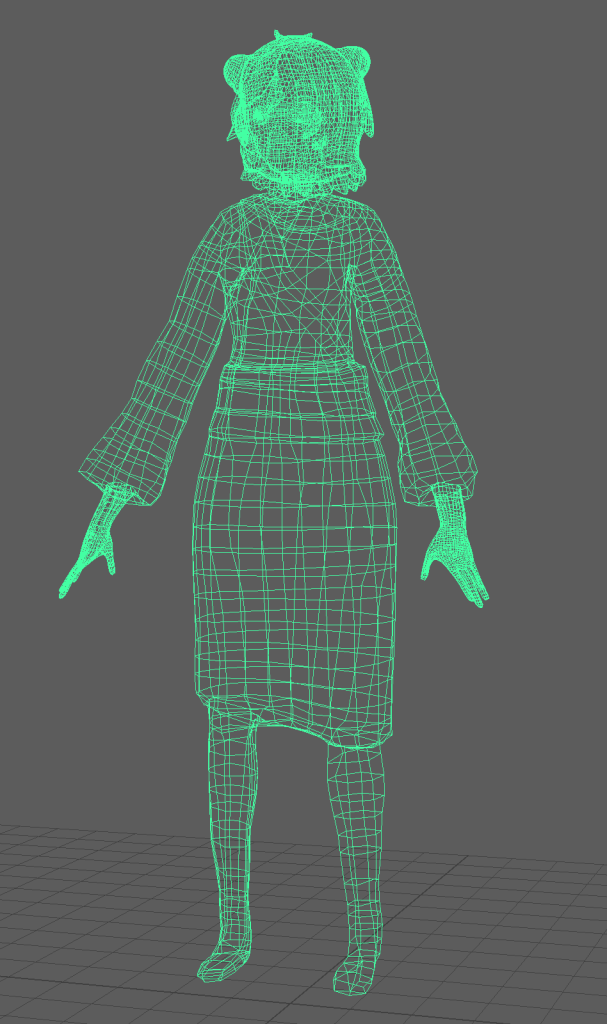
Retapology Showcase
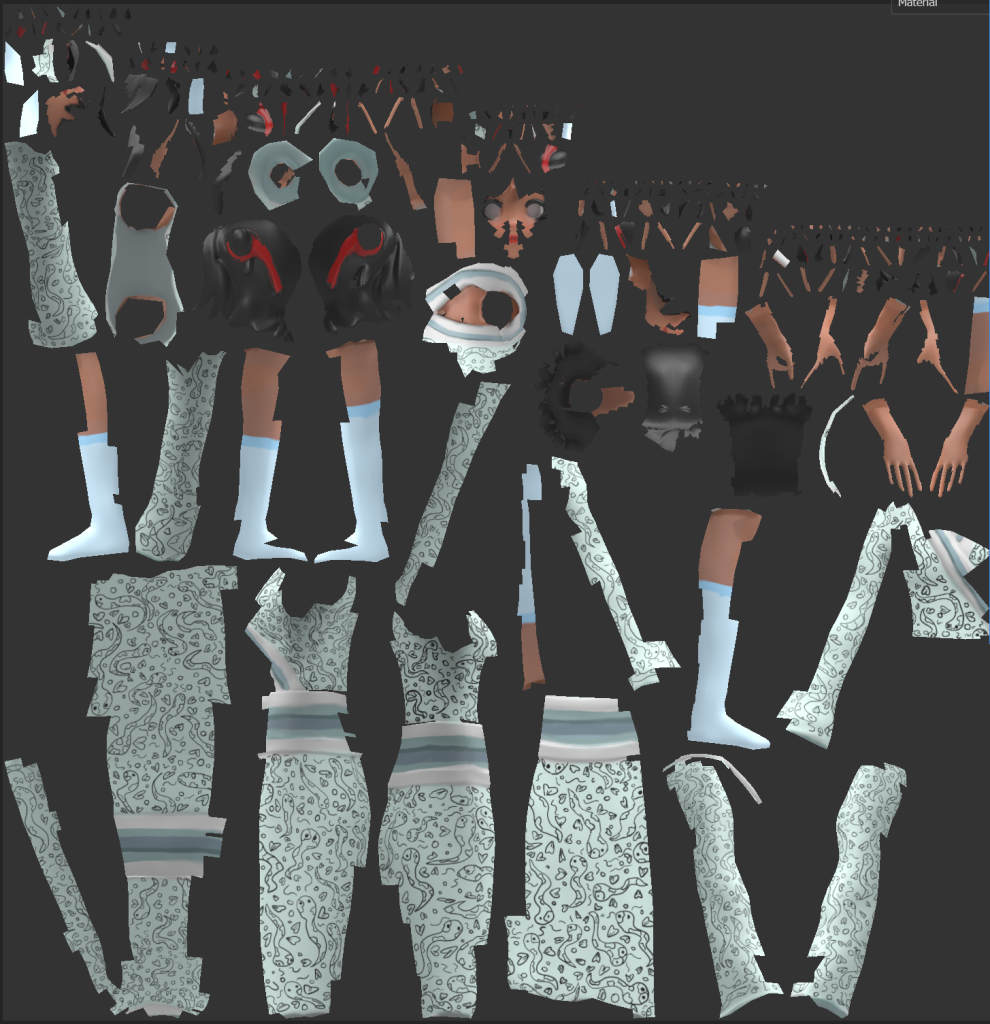
Finally, after the Retapology of the body was complete is a full showcase of the retapology. I cleaned up the model’s detatched quads and made sure that the retapology was relatively clean before UV unwrapping.
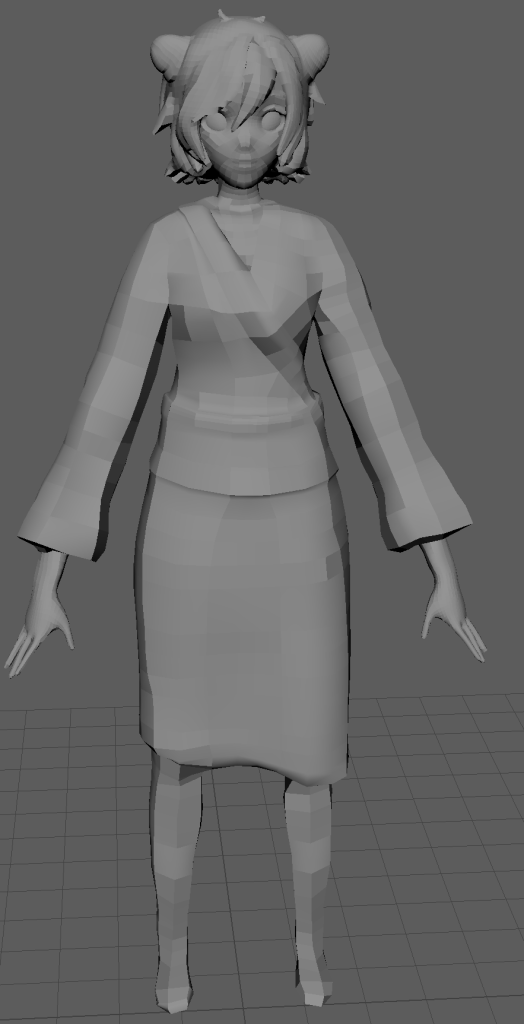
For comparison, here are the low poly and high poly versions of the model. This comparison, for the project, was especially helpful during baking.
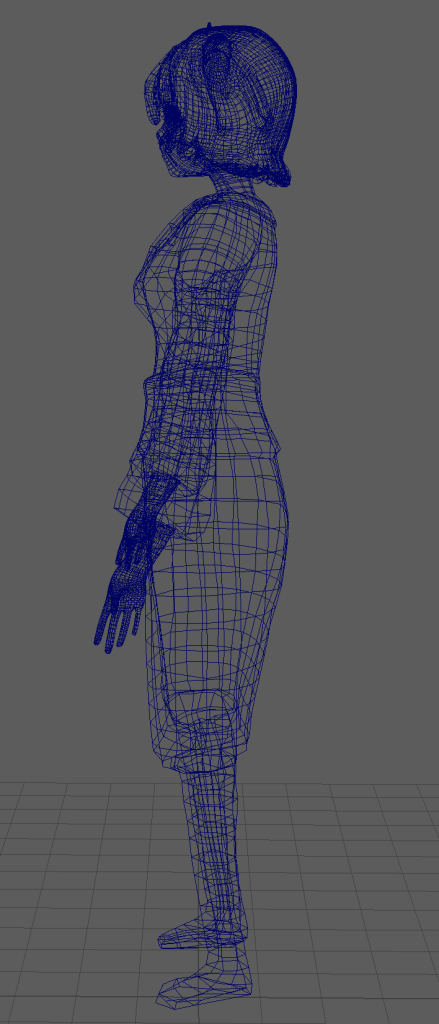
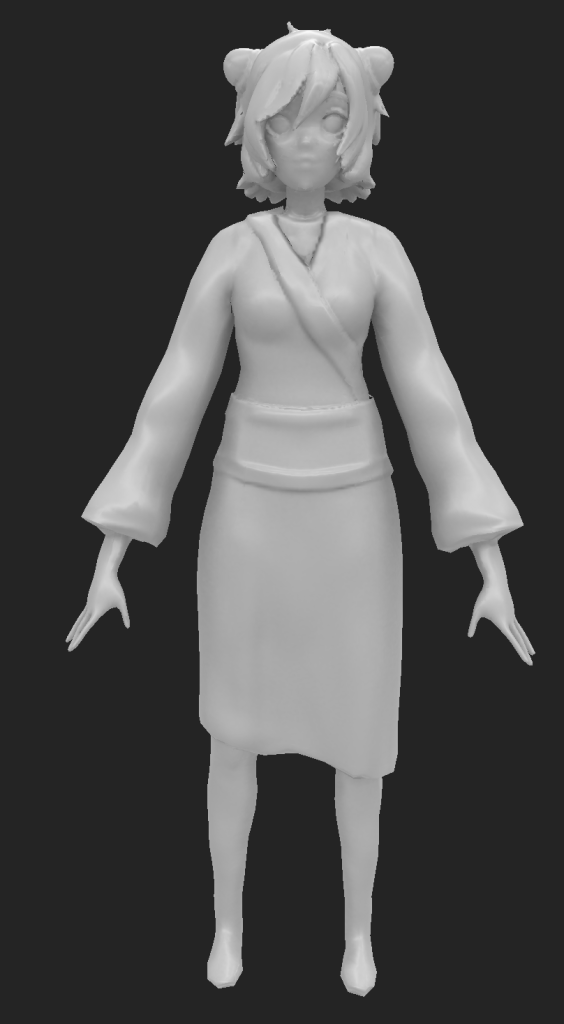
Orthagraphic view of Retapology

Further improvements
Looking back in retrospective, overall, there could’ve been a lot of improvements that would’ve made the retapology a lot more cleaner. For instance, as mentioned prior, there were a lot of unnecessary edge loops created in the retapology. This was due to quads not being properly connected or the quads producing a spiral rather than an edgeloop. Retapology has been a steep learning curve and in the future, I would like to redo certain parts of the retapology (such as the Obi) and create a cleaner mesh to work with as this would’ve helped with UV unwrapping.
UV Unwrapping
This was my weakest aspect of the project as the UV unwrapping as after finishing the retpology, I created the low poly’s UV maps using the automatic unwrapping tool. This seperated the mesh into seperate pieces. However, some of those pieces were hard to identify without texturing them. These pieces included areas of the face or hair which demonstrates the flaws of the retapology I made.
However, whilst it is not ideal to automatically unwrap the model – it was still neat and simple – This also helped me come to the realisation that the retapology needed more work. Despite this, the UV for the low poly model still came out relatively uniformed and organised and it allowed me to texture the model in an easy manner.
Baking
After importing the low poly version of Maki into substance painter, in order to bring back the details lost from the retapology – I baked the details onto the low poly using my high poly model. Whilst the bake came out relatively decent – there were were some issues when it came to the face (This was possibly due to the retapology). These were resolved by texturing the model.
Nevertheless, lots of the details came back into the model which helped began the texturing process.

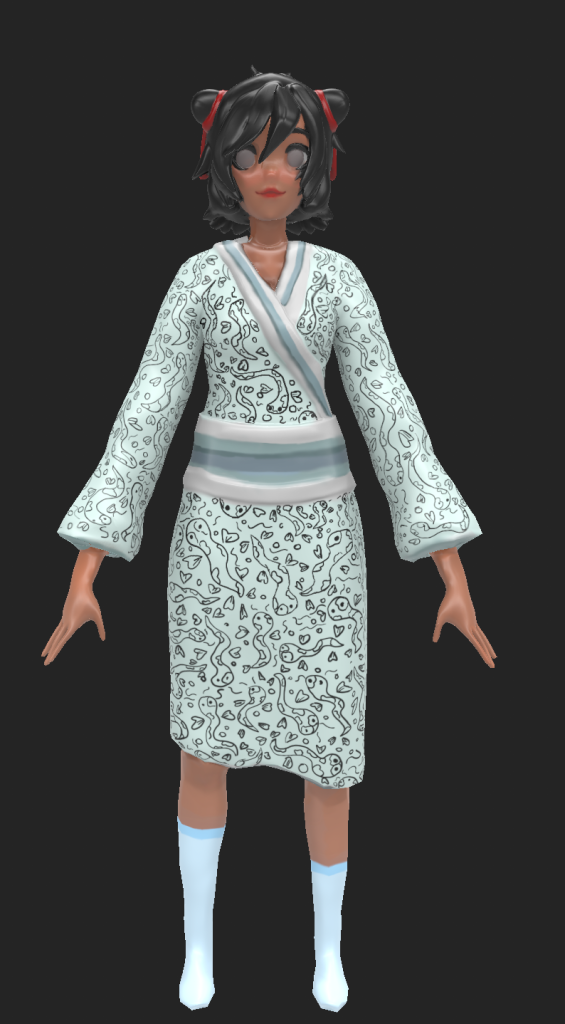
Texturing
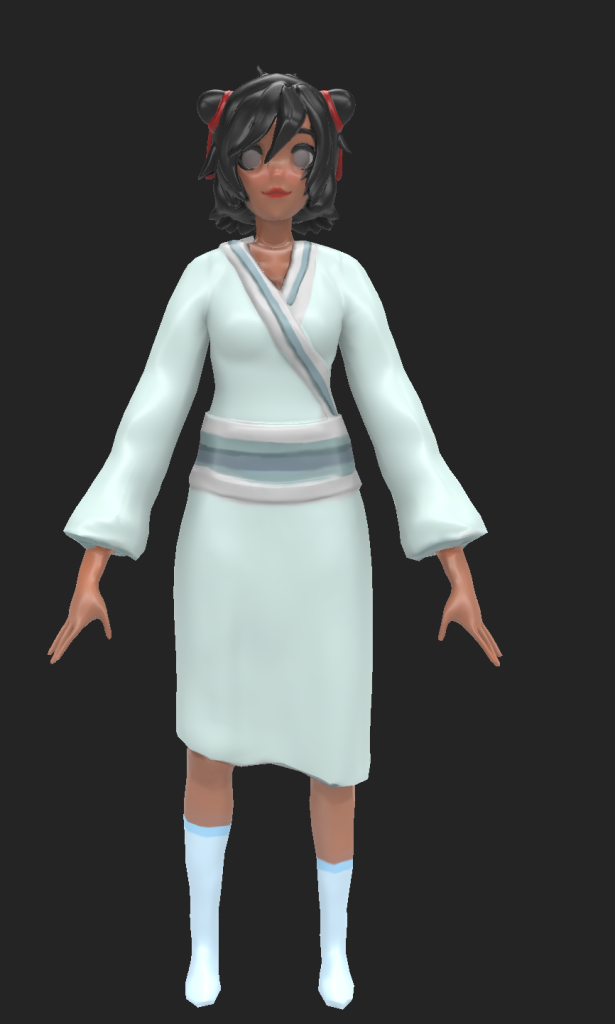
Looking back on the baking issues for the face – texturing the model helped alleviate the errors. When it came to working on Maki’s face – I experimented with different colours for her skin in order to add depth to her looks.
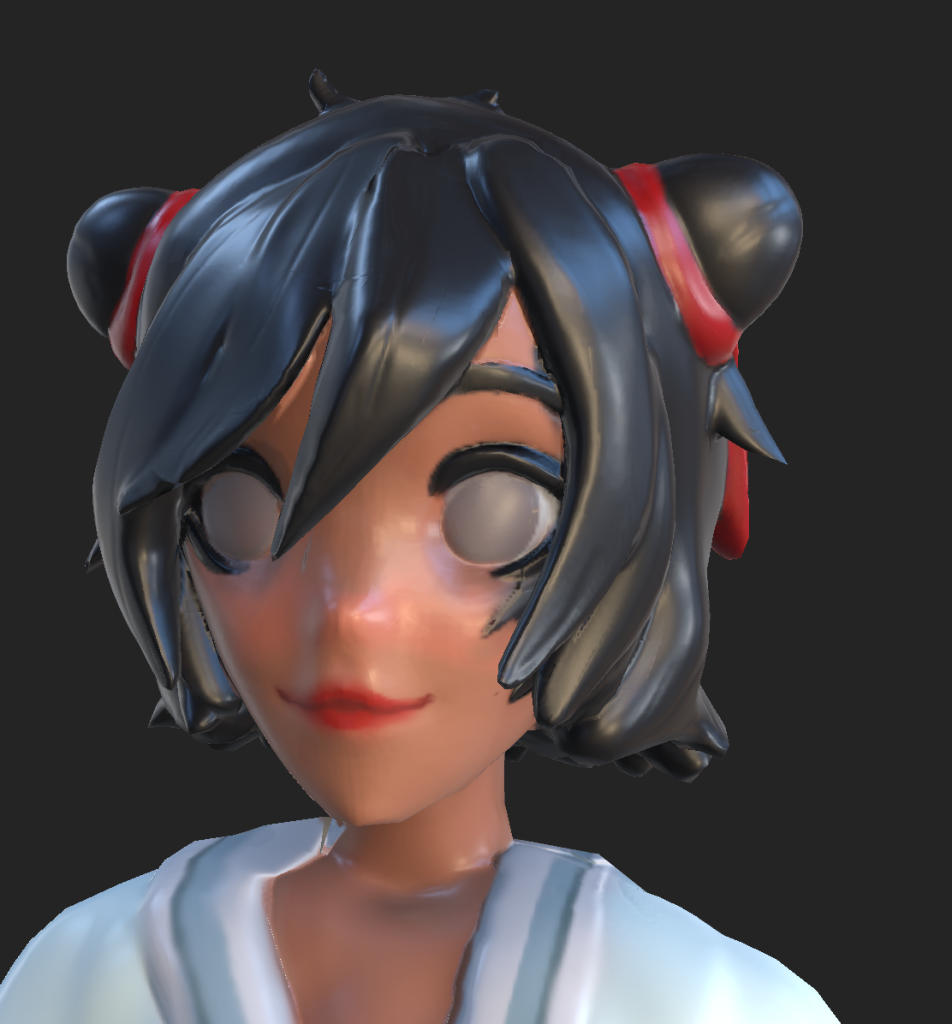
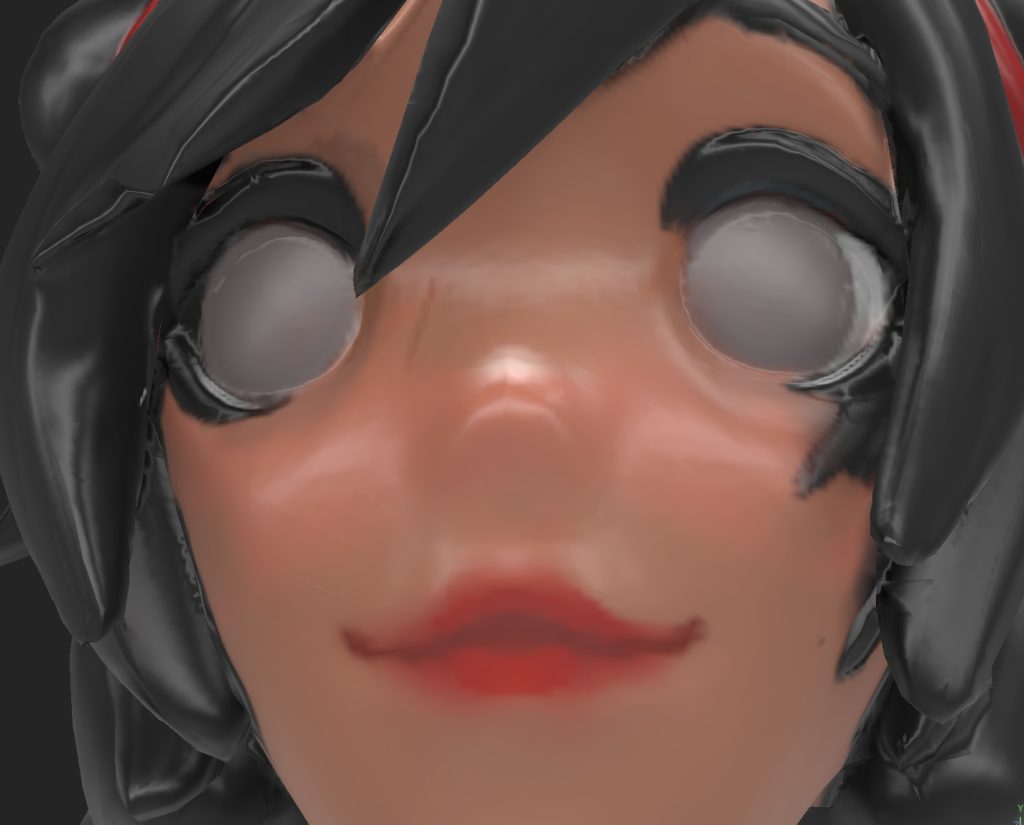
This was done by adding textured dark rings under eyes and adding a faint blush to her cheeks and nose. The contrast between the blush, the tired, faded look and the red lipstick, whilst textured on still exemplifies Maki’s sense of life, even if it’s not in a physical sense. The bright red motif is shown around the model – Red tends to signify danger but in Maki’s case – the red draws connotations to love and beauty.
With Maki’s eyes – as mentioned before, the idea was to go for a more glassy look in order for the player to visually understand that she’s blind.
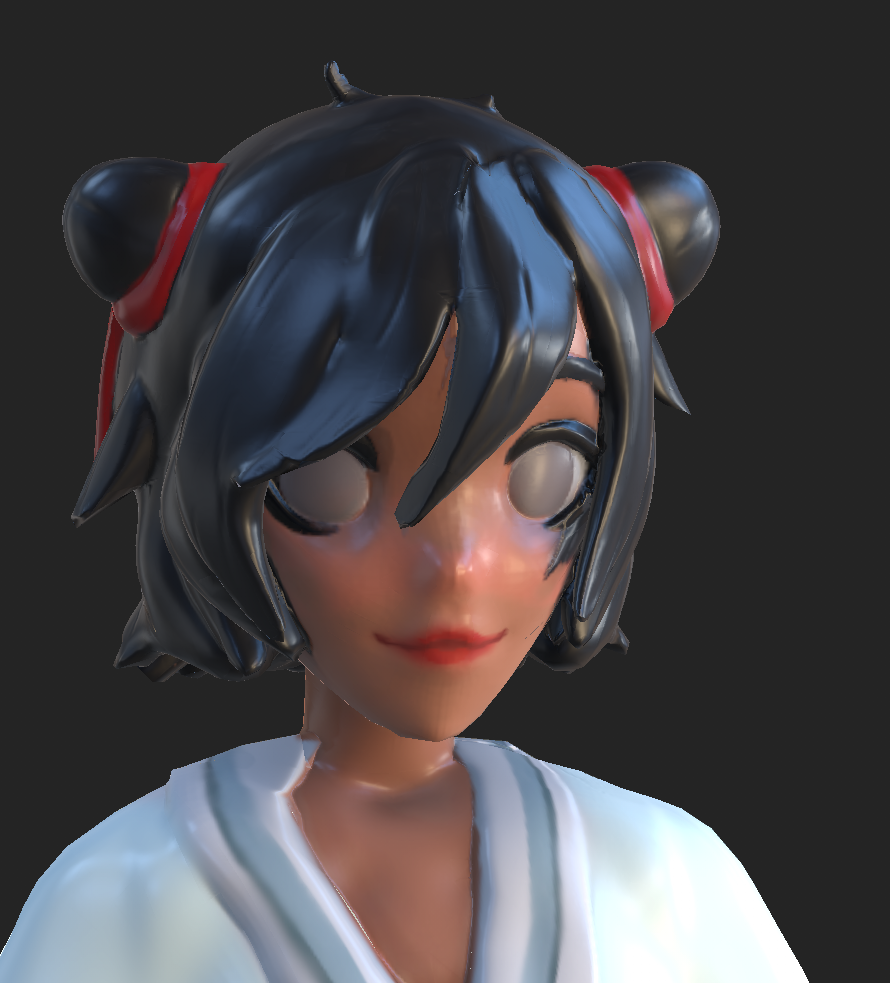
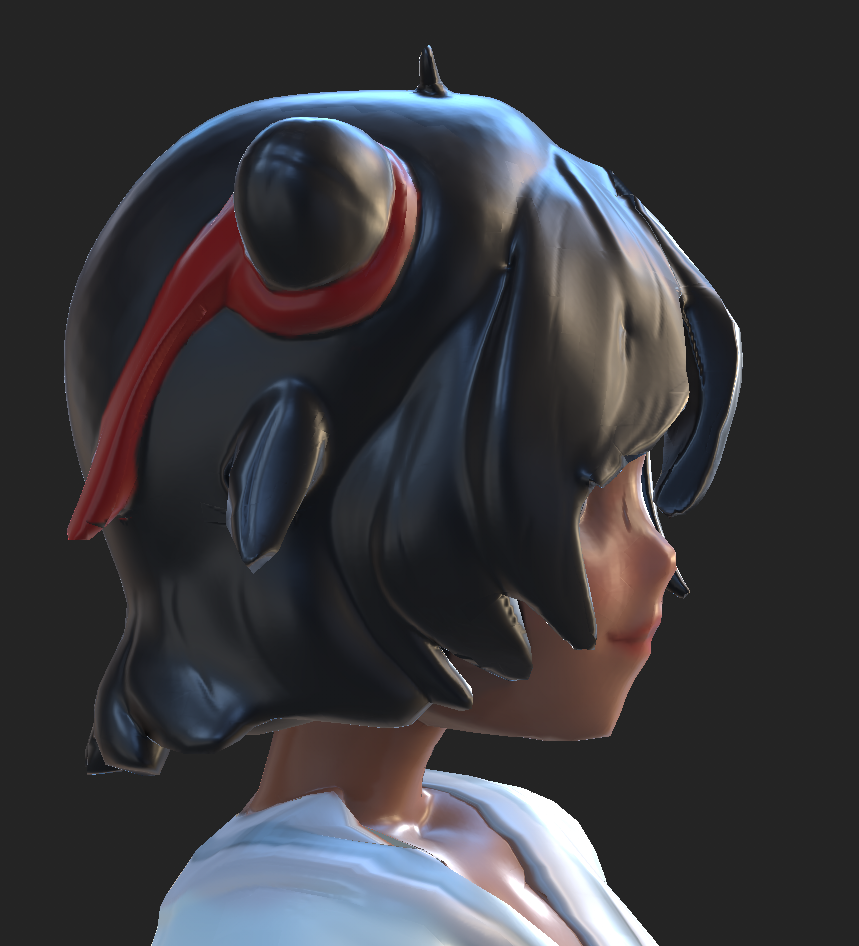
Her hair, whilst textured in a stylised fashion, the colours give shade and movement to the hair especially when shown in a soft lighting. The details of the high poly model emphasises that simple wave and direction to the hair strands. This was also the case for the ribbons as they flowed neatly to the back of Maki’s head.
Kimono and Body texturing
When making the kimono, originally I tried to experiment with block colours in hopes that shaders and different lighting would help make the cloth and the wrappings stand out. However, the lighting could only reflect certain parts of the shading, mainly in areas that have been modeled.
So to counteract this issue, I textured in some light shading to the model in order to make the wraps and fabrics stand out further. And for the insides of the arm sleeves and legs, it was to create the illusion that Maki’s hands are covered by the shadows. This also helped make the textures feel less flat and eye catching by creating two colour contrasts in the fabric. I also applied this technique to the hands and legs, giving them different shades of colours to help them pop out in the renders.
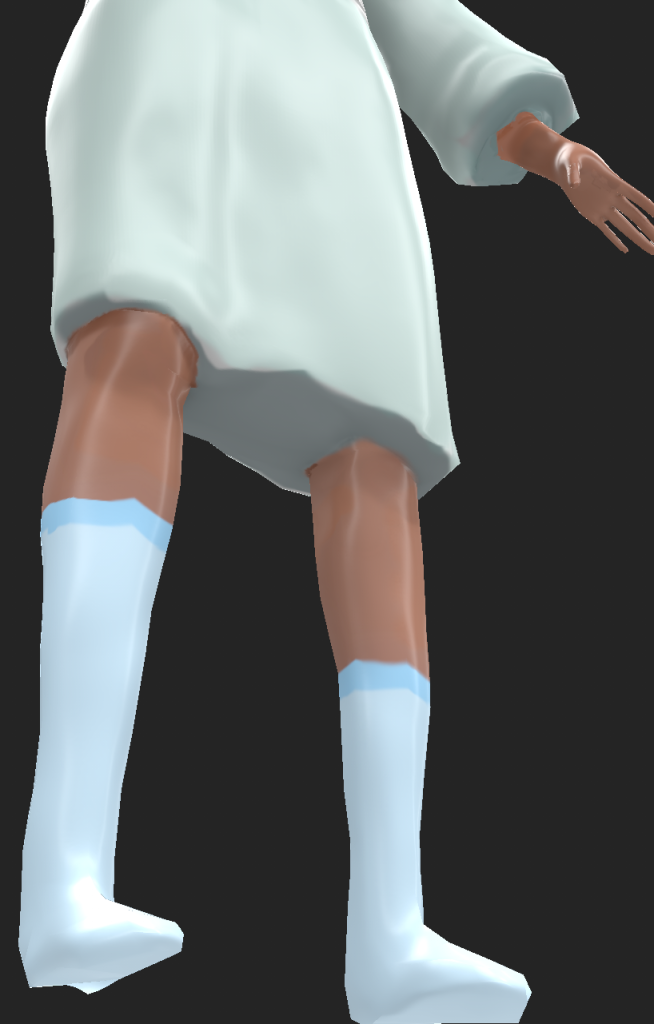
Finally, with the socks, these were simple textures that were added on – for these, I struggled to add shading to them instead prompting to add a more vibrant colours to the bands of the socks. The socks are also uneven which helps visually convey her messy nature.
Texturing the Kimono Fabric
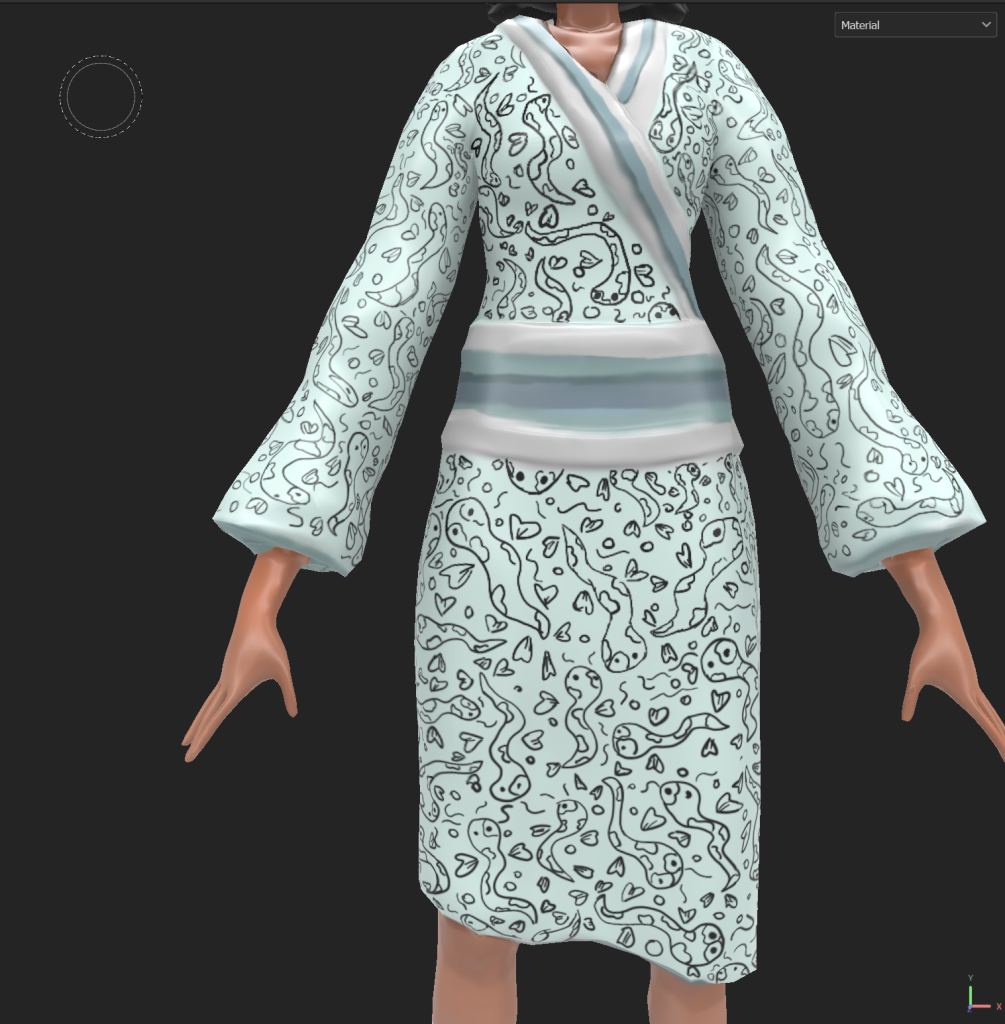
The final step to this project was to add the textures onto the Kimono. Originally, I tried to use a stencil by creating the design in photoshop and importing it into substance painter. The original design featured two Koi fish as shown here:
Initially this idea was to originally make sure that the kimono pattern stayed consistent. However, this method turned out to become incredibly tedious and time consuming as the stencils were suited for a more singular pattern or decal than a fabric pattern. The stencil method also make the Koi seem restrictive and it was difficult to create Koi in various sizes using this technique.
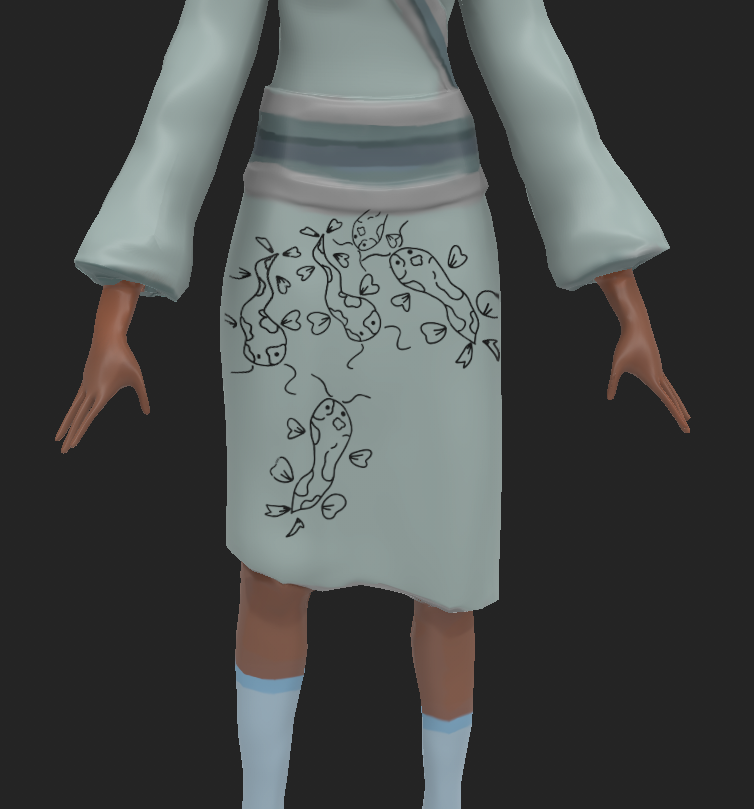
So instead, the pattern was painted on with the Koi moving around the fabric.
This meant that the texture flowed better, adding vibrant movement to the texture and it makes the model stand out as an unique character. It also visually adds to her character by showing the care to try and keep the cloth maintained despite her siblings violent plans. It adds a level of innocence to the group despite her terrifying nature.
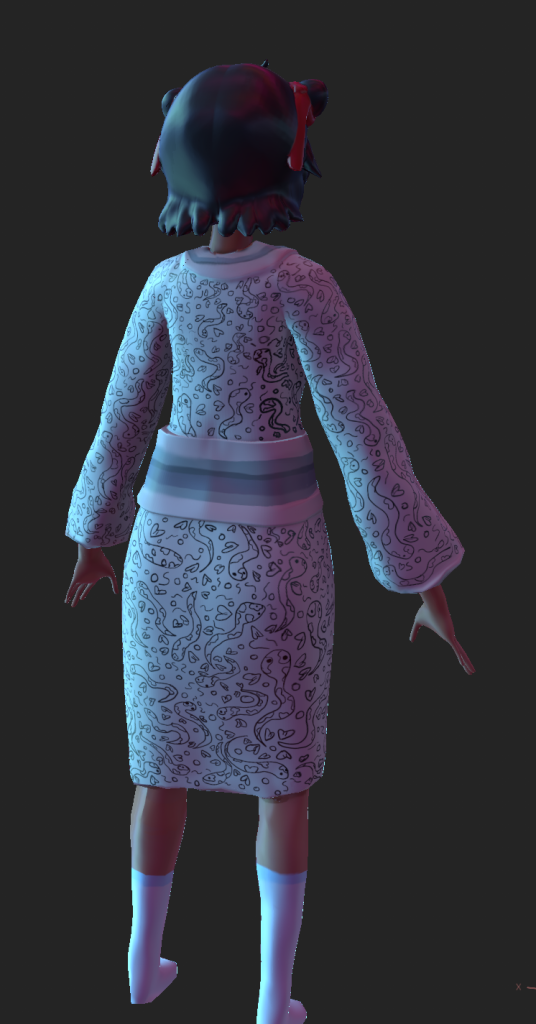
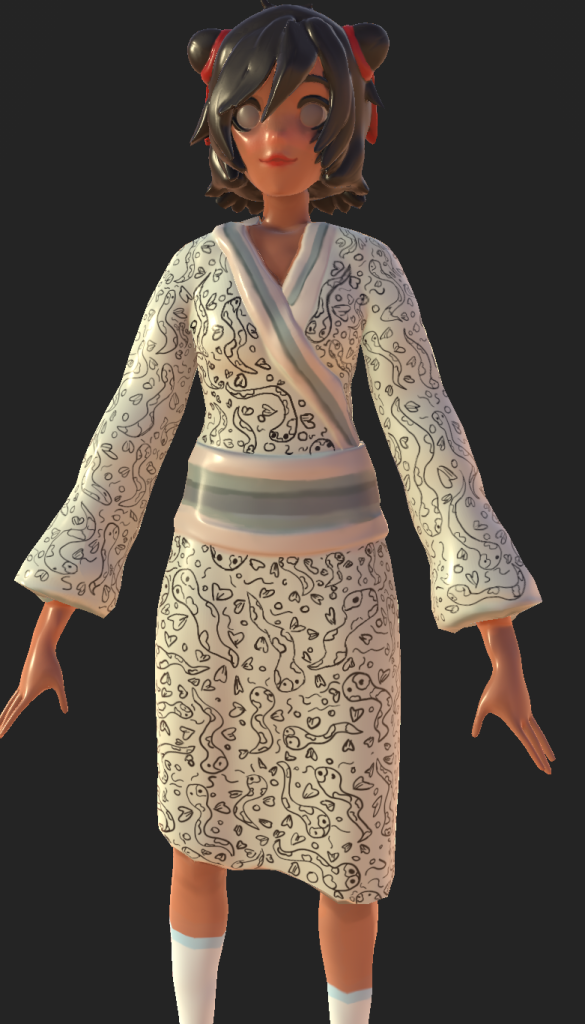
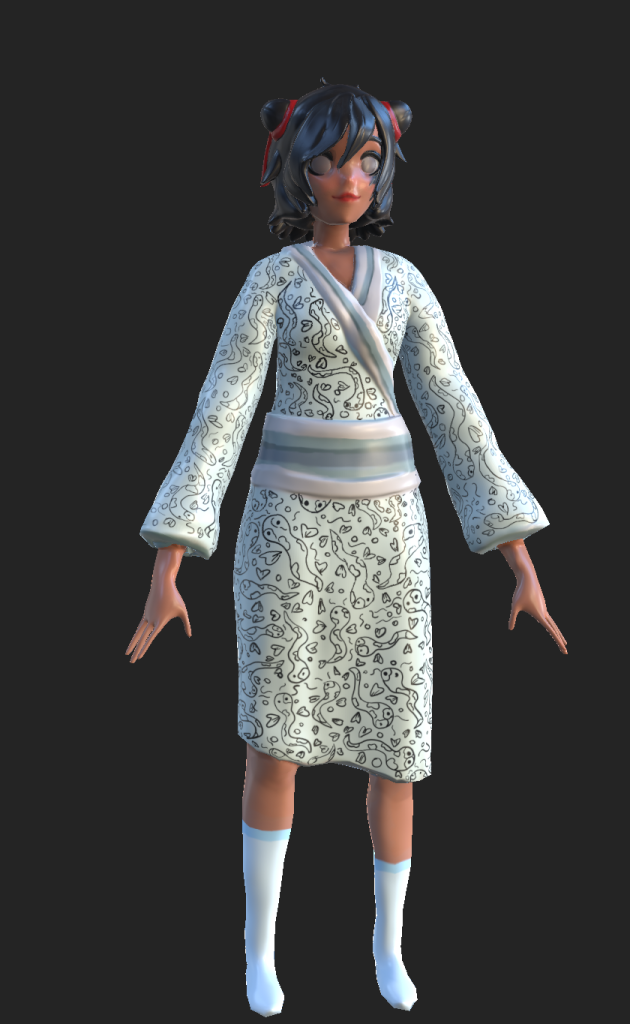
Final shots in Substance Painter
These are the final shots made in substance painter before exporting to Marmoset. This helped to see if there needed to be any final changes added to the shading or to help identify any texturing issues or colour mishaps.