Before using ZBrush, I started off with experimenting some of the brushes to morph and sculpt meshes, in this example and as my first attempts, I started off by trying to mold the hair with only one sphere. It came out with a very gelatinous effect
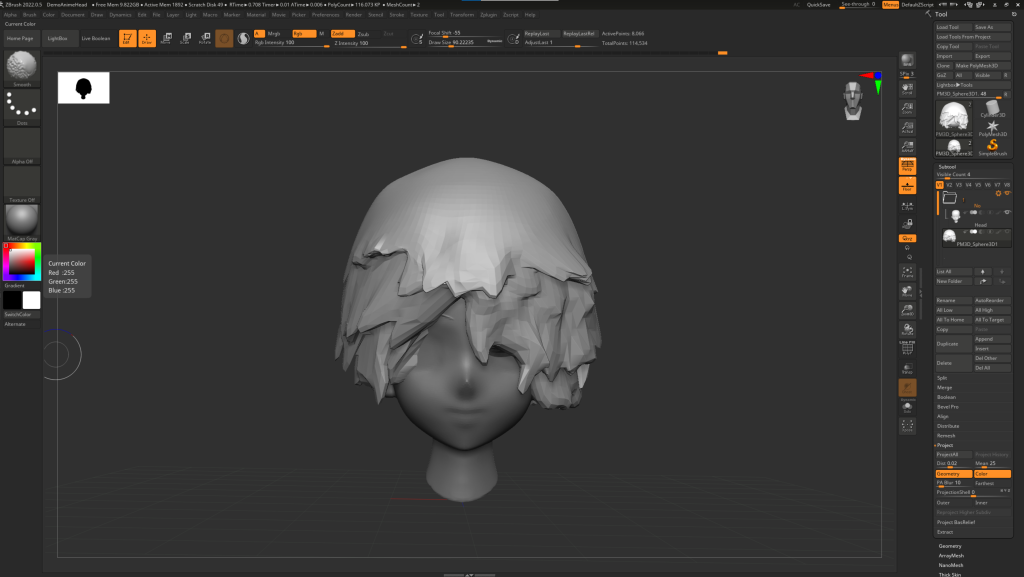
As someone who’s never used Zbrush before, I decided to begin the project by experimenting different brushes in order to create the skull. Since the model was going to be stylised, I referenced Zbrush’s default anime head template in order to understand the dimensions for the head and it’s facial features. I started off with a sphere and used the move, clay build up and the smooth brushes in order to get a basic shape of the head and a general idea of the facial features.
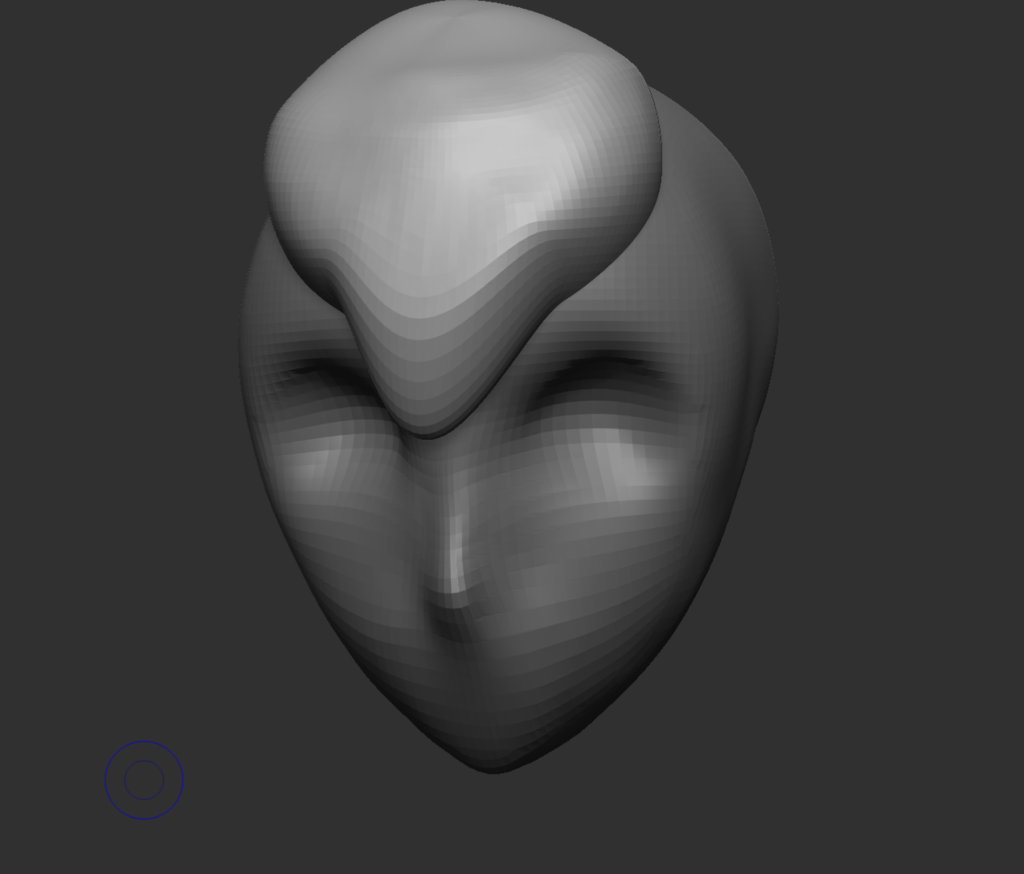
This took several attempts to try out and eventually, as I was falling behind the schedule I decided to settle with a rough but general idea of the skull and started working on the body until I could figure out how to implement details to the face and the eyes. However, because I wasn’t satisfied with the facial features, I scrapped the face and only kept a simple head shape until later in the project.
Modelling the body
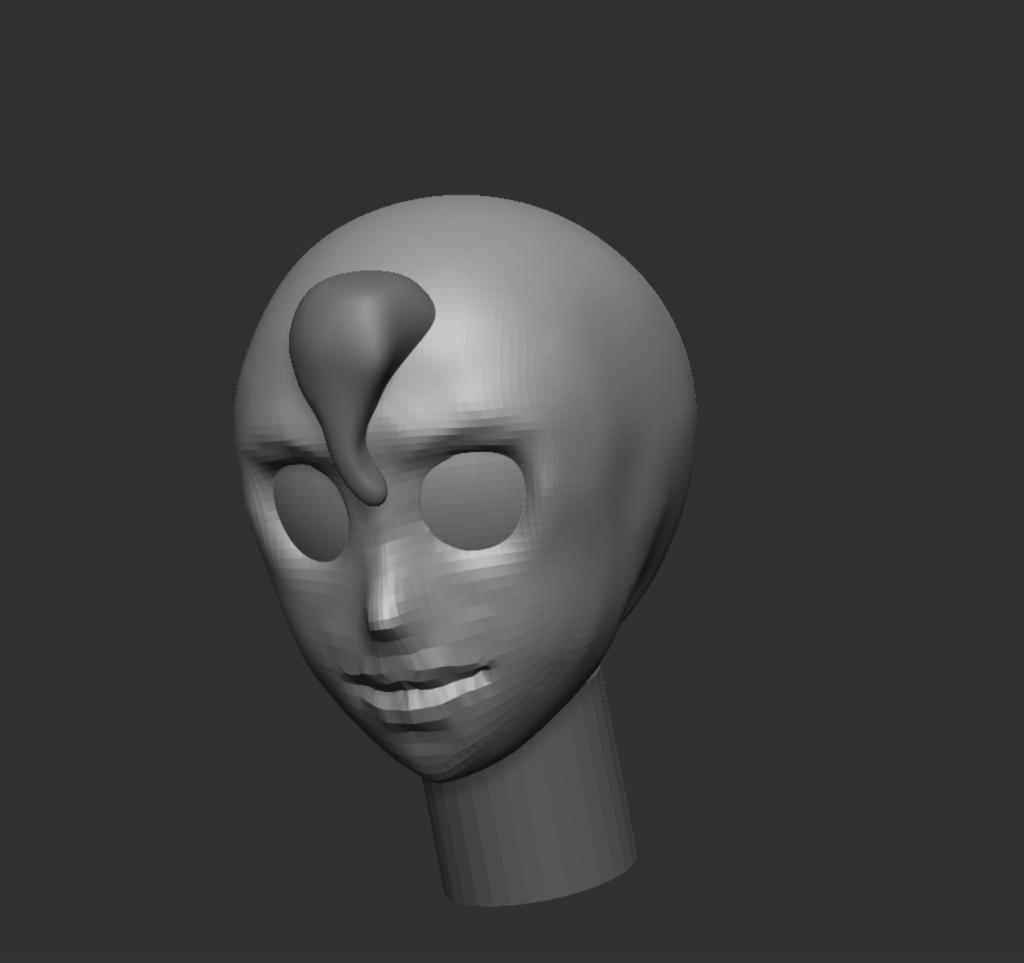
For the body, I created the limbs and chest using the imperatives brush. At this point, the head, neck and body were separate in order to not disrupt the workflow. The shapes I used here were mainly spheres and once again, I used the general move and the move topology tool to morph the body into shape.
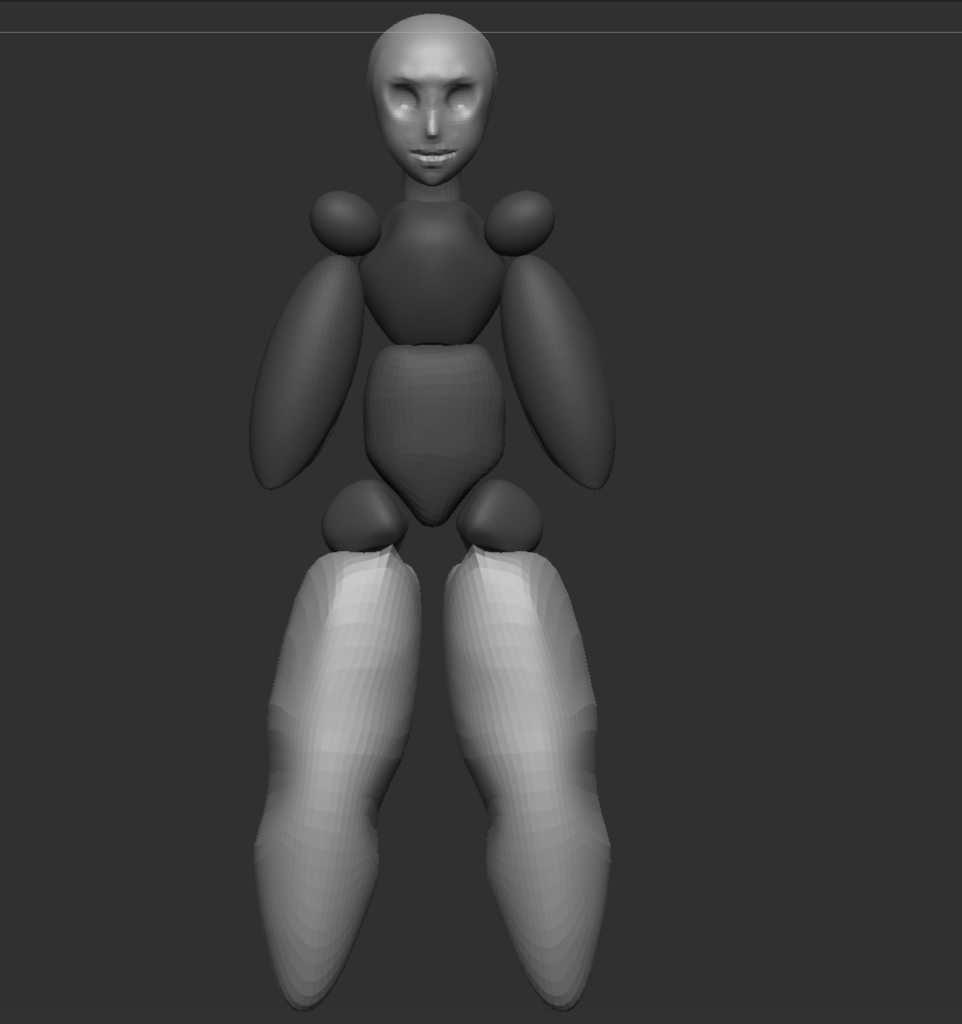
This was the hardest and longest part of the workflow as I had to pay close attention to the anatomy, even if it’s stylised Maki still needs to a hold a humanoid shape and if there were any mistakes in her anatomy, her form would look strange and unrealistic, especially when it comes to animating her.
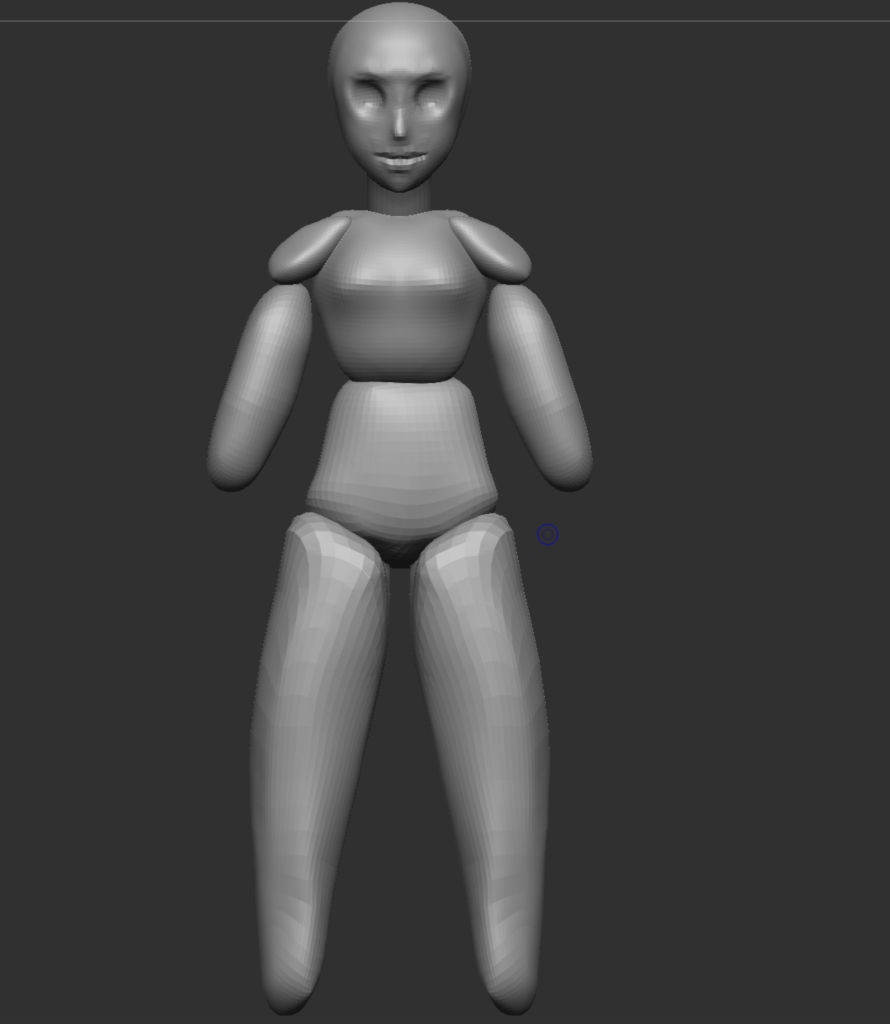

So I continued to build her body up, using the dam standard and clay build up brush to add details and muscle to her limbs. Maki’s body has an hourglass form so I continued to adjusted Maki’s hips and waist size using the move topology tool. The feet were originally a concern as I wanted to give Maki some socks. however, with feedback, I was able to easily texture in some long socks later in the project and that I didn’t have to model out the feet outline if socks were going to be used. This is how I created a stable blockout for Maki’s model.

Remodelling Maki’s Face
Going back to Maki’s face, after learning more of Zbrush’s interface and it’s brushes, I came back to redo parts of the face. To start off, I sculpted out a more detailed shape for Mimi’s head and then finished off by carving the facial features into the skull.
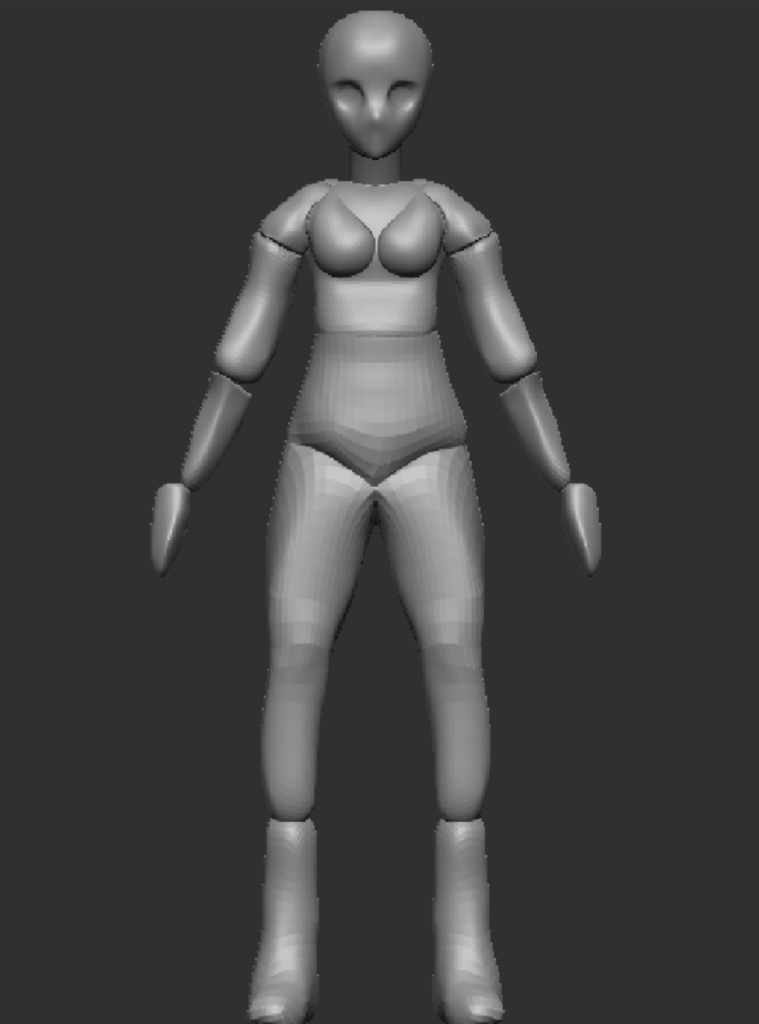
I used the imperative brush to add in the eyes then sculpted around the eyes so that the face would form around the irises. Then I created the stylised eye lids using the imperatives tool, using the move tool to form the thin layers. Eventually, I also learnt how to adjust the amount of detail on the model by increasing the subdivision levels. This helped incredibly when it came to sculpting the mouth and the nose shape.

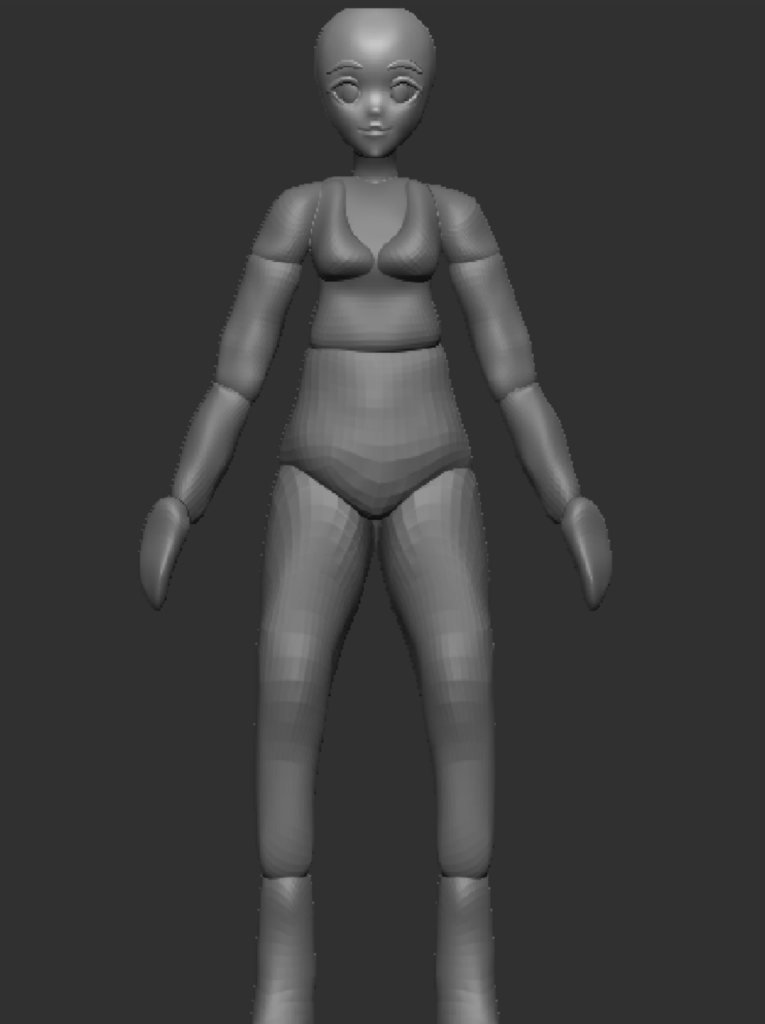
As mentioned before, I decided to give Maki an anime look to her style – this was implemented through her face and overall simplistic appearance. A lot of detail would be implemented through the texturing process.
Modelling Maki’s Hair
After finishing the face, I started Maki’s hair. This process required a lot of trial and error as shown from the previous screenshots.

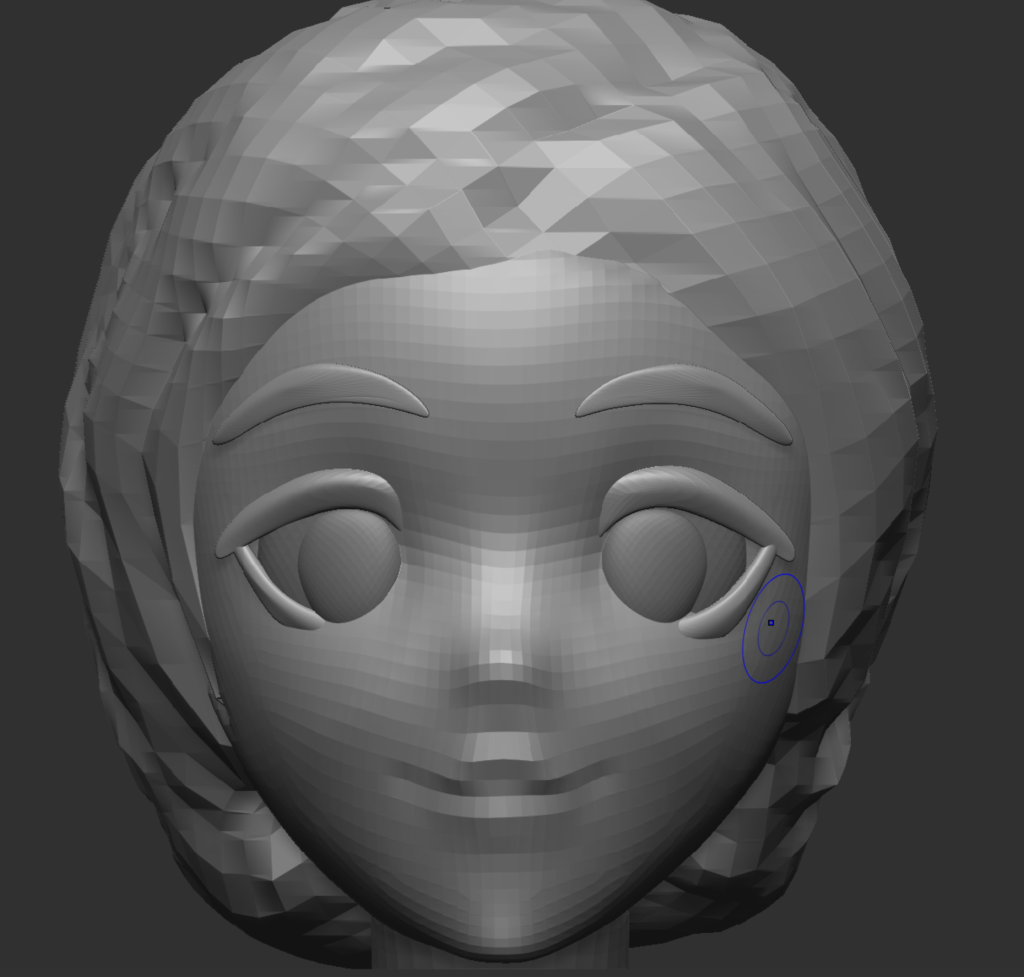
However, after experimenting with the imperatives brush, the opportunity arose to continue pursuing a more stylised approach; As modelling each hair strand would not only disrupt the stylisation but also take too long, especially when it came to retapology later on.
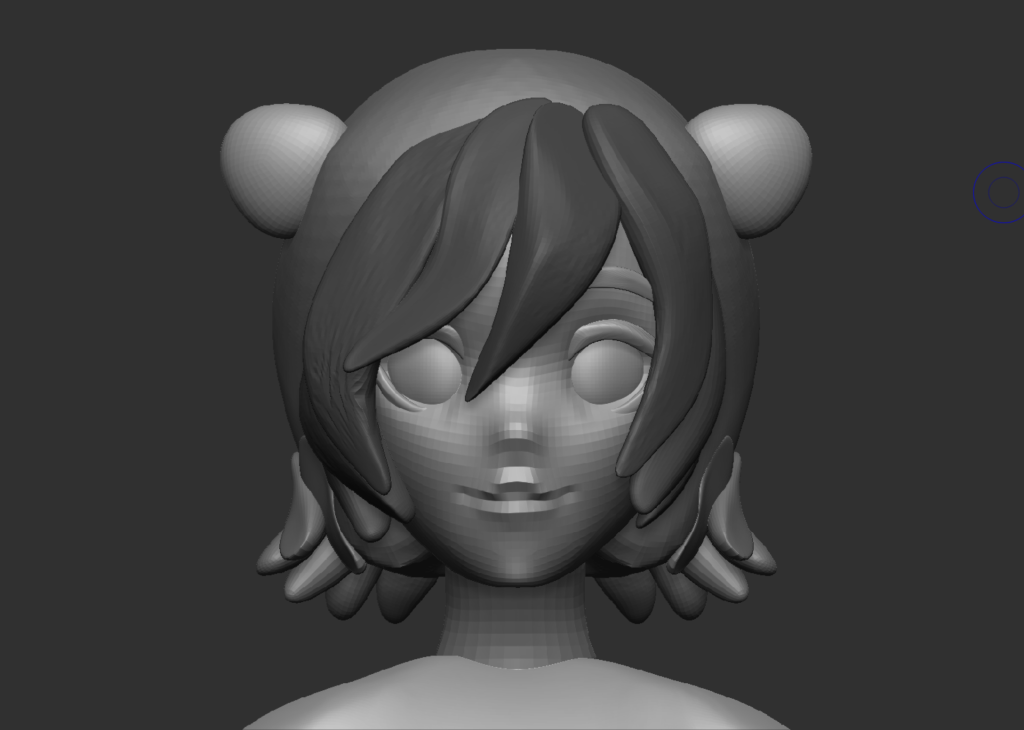
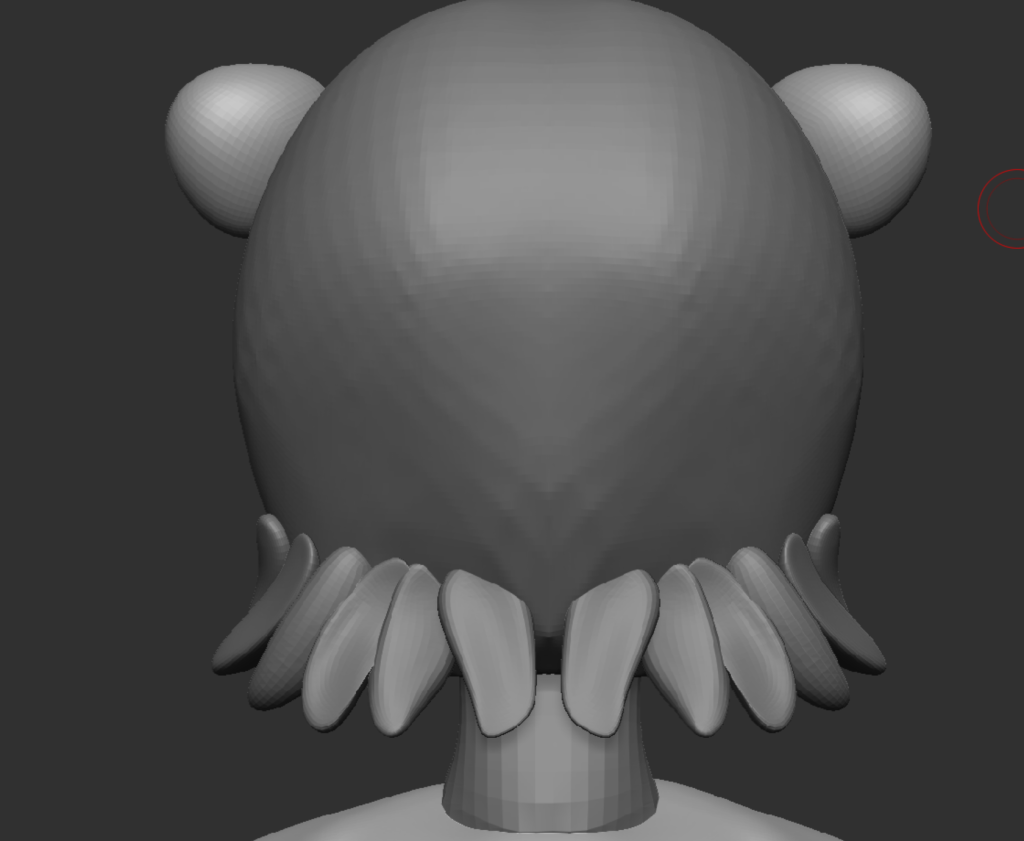
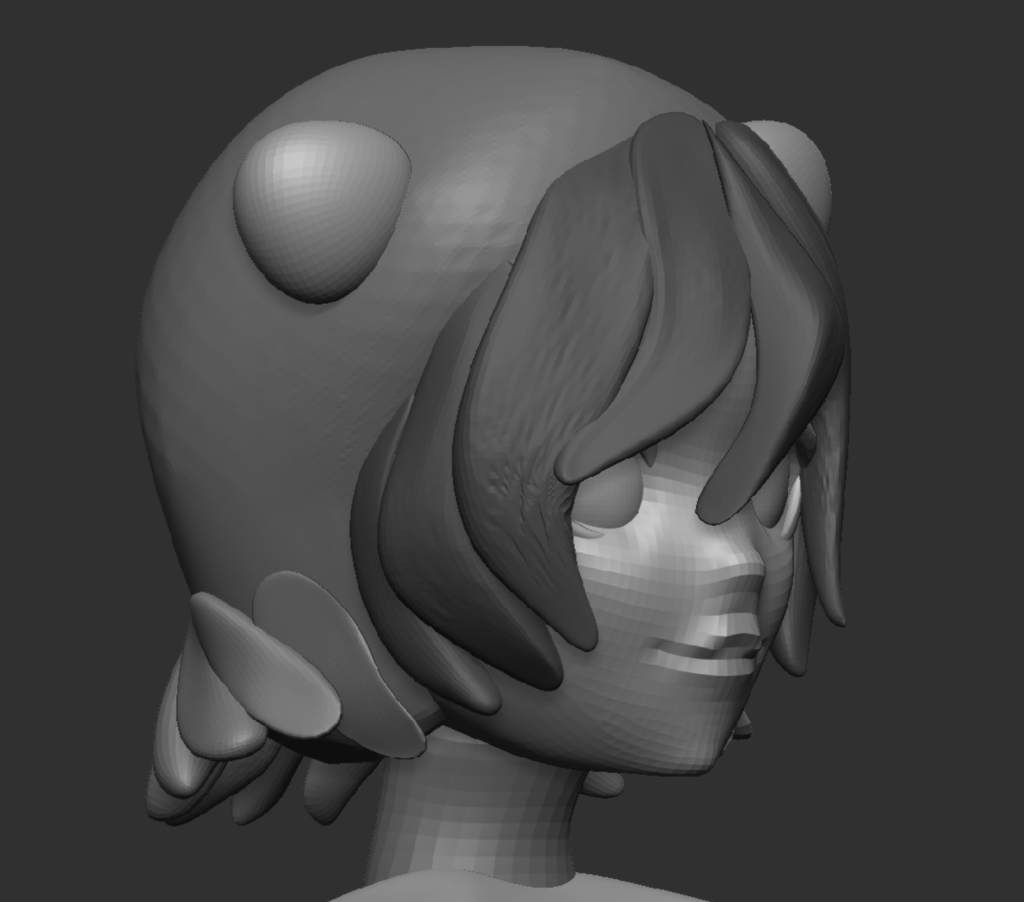
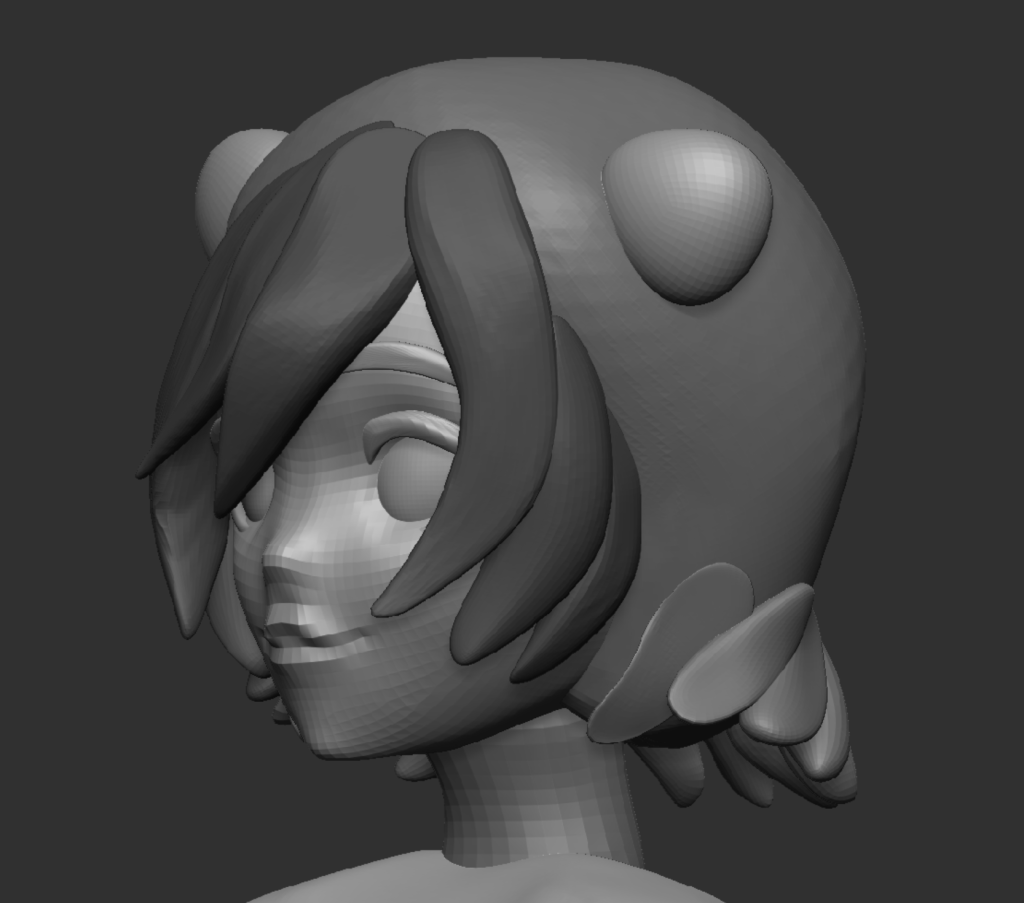
I created the scalp using a separate sphere and sculpted the hair around the head, using the move tool to morph the meshes shape. This is the same technique I implemented for the buns. As for her hair strands and her fringe, I’d bring in different spheres and continue to shape them around the head and the hair blockout.
Final touches to the body
Once I was finished with the model, I dyna meshed the parts together. This essentially merges all the imperative meshes together and allows me to continue adding more detail to help get a better understanding on the model’s anatomy. This was the part where I also made final changes to the models form by using the damn standard tool to further etch out the muscles and bone structure.
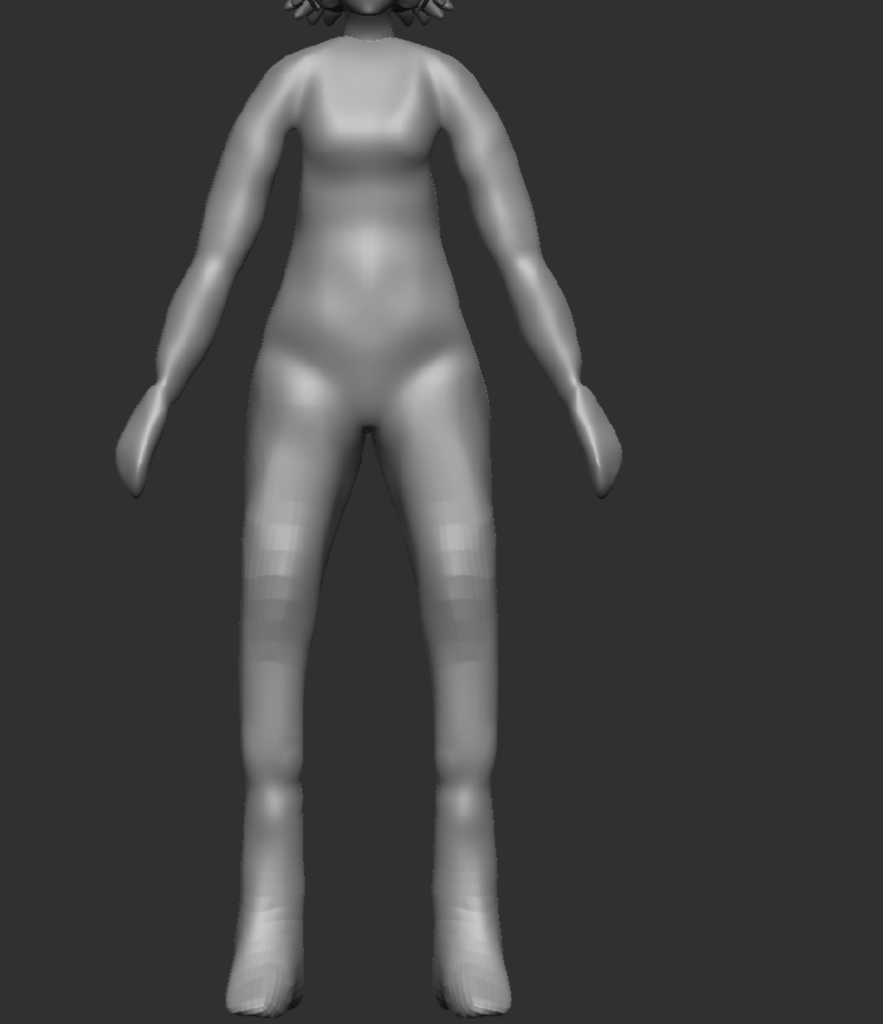
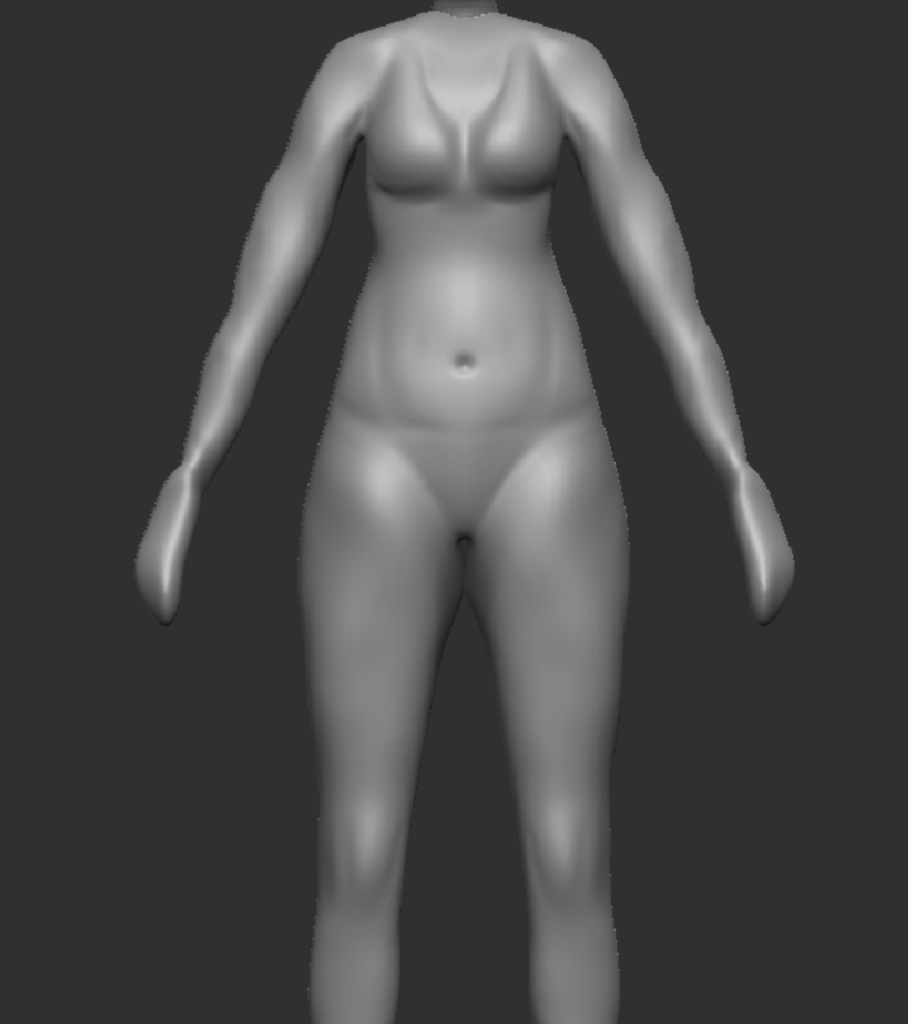
Making Clothes
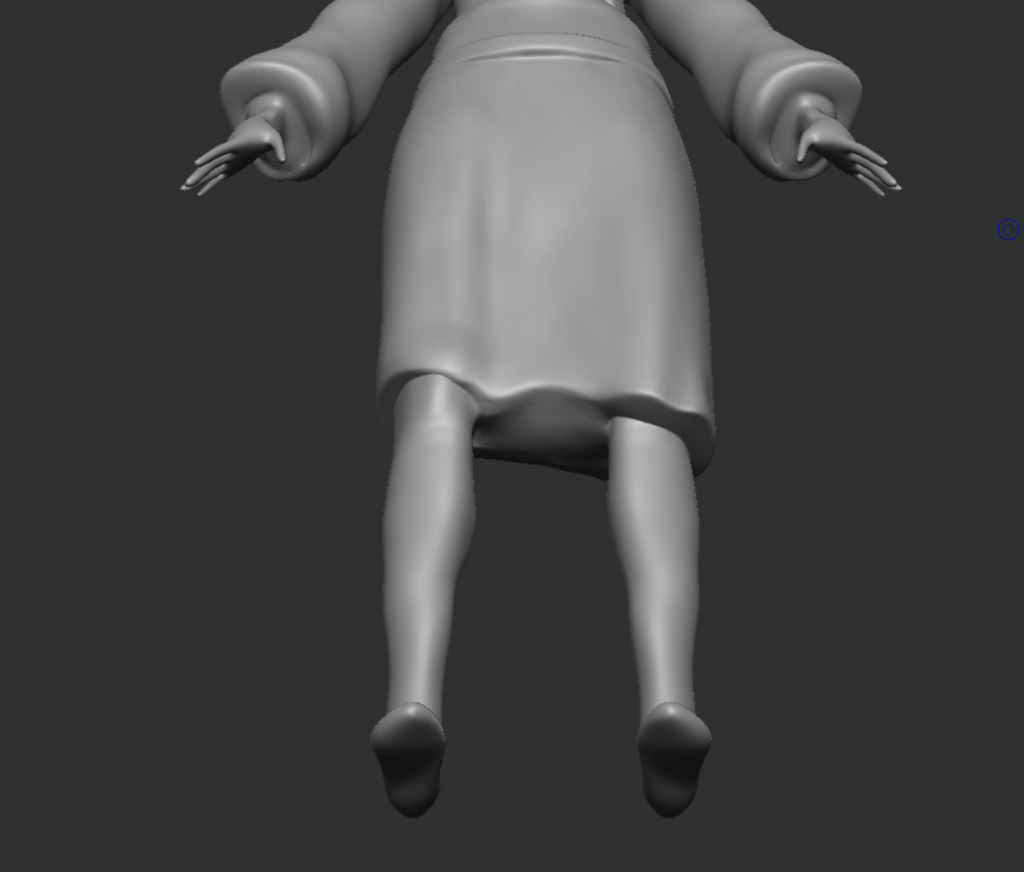
After making the final changes to the model’s anatomy, I started creating the clothes using the masking and extract tools. Since I was making a kimono, however, I decided to keep the Hanari (the fabric that connects to the collar) separate from the kimono part itself. This way, I can adjust the fabric of the kimono whilst not disrupting the collar. For the sleeves, I extended them out and adjusted them by adding more clay to make the fabric loose and thicker, implying through her design that shes still unmarried as long sleeved kimonos are worn by unmarried young women or girls. The obi (belt around the kimono) was made once again by using the extract method and adjusted so that it tightly wrapped around Maki’s stomach.

Finally, the skirt. This was the hardest part of the kimono as I couldn’t use the extract technique since the skirt is so loose and rounded. So what I did here was that I used a sphere mesh and modelled out the skirt, creating a tube by essentially using the sculpting tool to cut out the insides of the mesh.

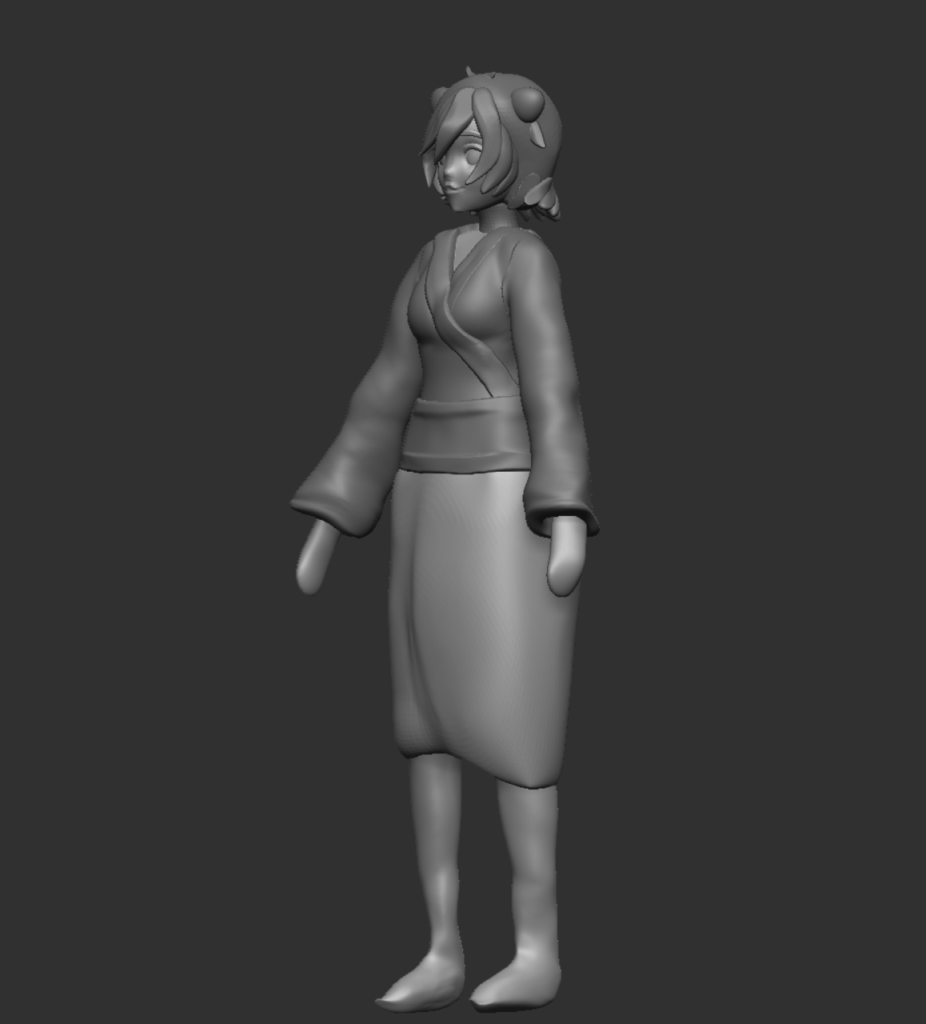
Lastly, using peer feedback, I continued to model around the legs and hips in order for the mesh to simulate cloth without being too thick. Here I added some finishing touches by adding cuts into the fabric using the sculpting tool whilst was also adding some final adjustments to the skirt by making sure that the skirt clung against her knees.
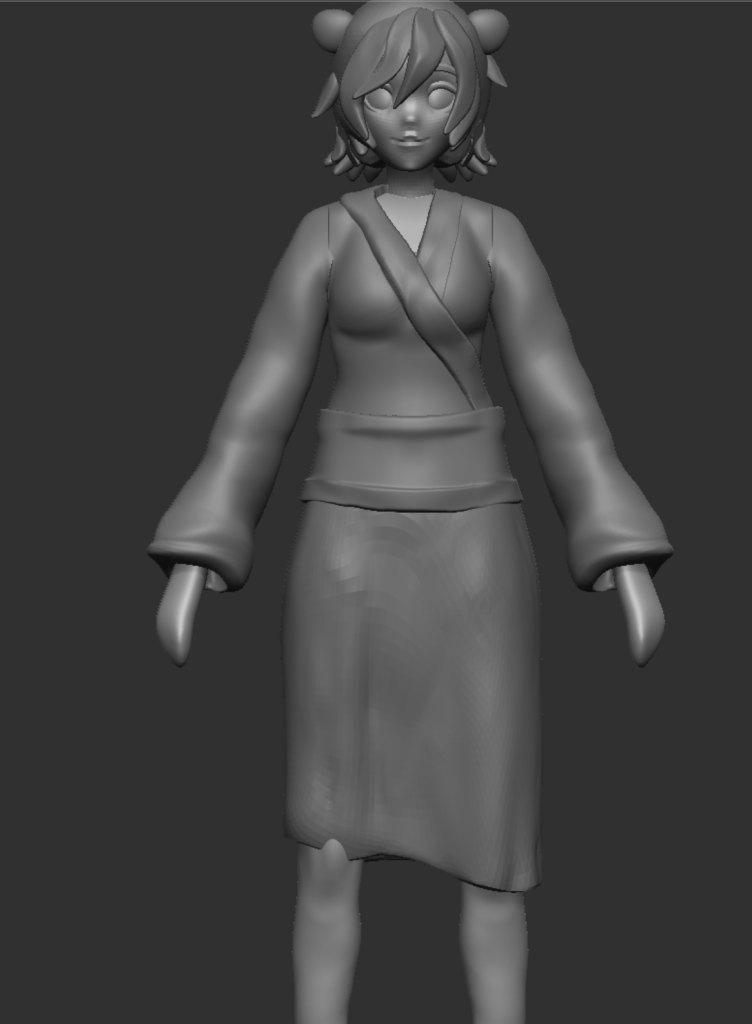
After finishing the clothes, I decided to work on the hands. At first, I was trying to use imperatives to model the fingers one by one, however, they always turned out anatomically incorrect by being too thick or the hands not be in proportion with the fingers. So instead, I used a preset Zbrush model to replace the blockouts – this helped save a lot of time on the project and it means that when animating them, the movements will look natural.
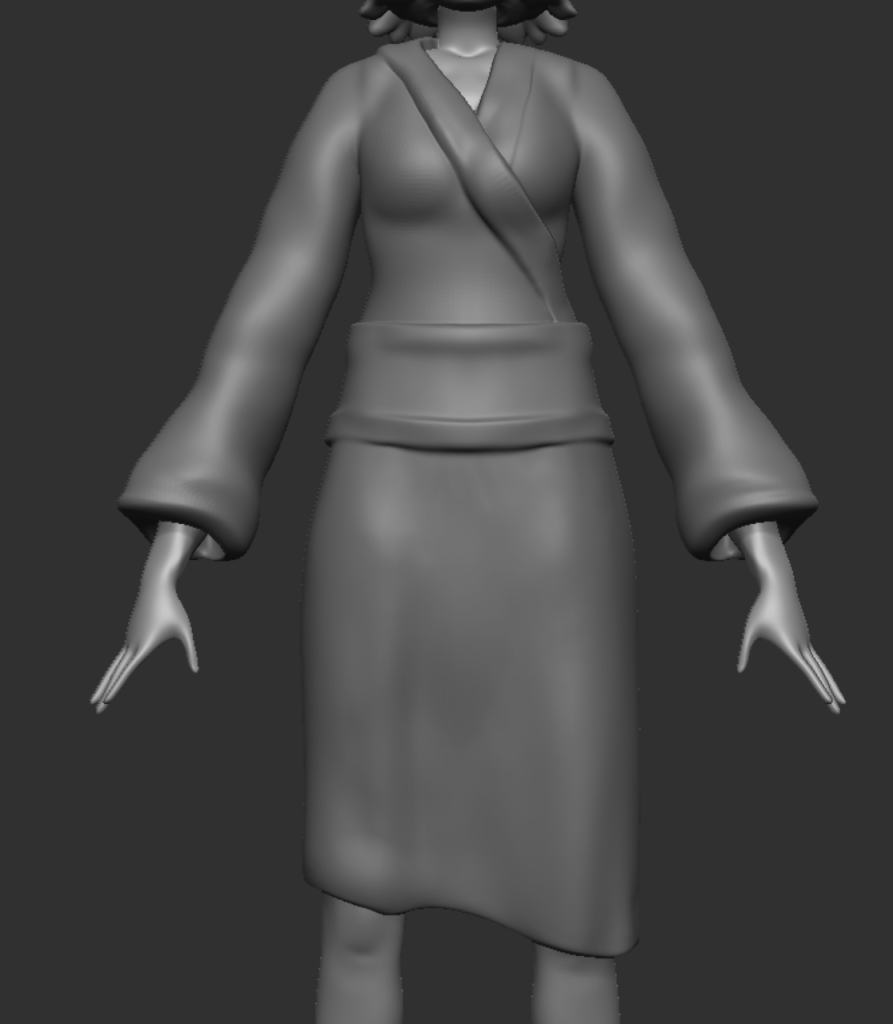
The reason why I cut the eye cloth from the final model was mainly because it would interfere with the hair, especially during the retopology process. Whilst in the future, I would like to add a cloth to her model in further iterations for now, the focus was to keep the time management consistent with the schedule. To still imply that she’s blind, her eye textures will have a painted fog effect to them.
High Poly showcase
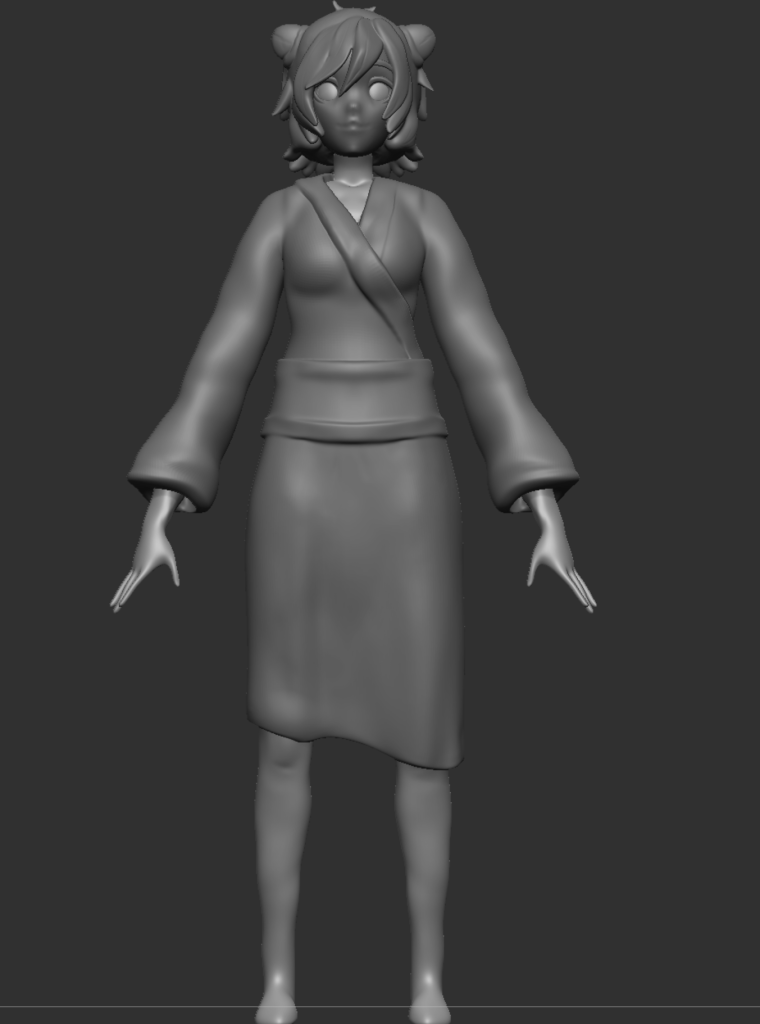
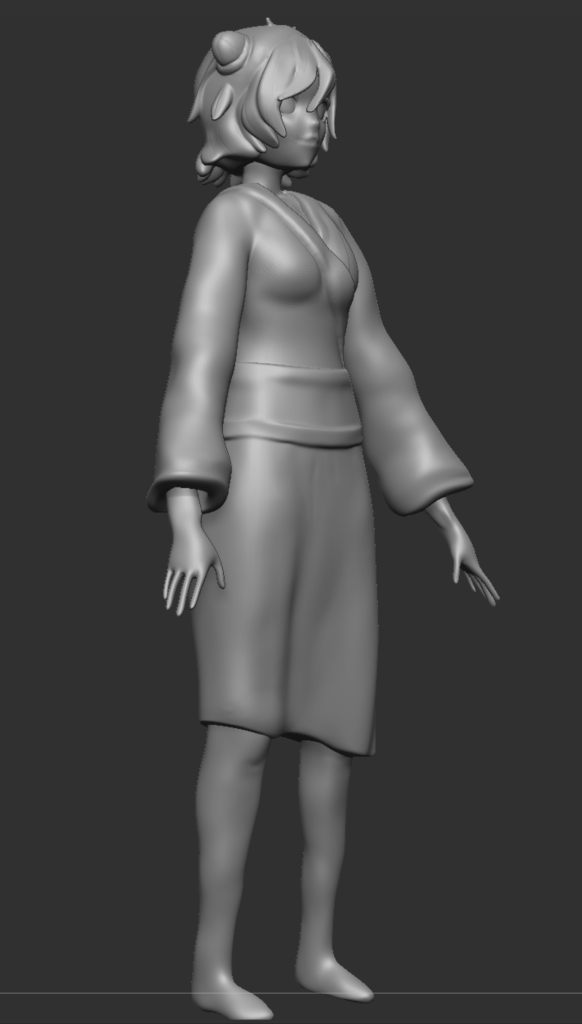
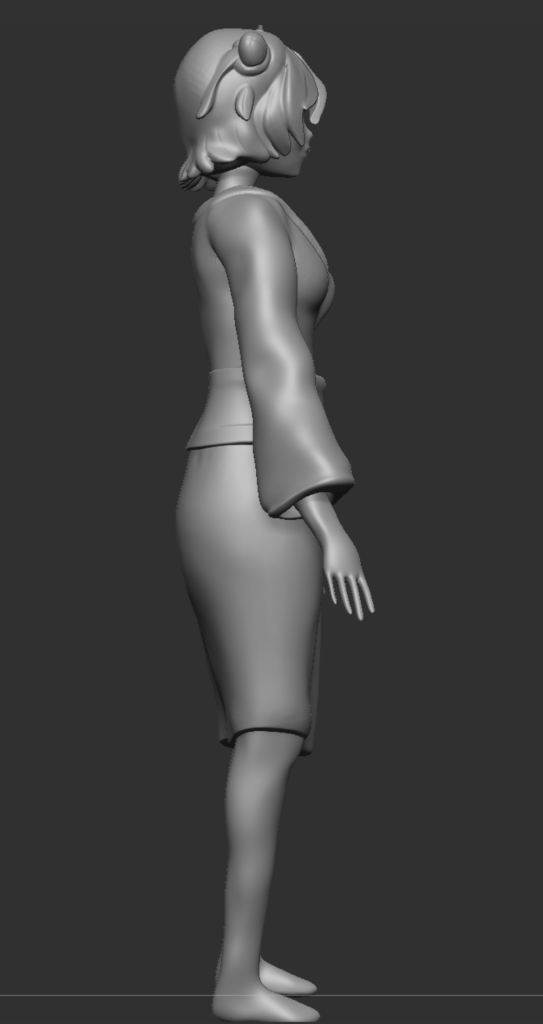
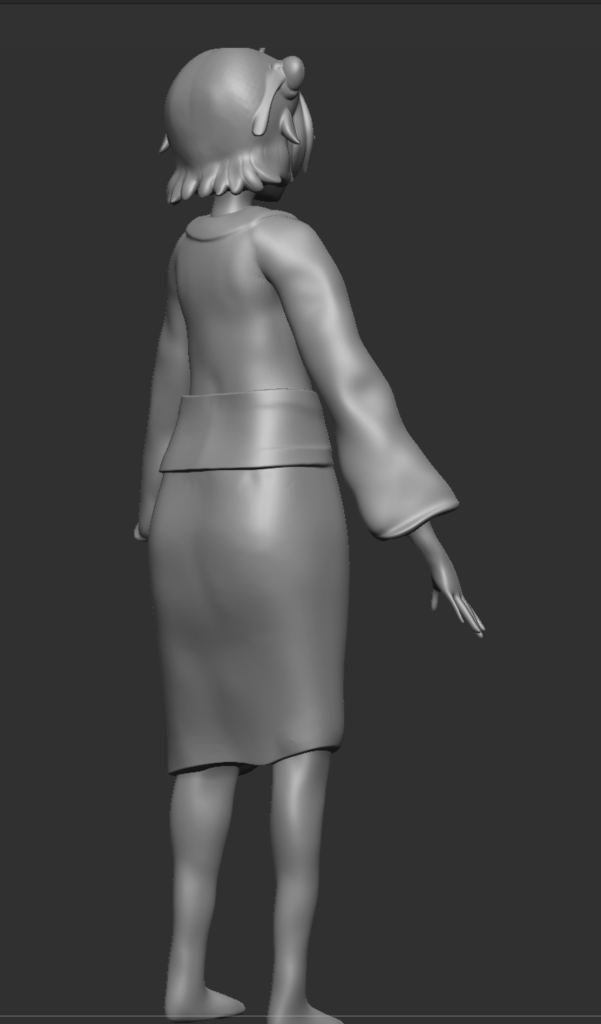
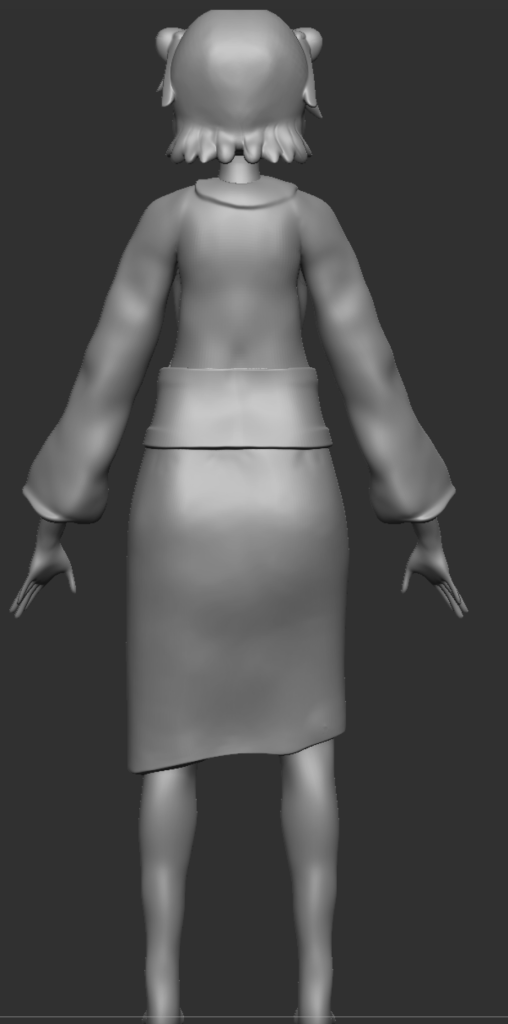
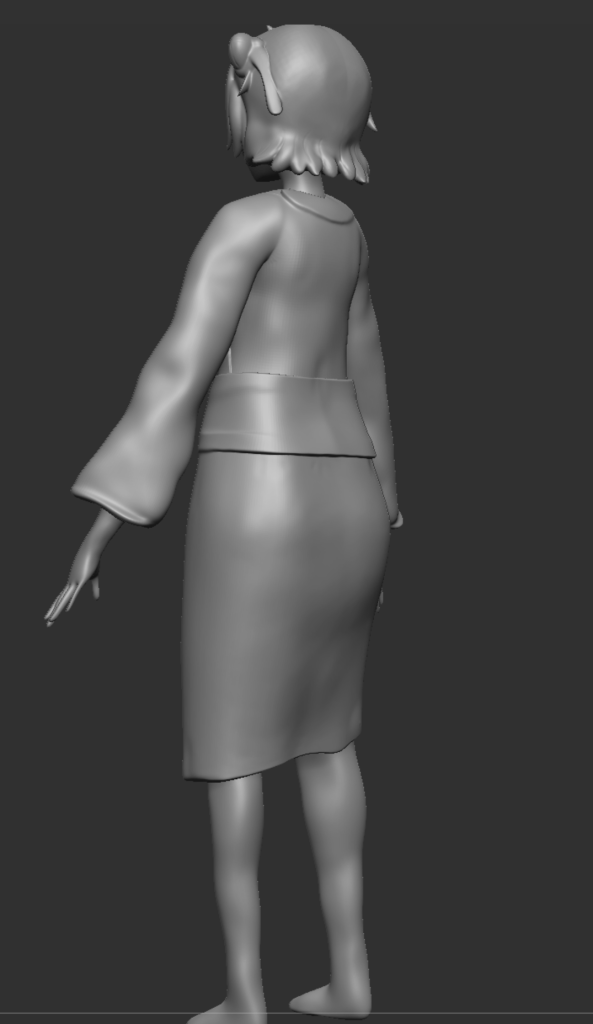
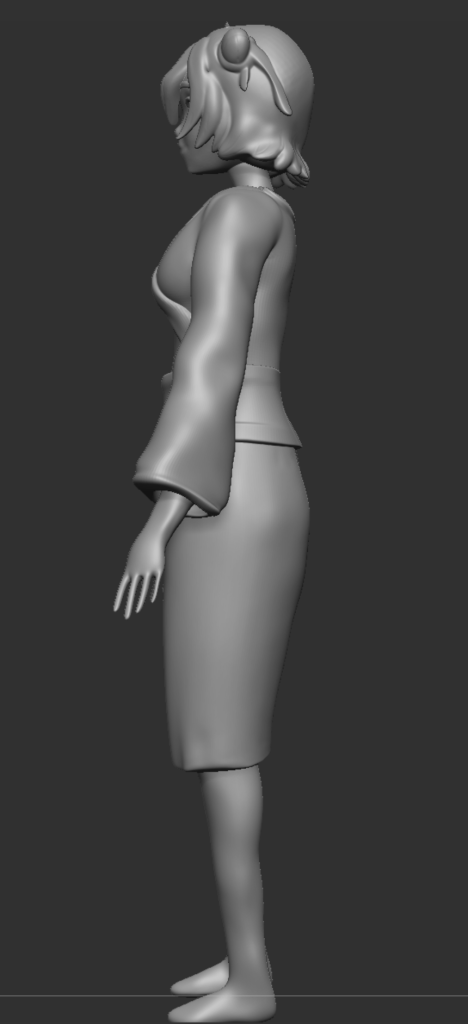
After adding the final touches to the model and the clothes, I used the zremesher to merge all the parts together into one singular mesh. It’s also useful in reducing the polycount as well as generating new toplogy for the entire model, cleaning up the mesh for decimation process.
Decimating the model was the final step of the workflow. The process meant reducing the polygon count to a suitable level for Maya which meant the first step in making the model “game ready”.