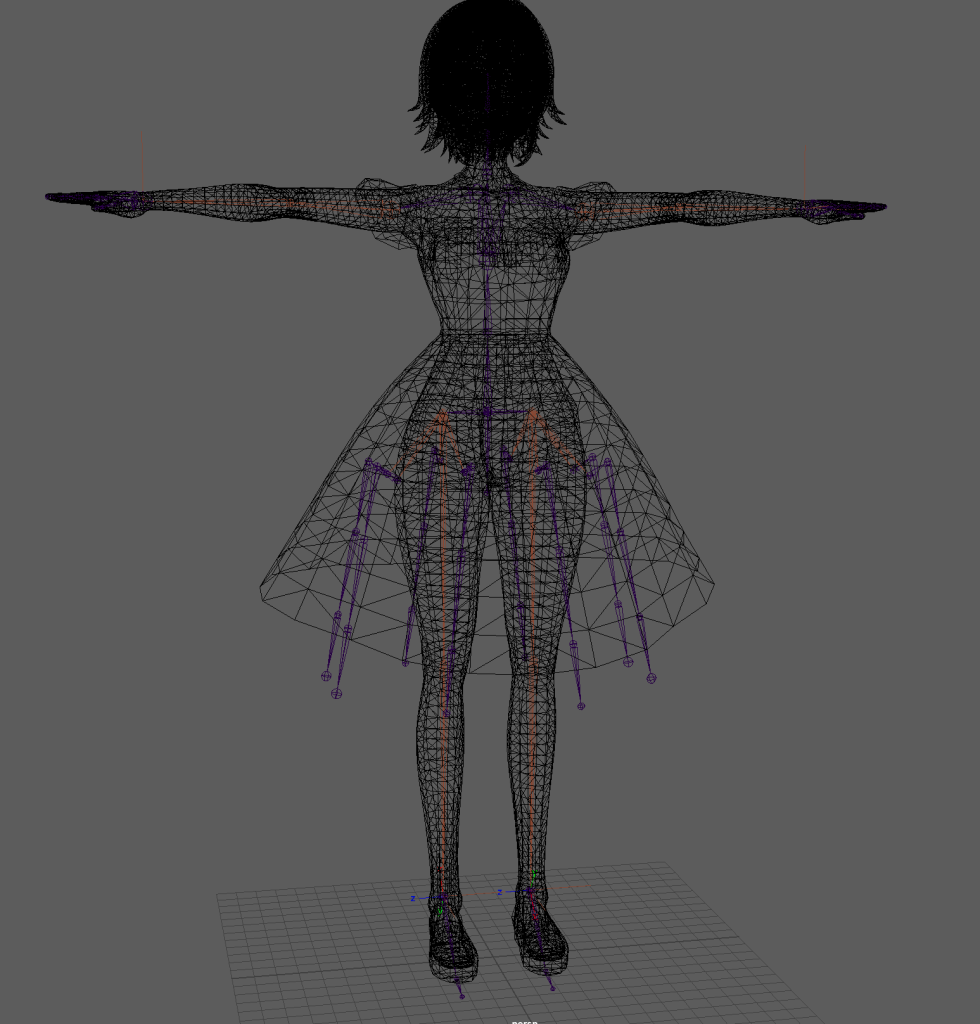
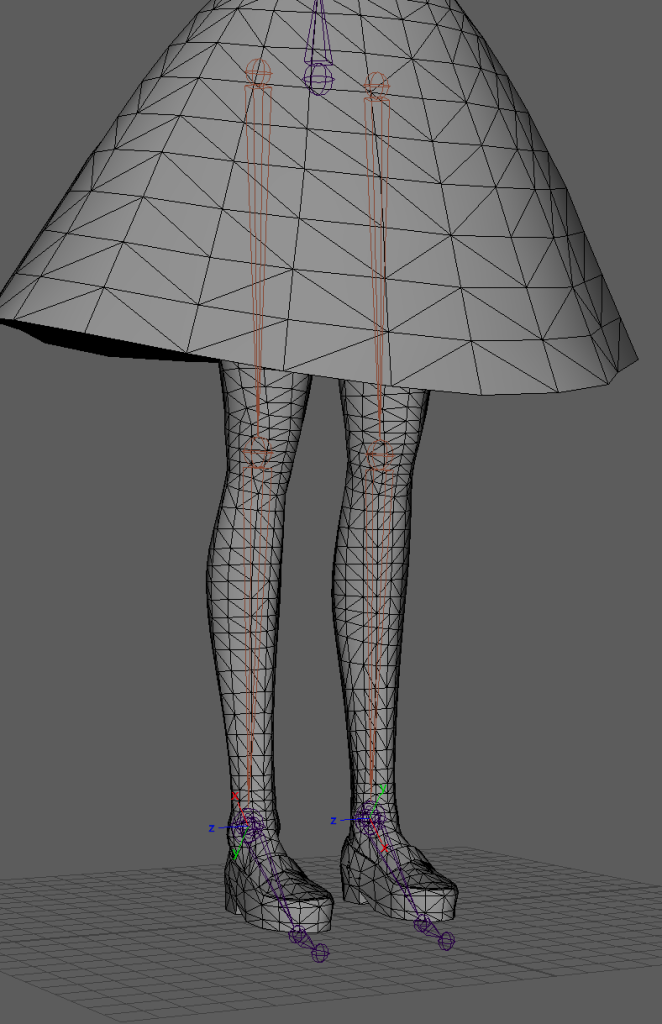
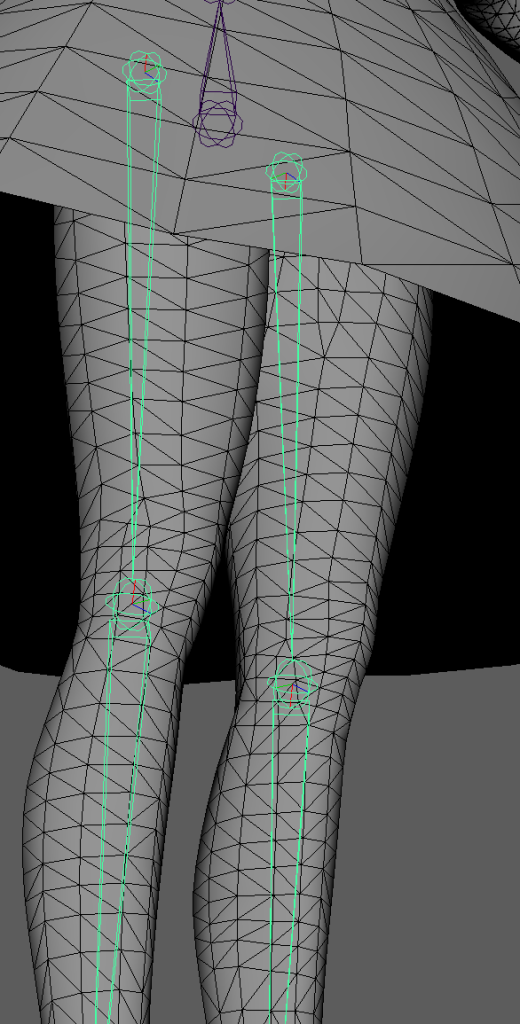
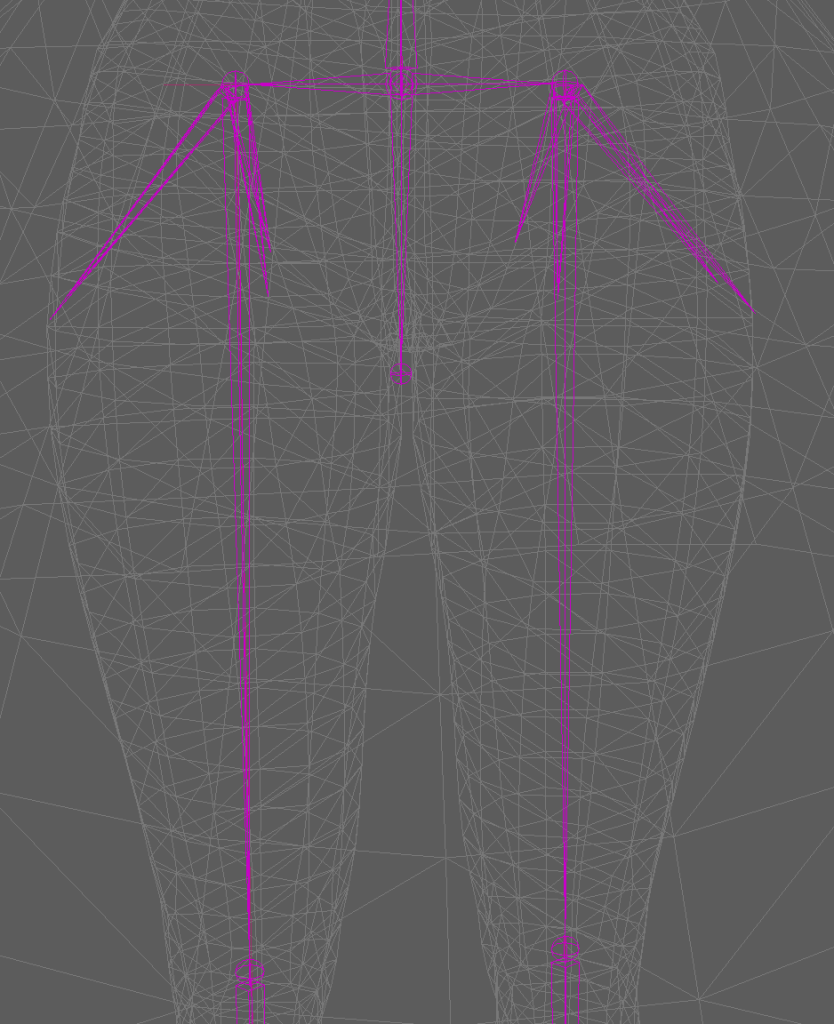
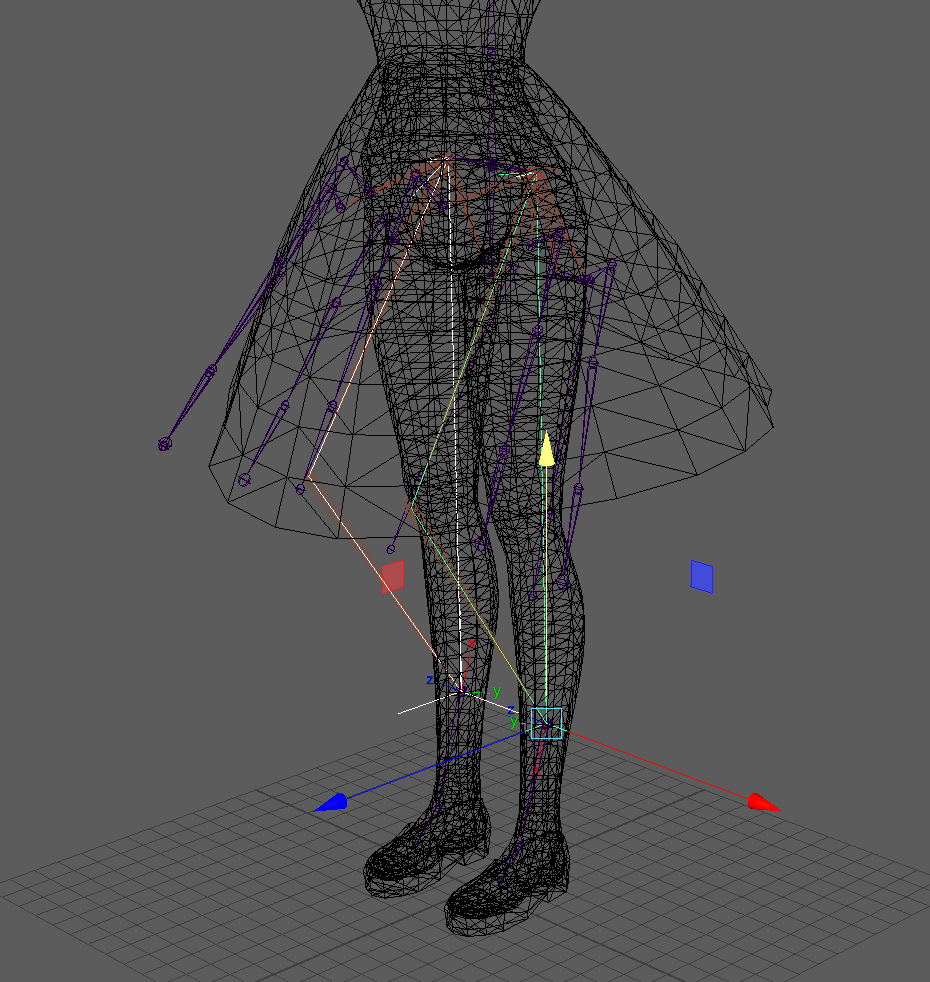
To begin the rigging process, I started off by working from the bottom and adding joints to the legs with each bone having center orientation. Once I made one leg however, I was able to duplicate the joints onto the opposite side. This helped incredibly to keep joints consistent with one another and this was the same method I used for the arms.
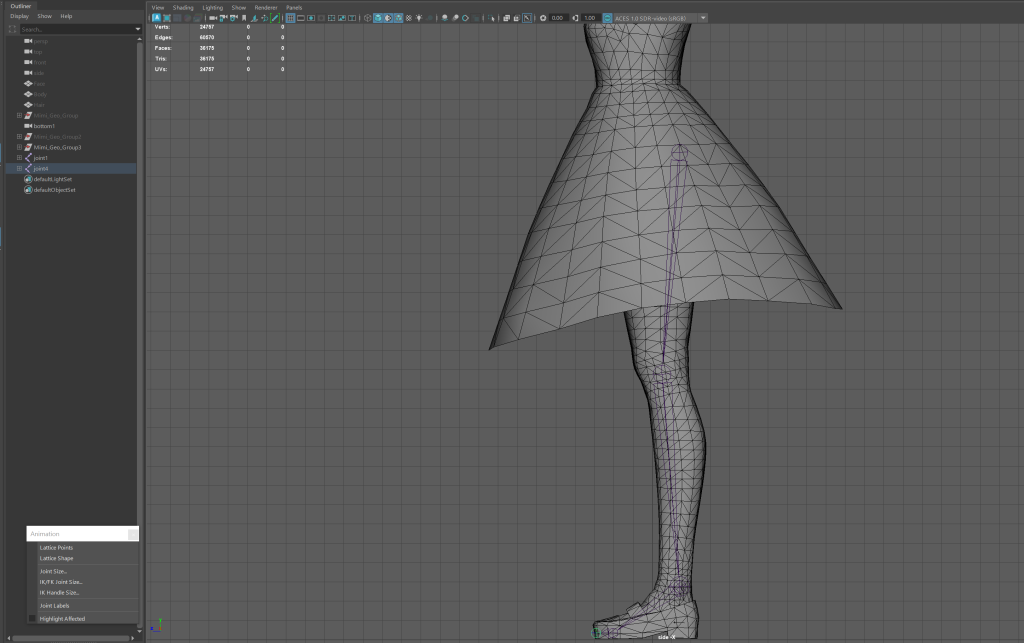
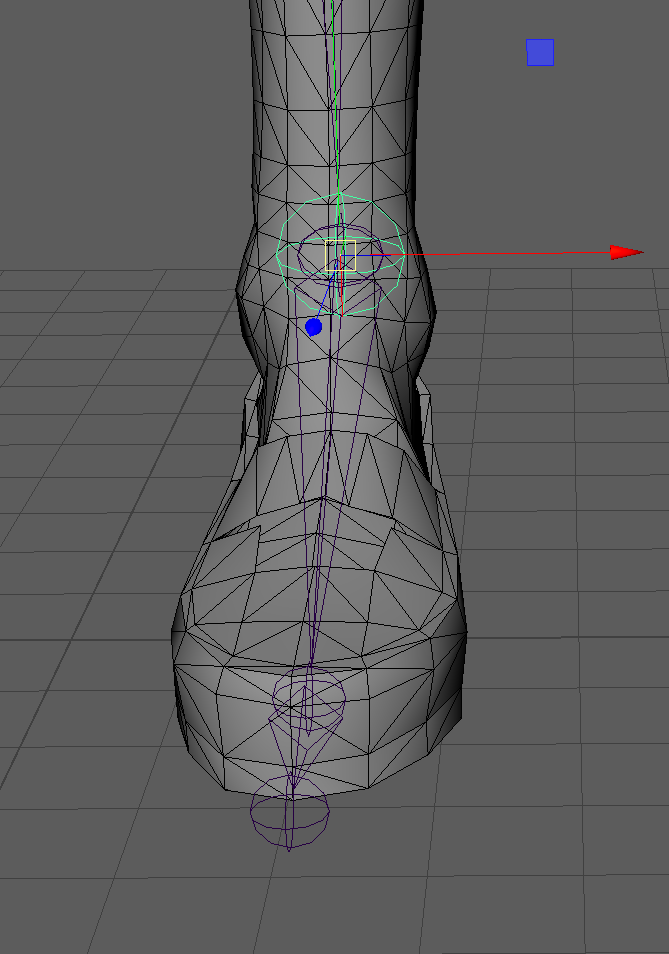

After finishing the legs, however I experimented with the IK handles by adding them to the leg joints. This was to mainly learn more about IK’s and their function within the skeleton. I learnt that with these handles, they allow the joint chain to move in one fluid action. This meant that, in the future, this would make posing the character much easier to accomplish.
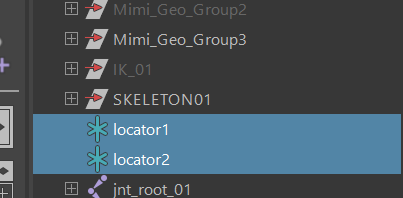
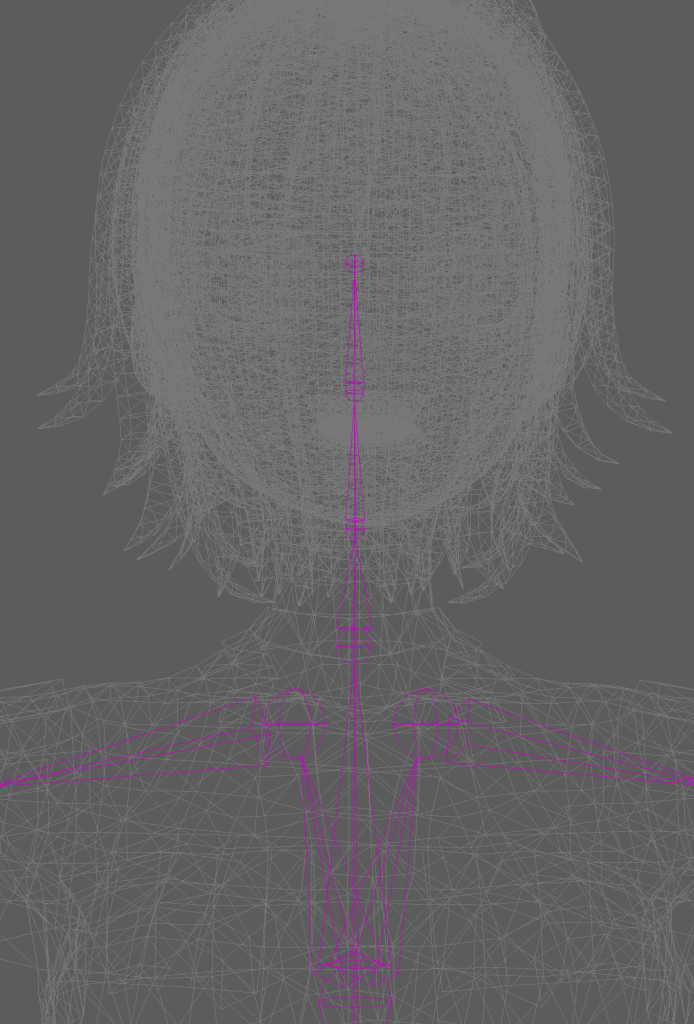
Afterwards, I worked on adding the spine joints by using locators and creating three seperate joints for the back, chest and neck.
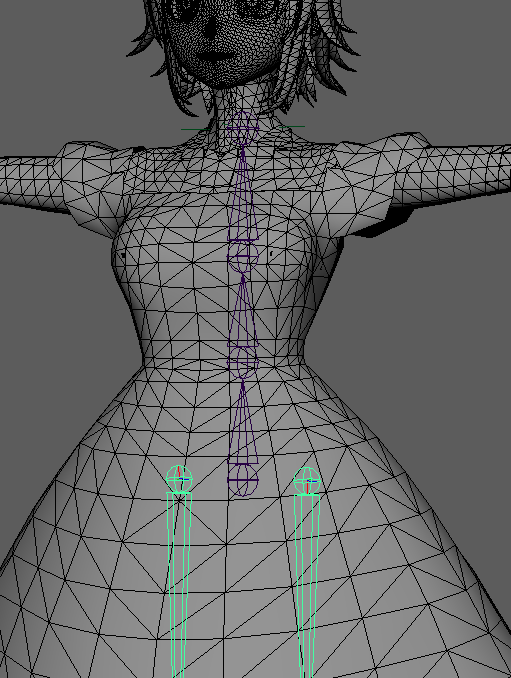
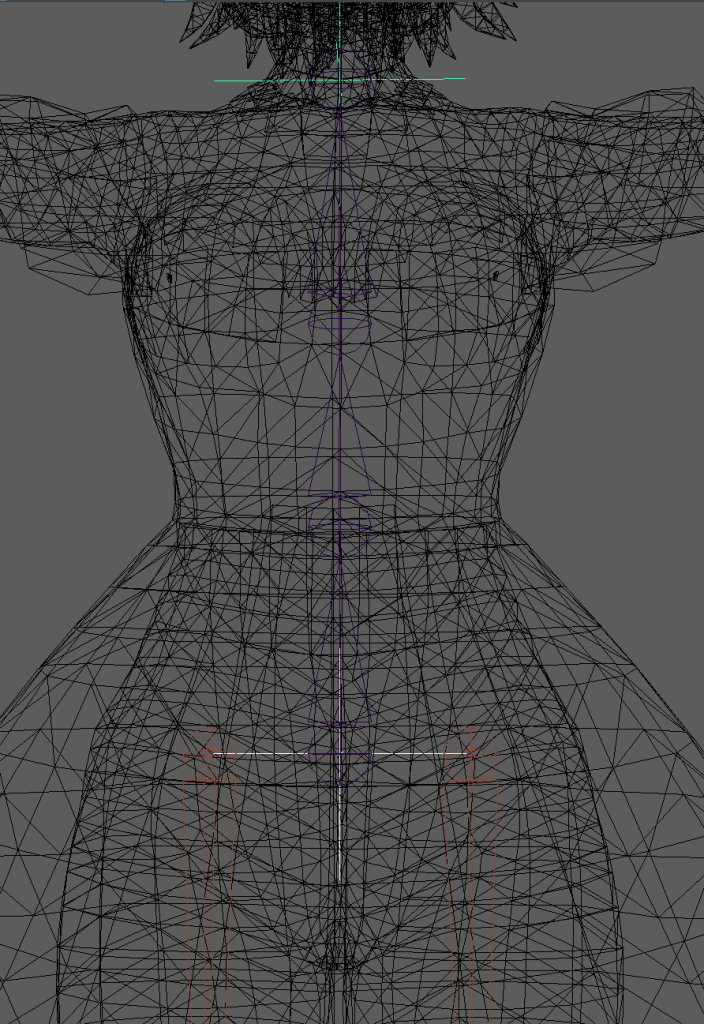
After adding in the root and spine, I added in the pelvic joints, connecting the root to the legs. Once the pelvis was created, I started making different dress bones, separated in different areas of the dress. This allowed the dress to move along with the legs and pelvis.
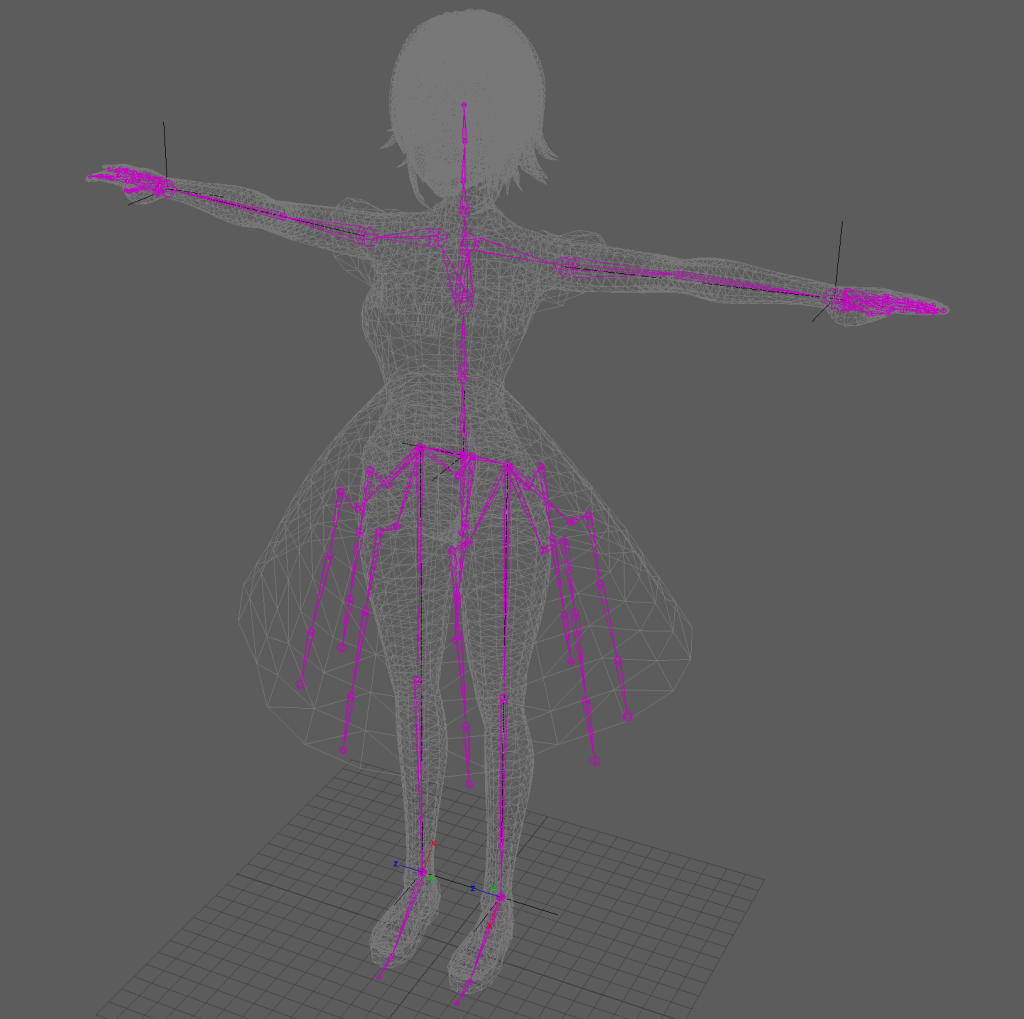
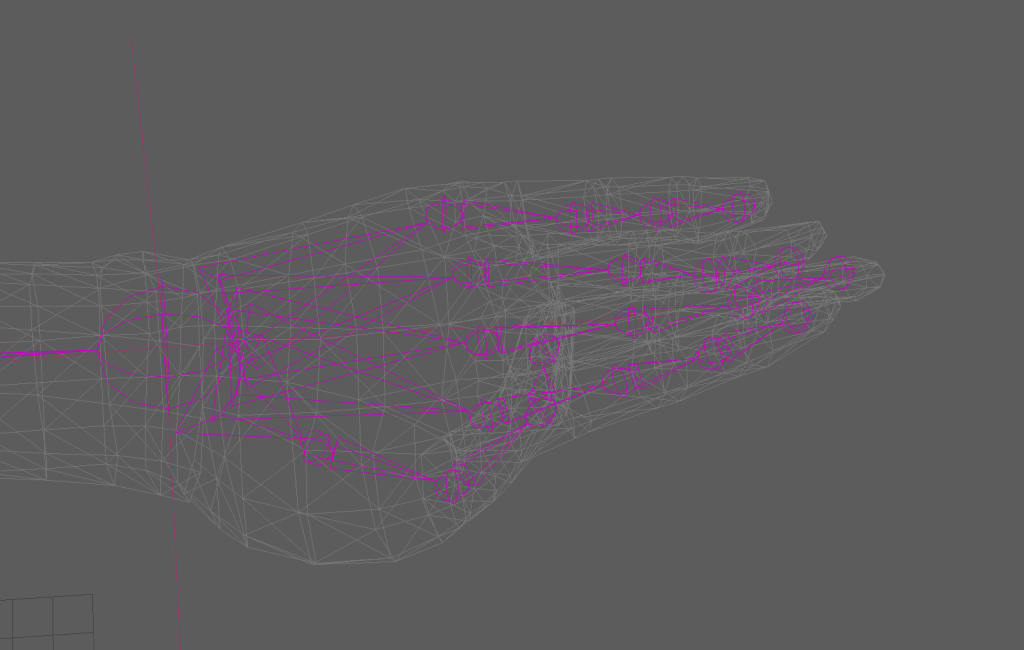
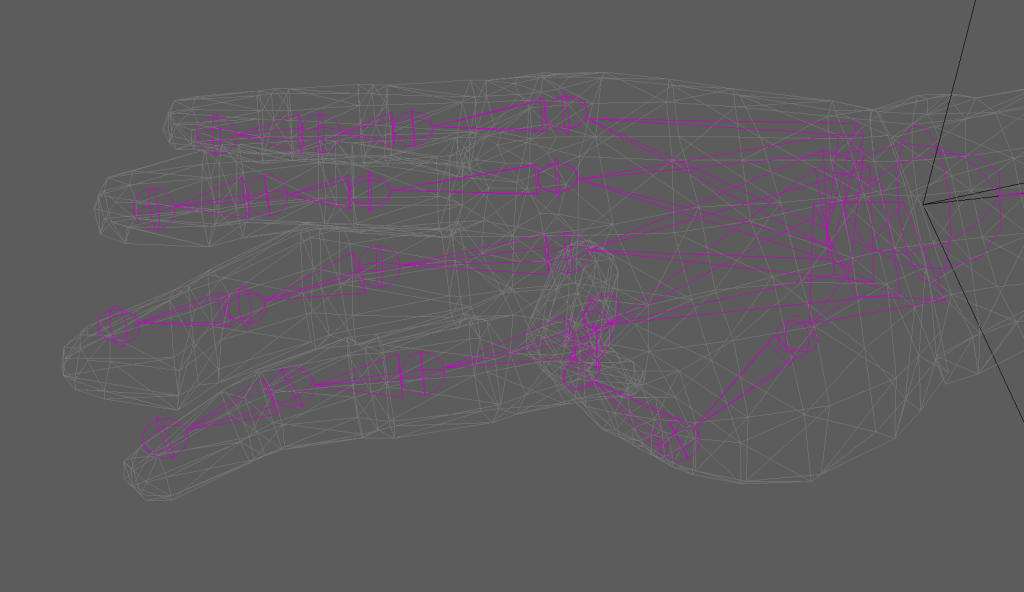
Once I finished working with the legs and dress, I moved onto the Clavicle area, slowly making the arm joints along the way on each side. Due to the different positioning of the model’s fingers, I was able to replicate the arm joints onto the other-side but each finger had to be done separately to avoid any rig breaks. Afterwards, with a similar process to the legs, I made the IK handles for the arms. In this case, the arm’s IK’s allowed the elbows to bend.
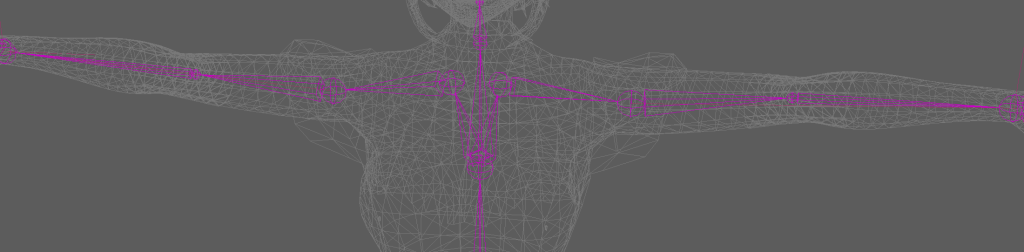
Finally I adjusted some spinal and neck placements within the rig since I learnt that, in the skinning process, placement and orientation for the joints could potentially break the model and it’s weight painting if done incorrectly.
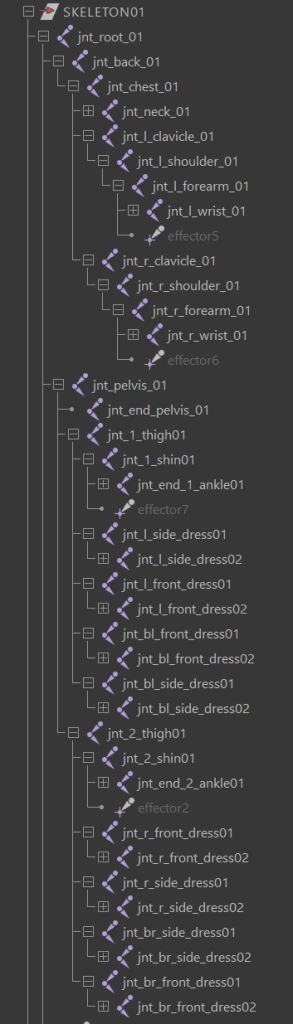
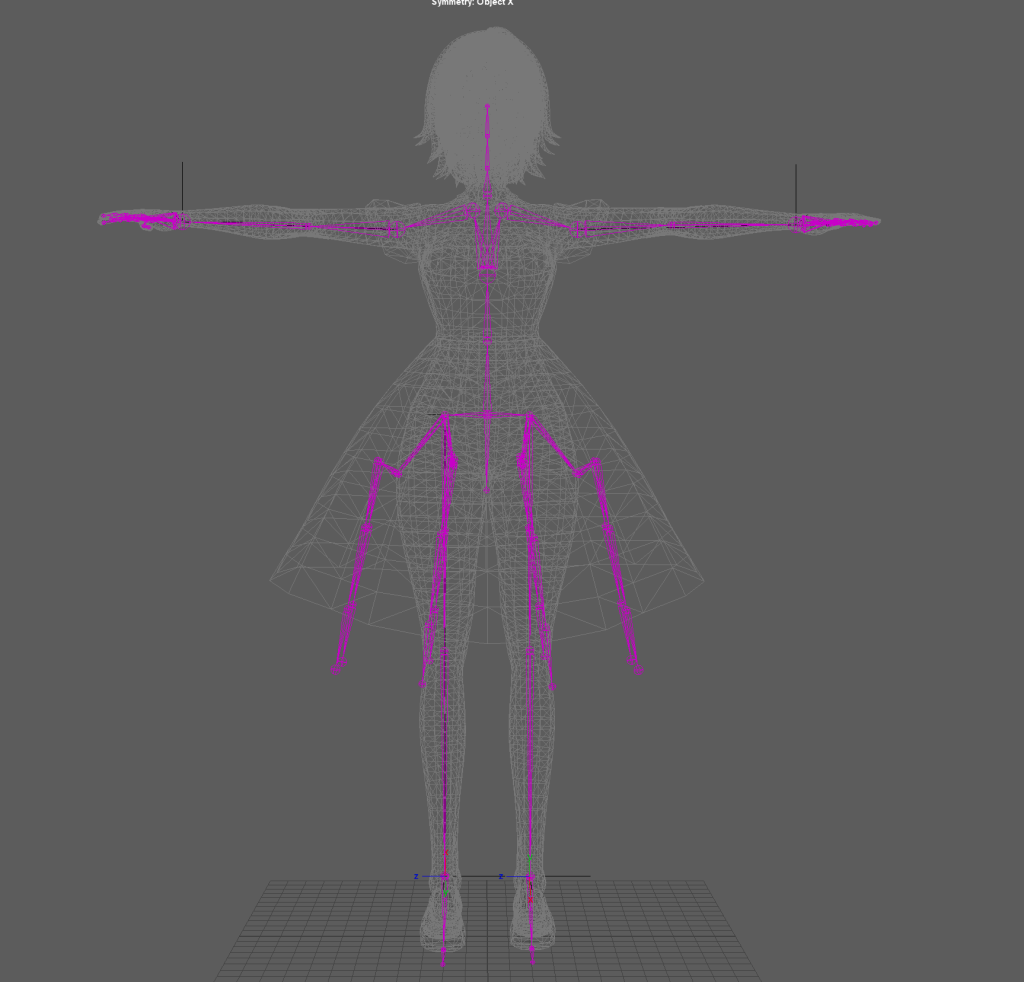
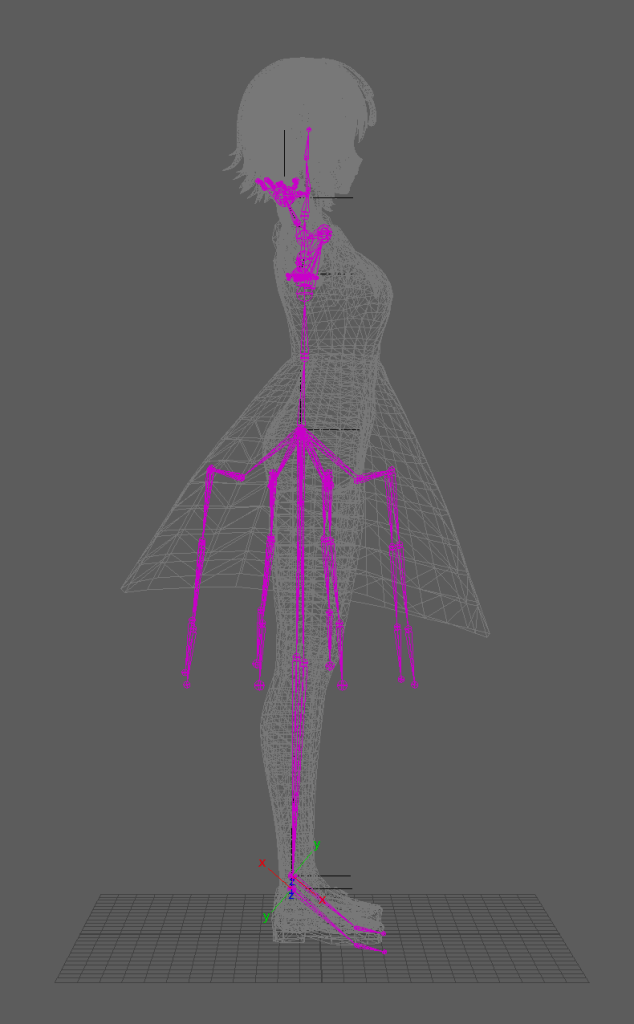
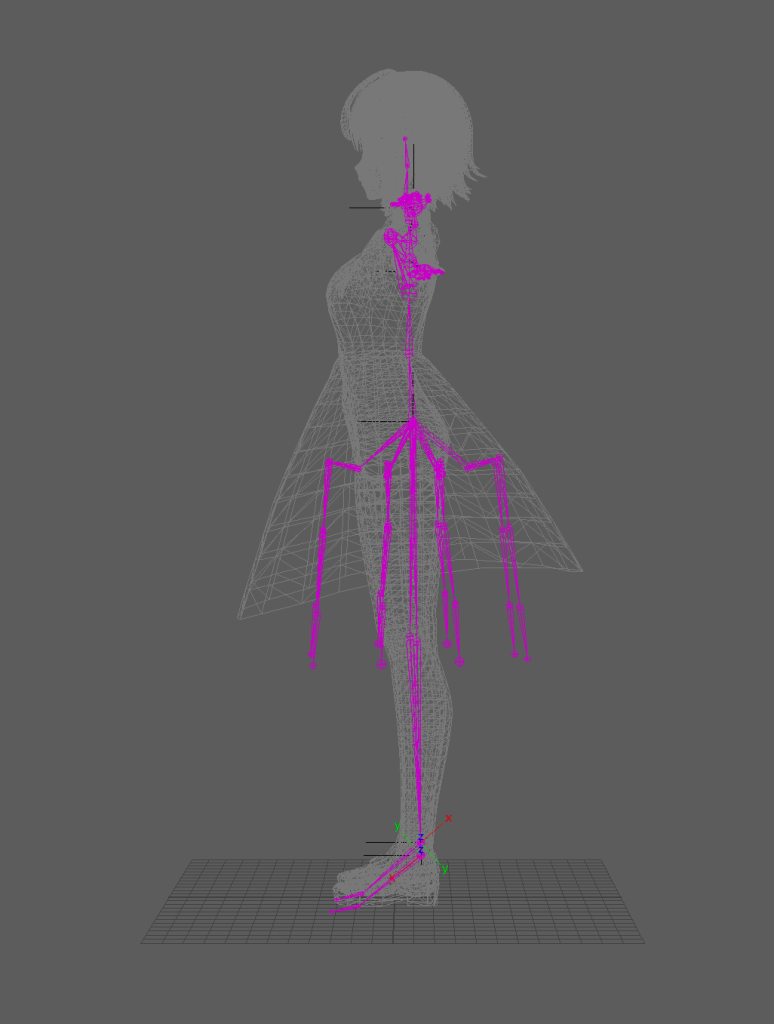
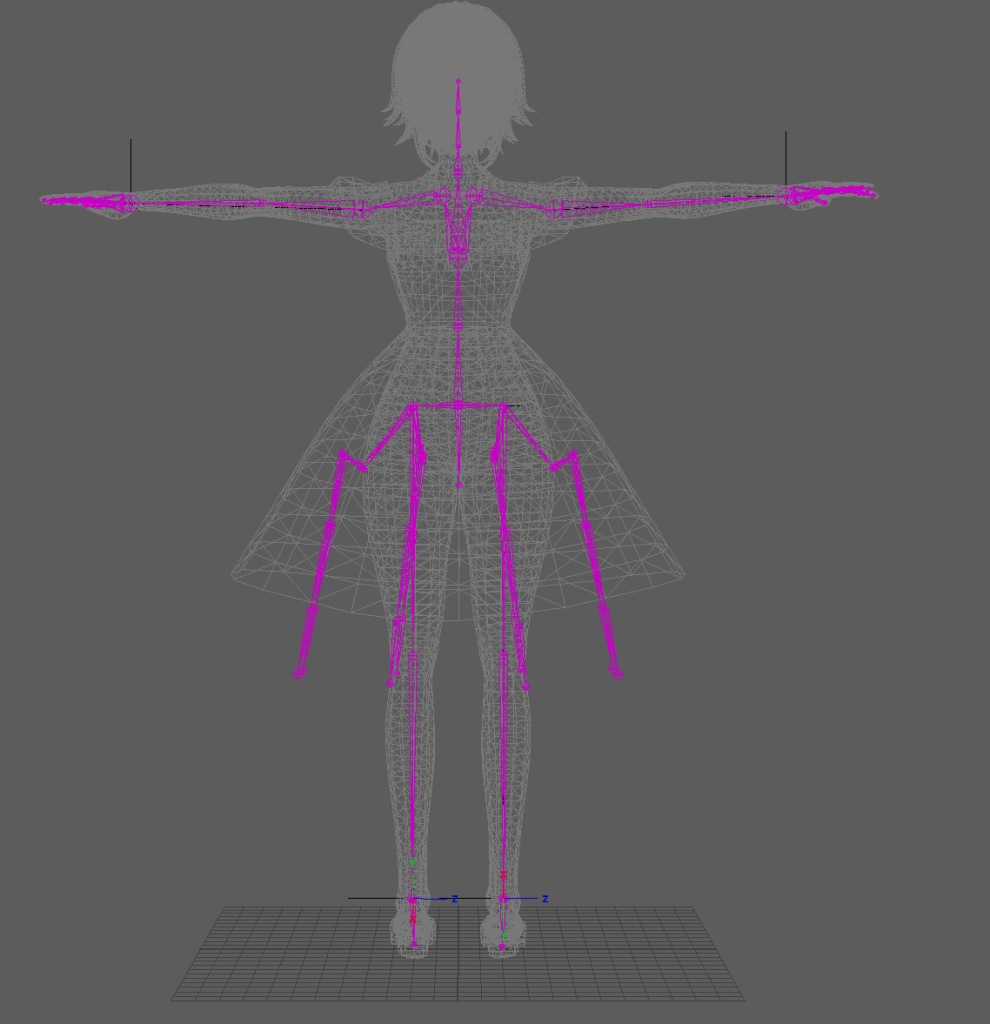
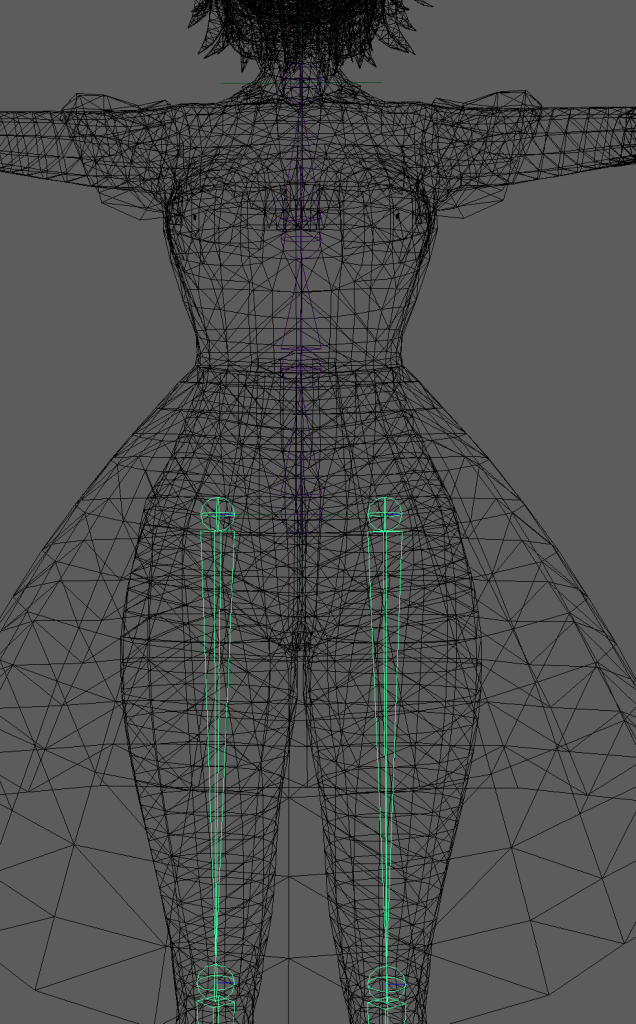
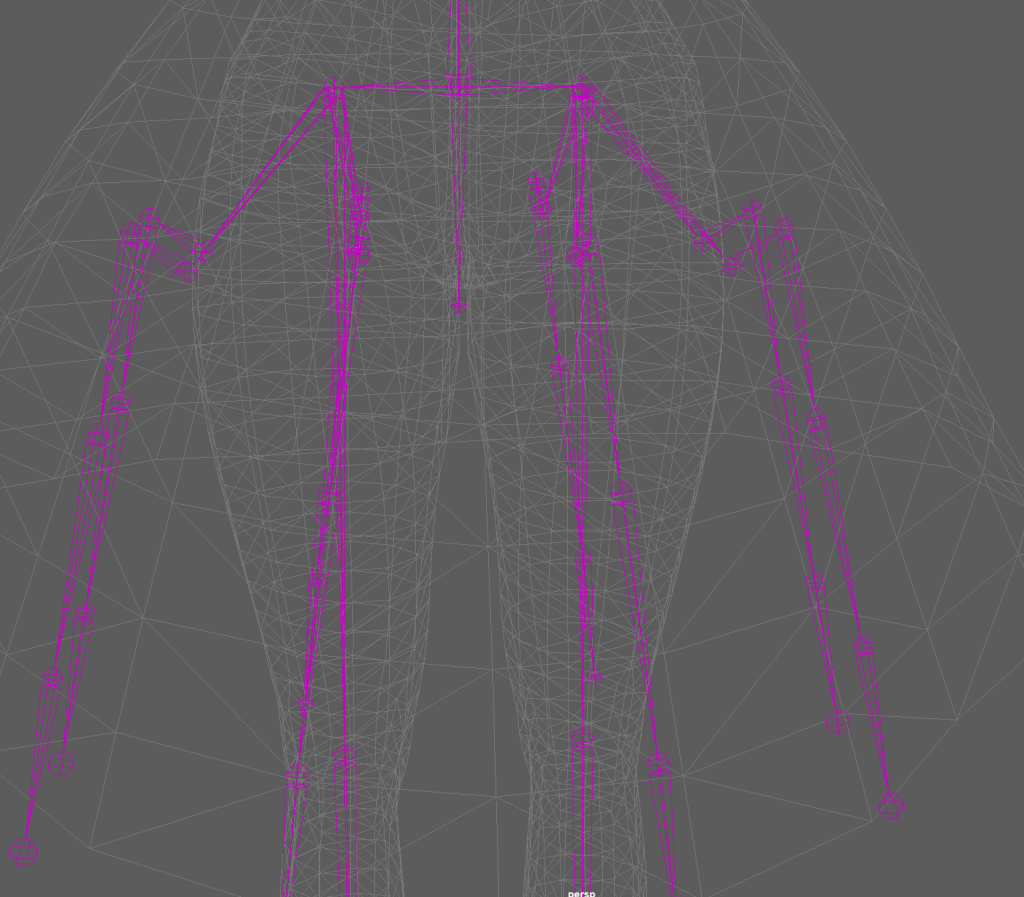
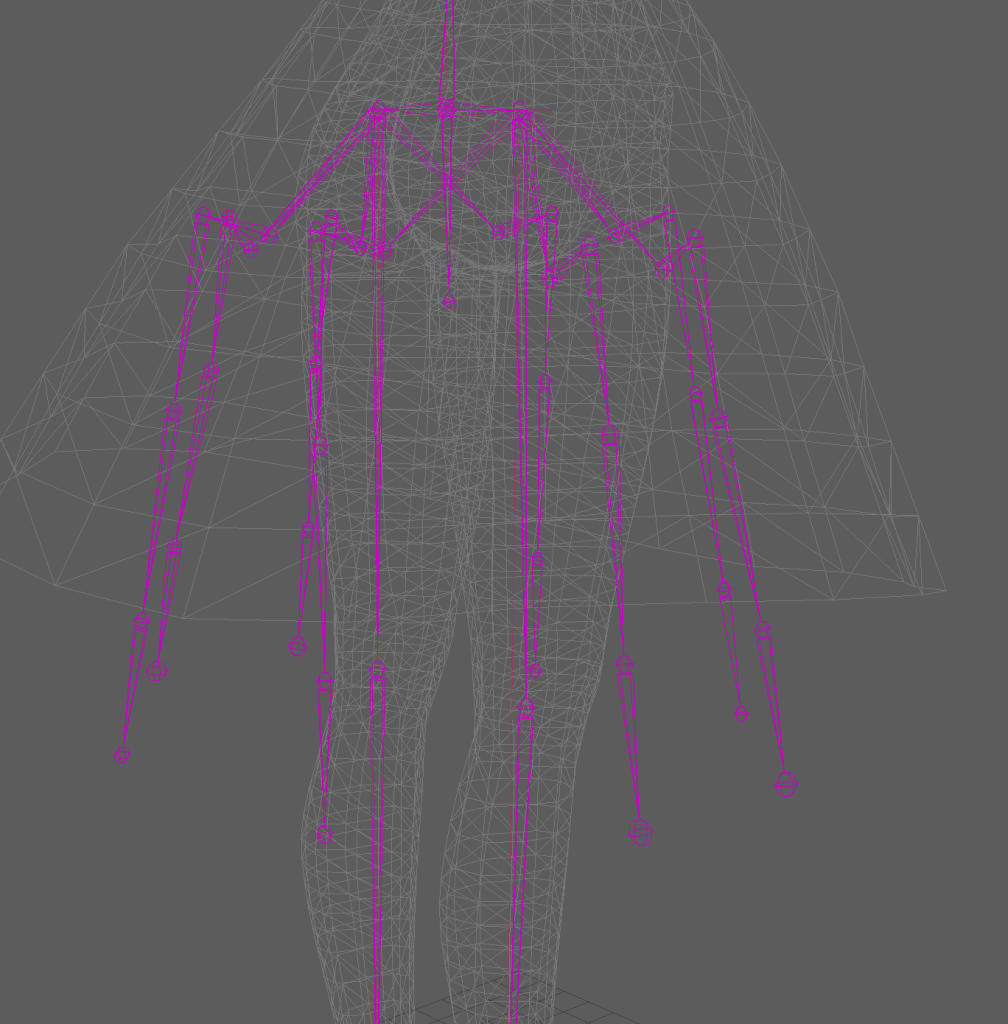
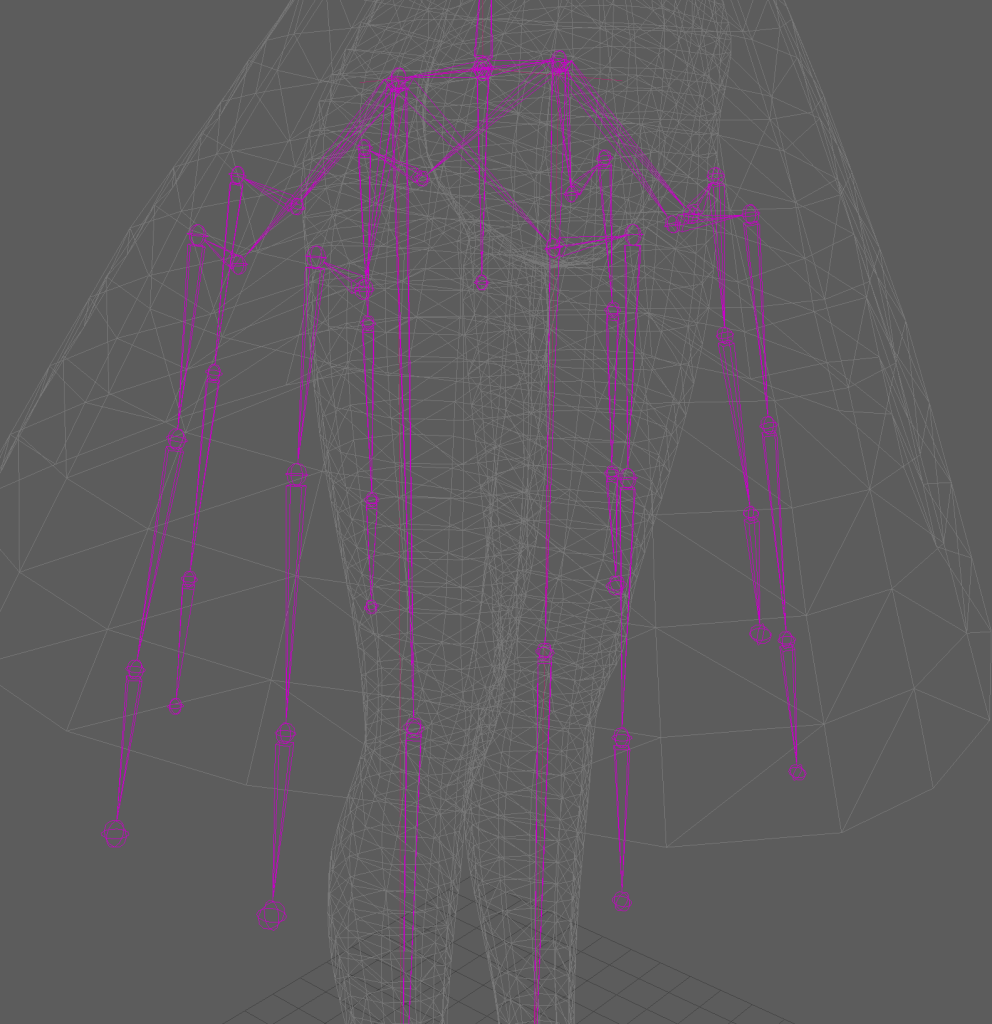
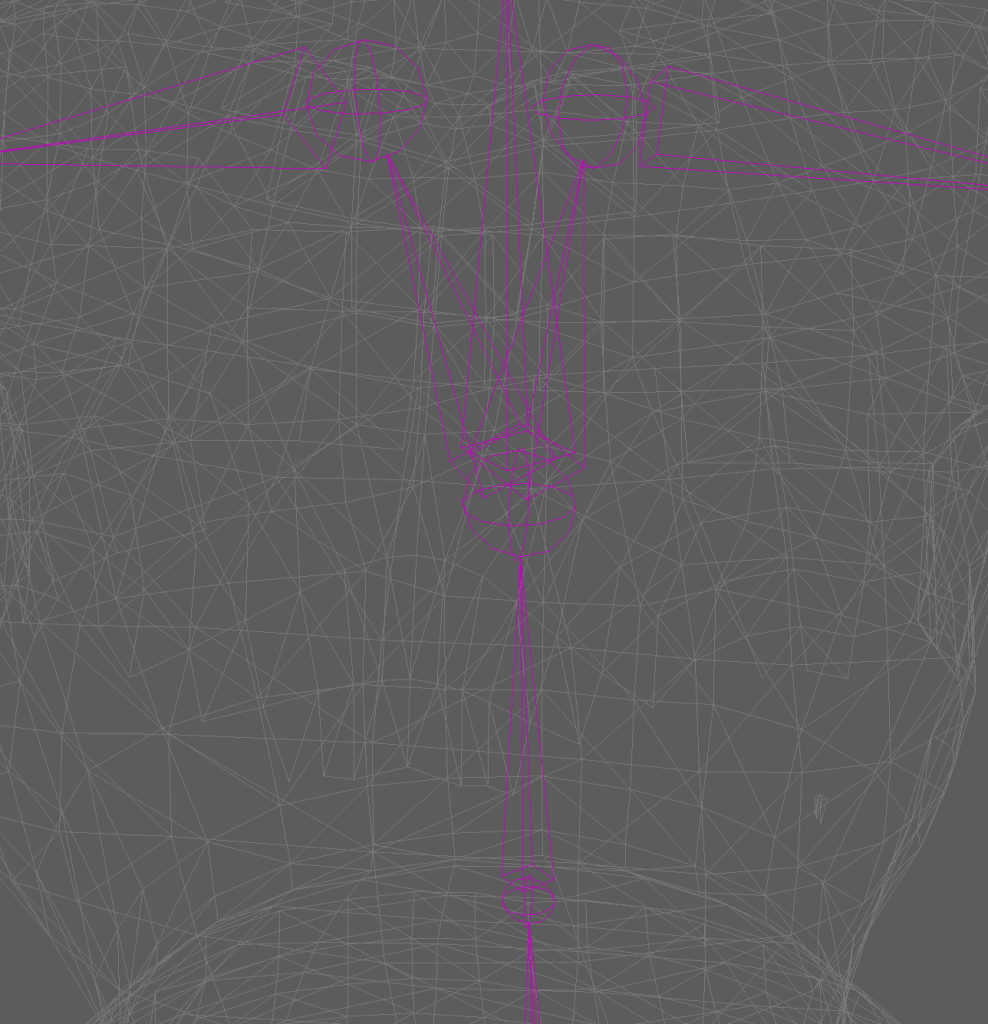
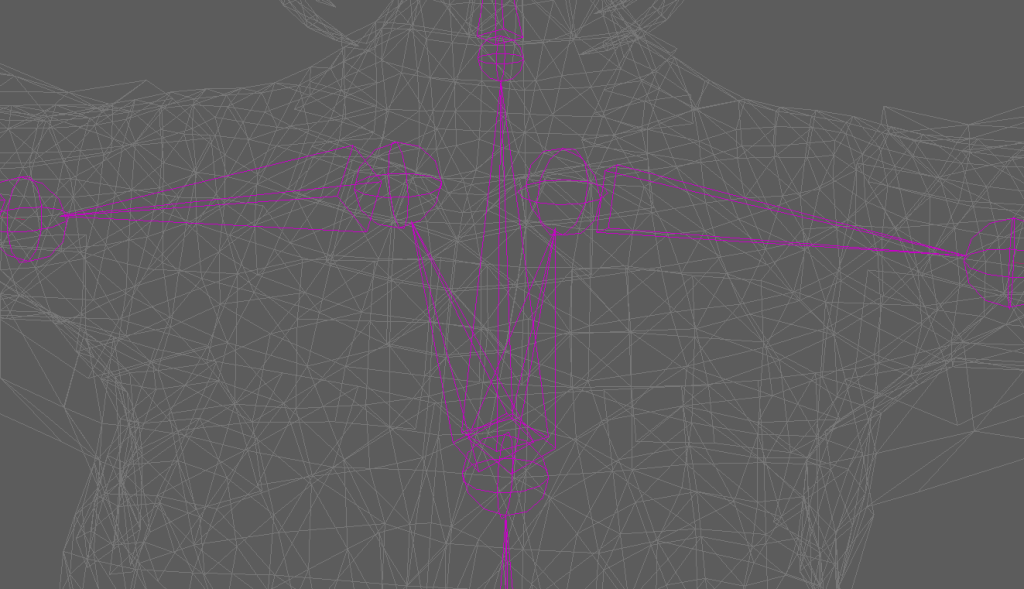
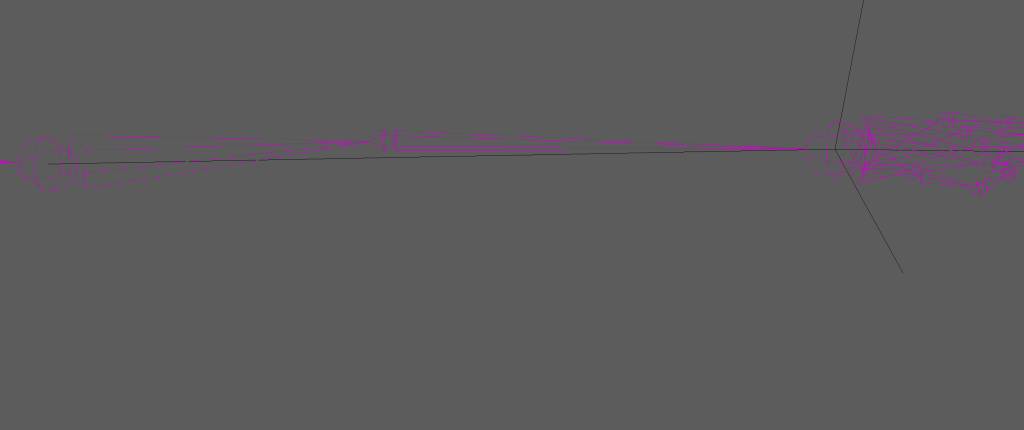
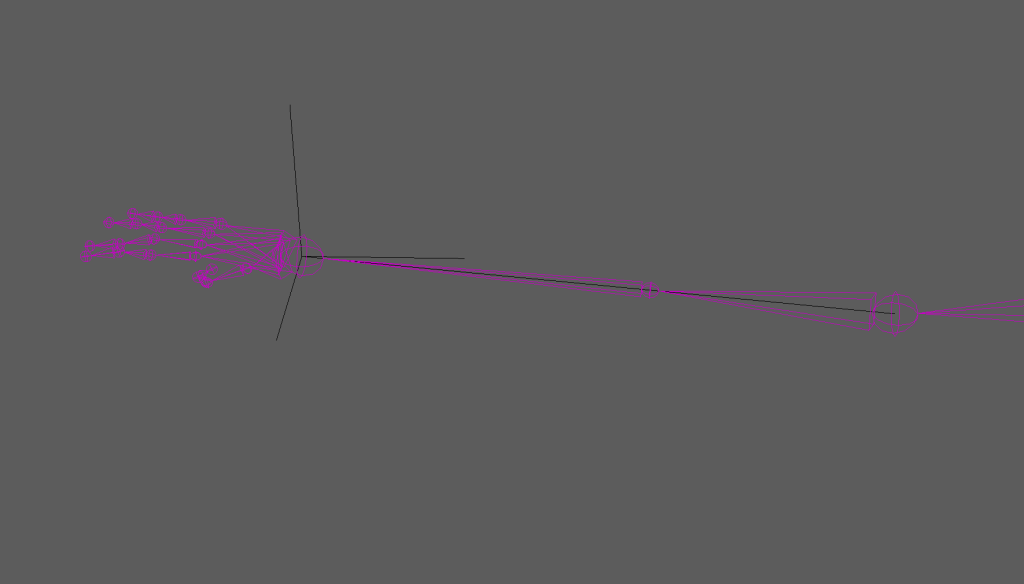
Full Orthagraphic View of Rig
After adjusting the skeleton and IK handles, I went to plan ahead for the next steps being the controls. Here is a showcase of the skeleton in orthographic view.