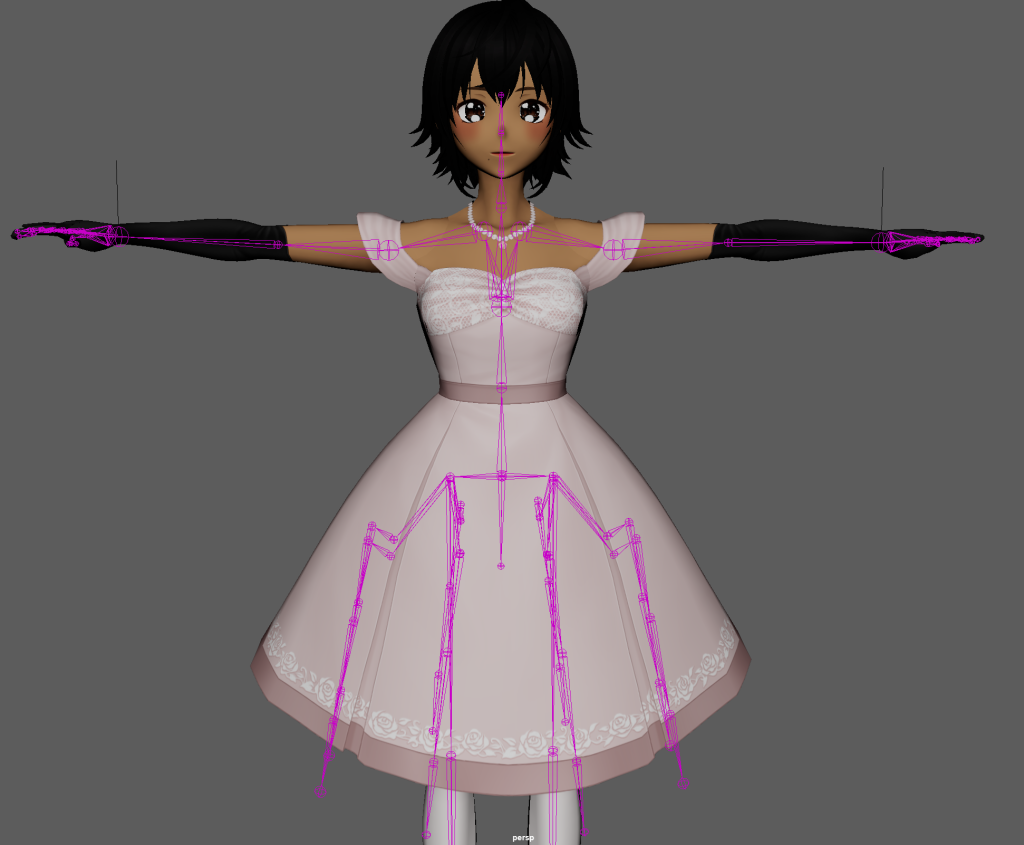
Skinning
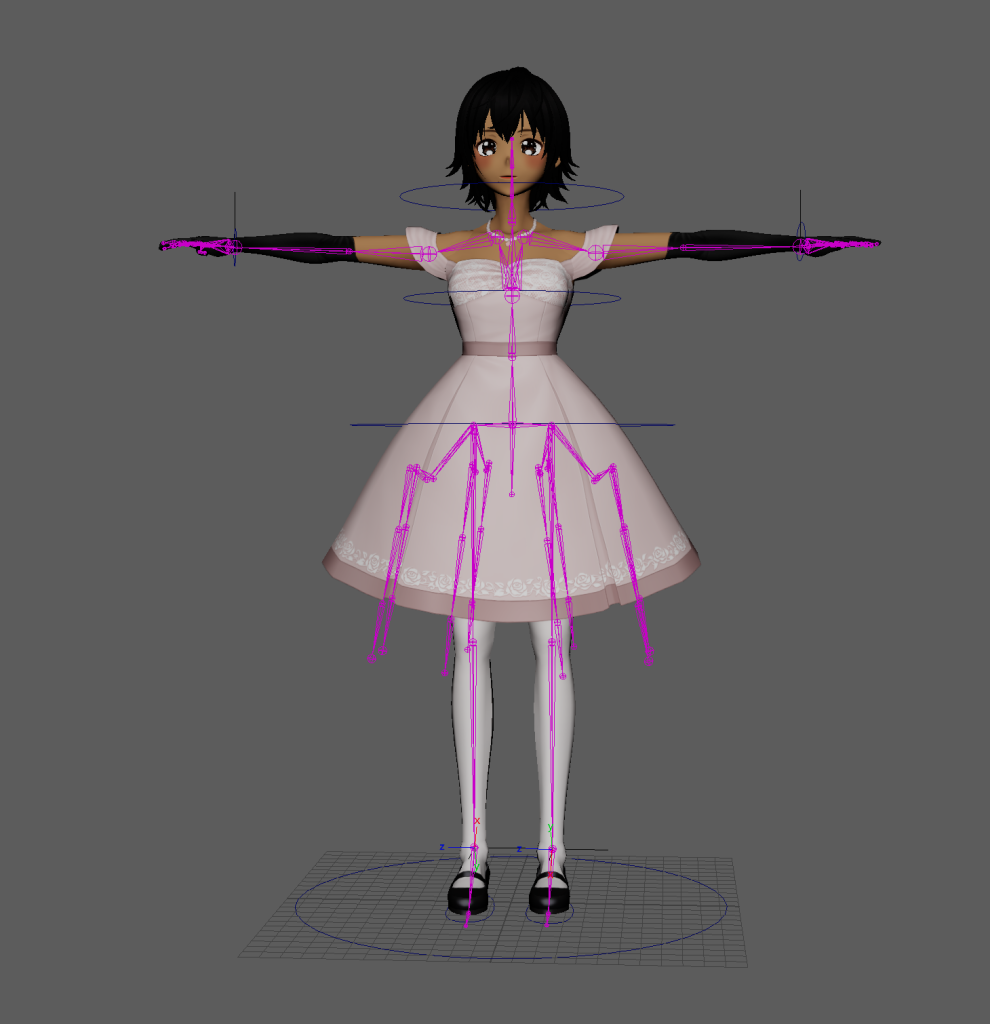
I skinned the model, allowing me to now experiment the joints and the IK handles with the model. This process made it easier to spot any potential mistakes during the IK’s implementation.
Adding in Controls
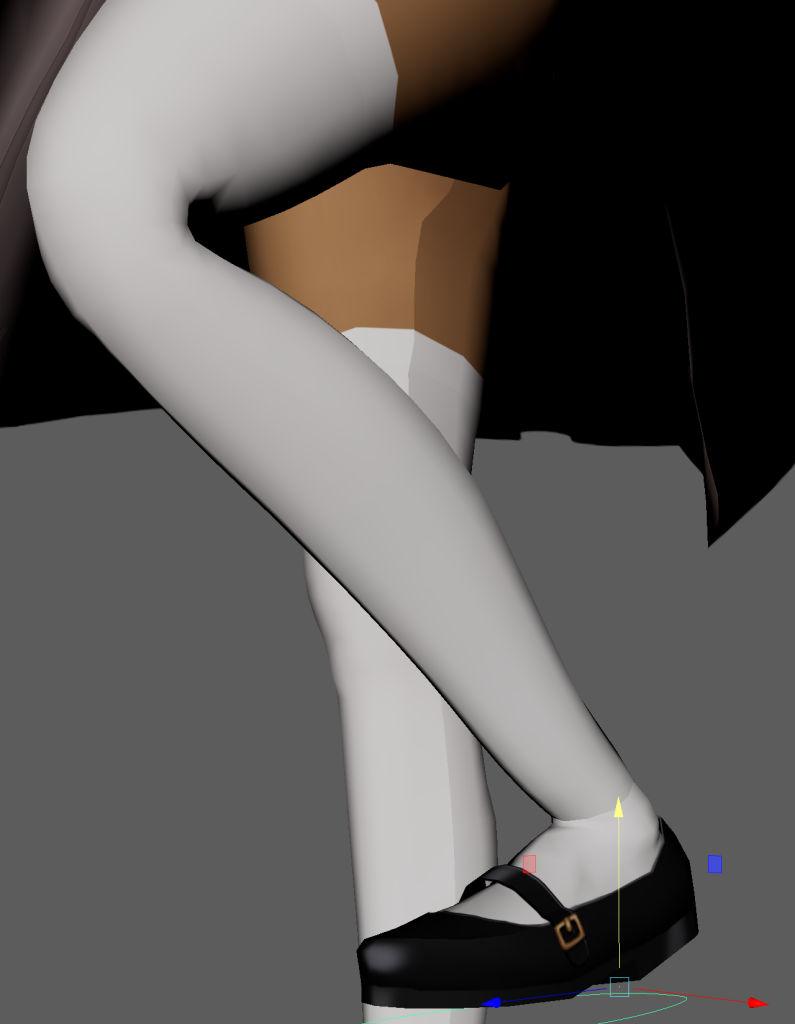
I added controls by starting at the feet. It becomes easier to animate the model as rather than selecting specific joints or IK handles, therefore being a less destructive method of animating by allowing me to deform the model without permanently contorting the rig.
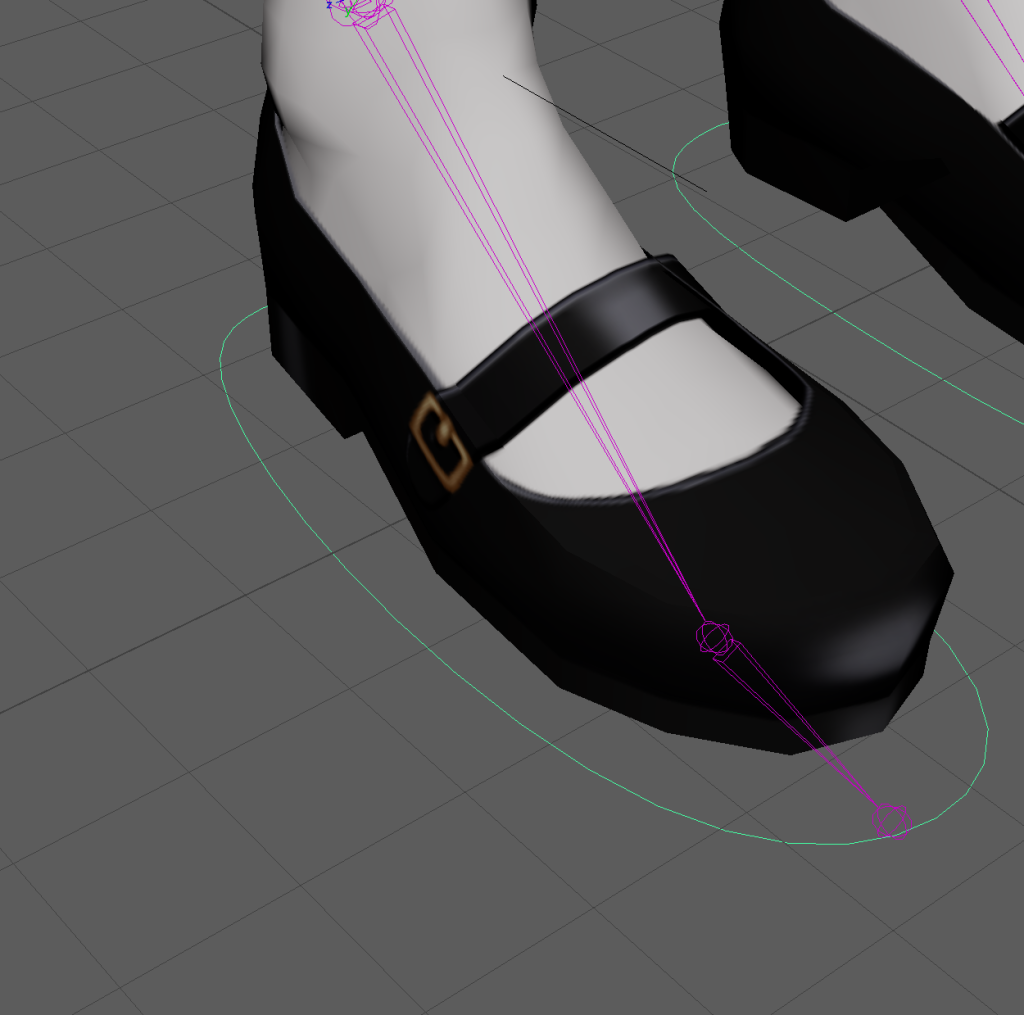
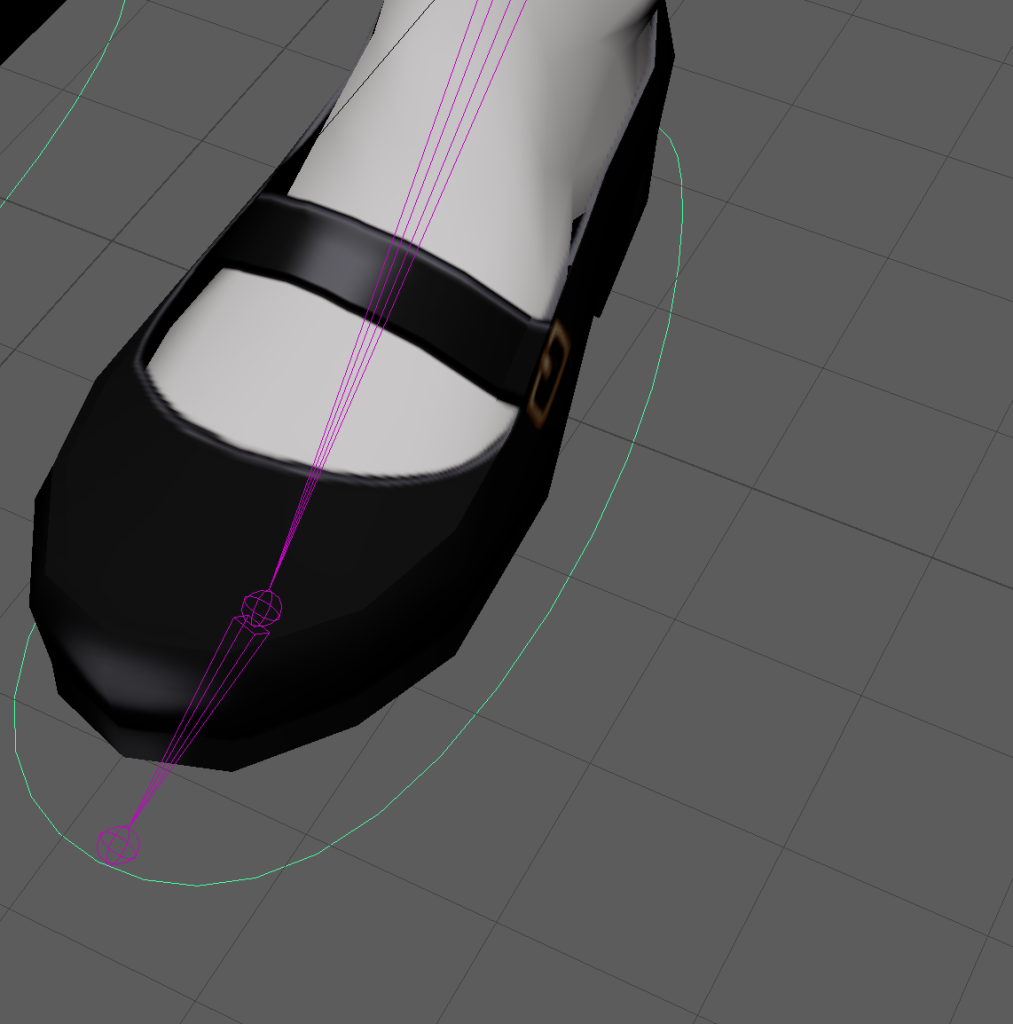
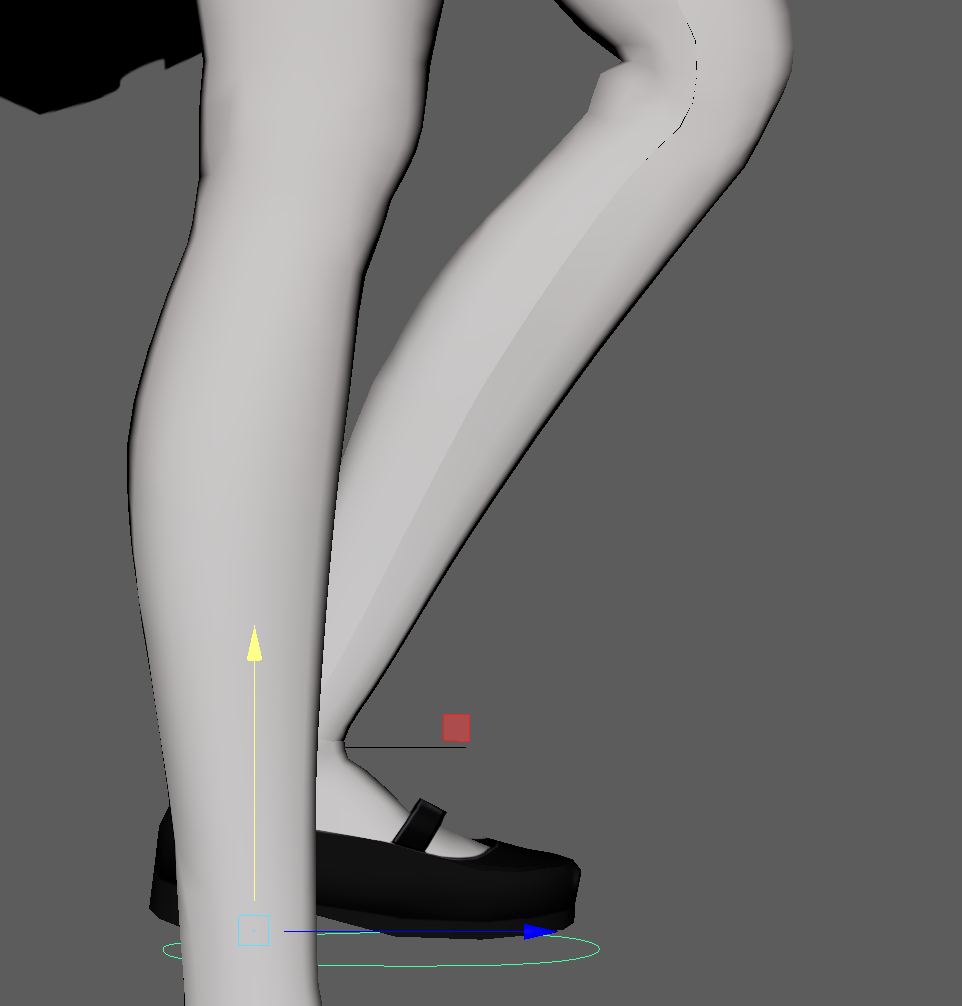
I started with creating foot controls to learn the basic process.
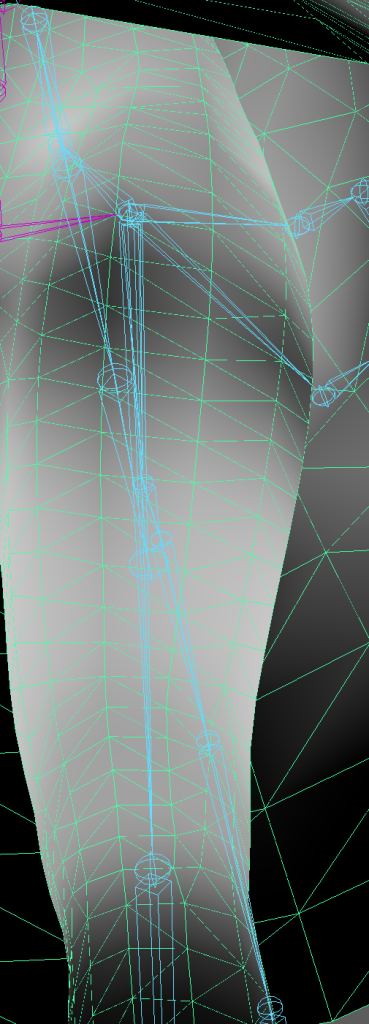
I added point constraints to the IK and Orient Constraints to the foot and leg joints – this means that when moving the foot controls you can move the legs which will cause her dress to move due to her dress bones being connected to the pelvis. This helped prevent clipping issues.
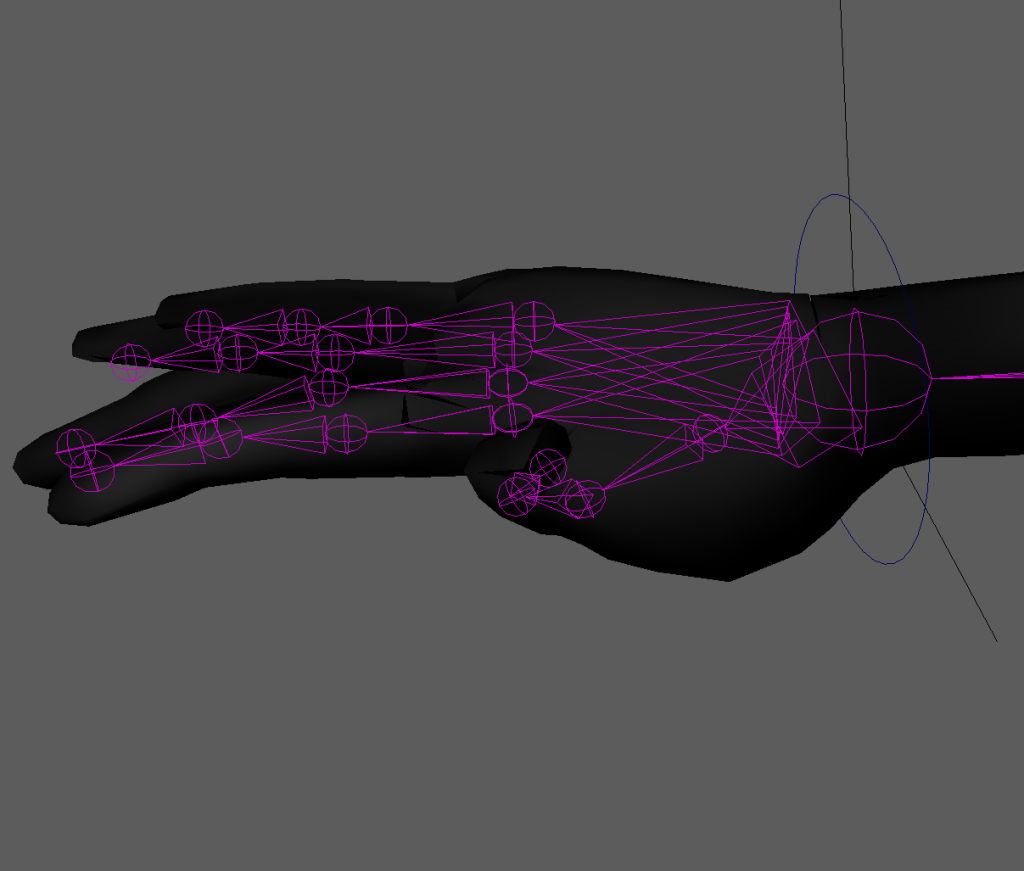
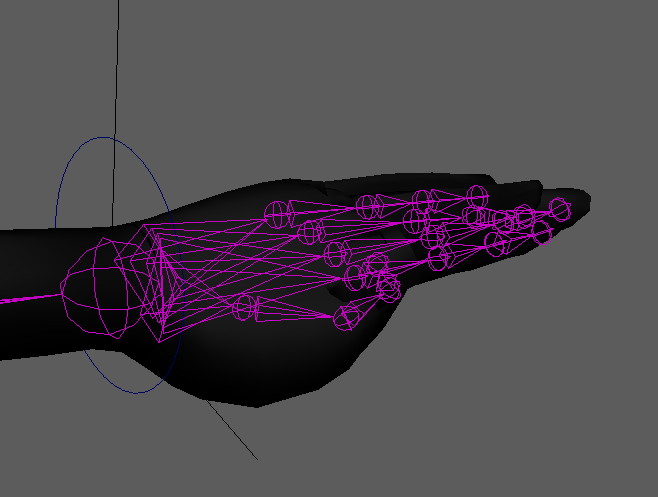
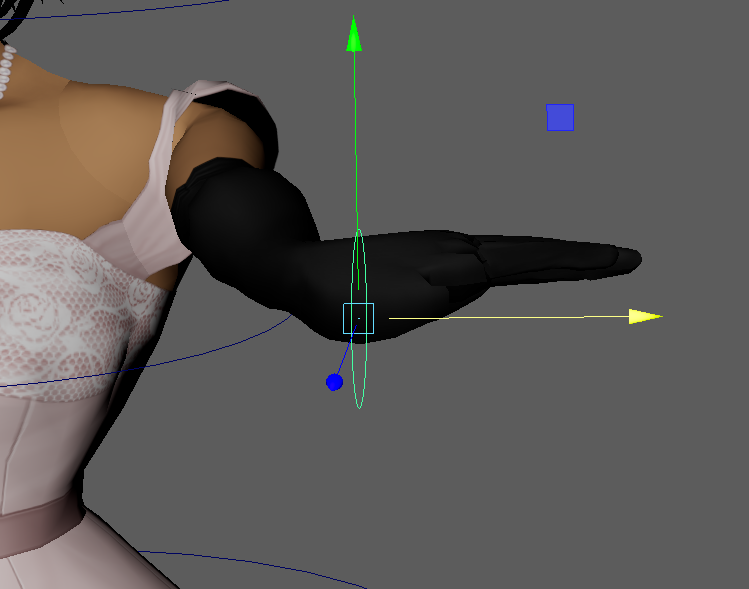
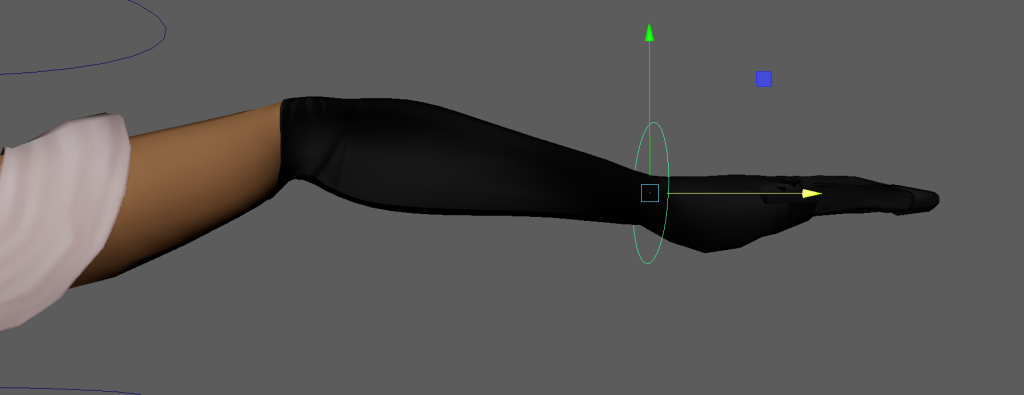
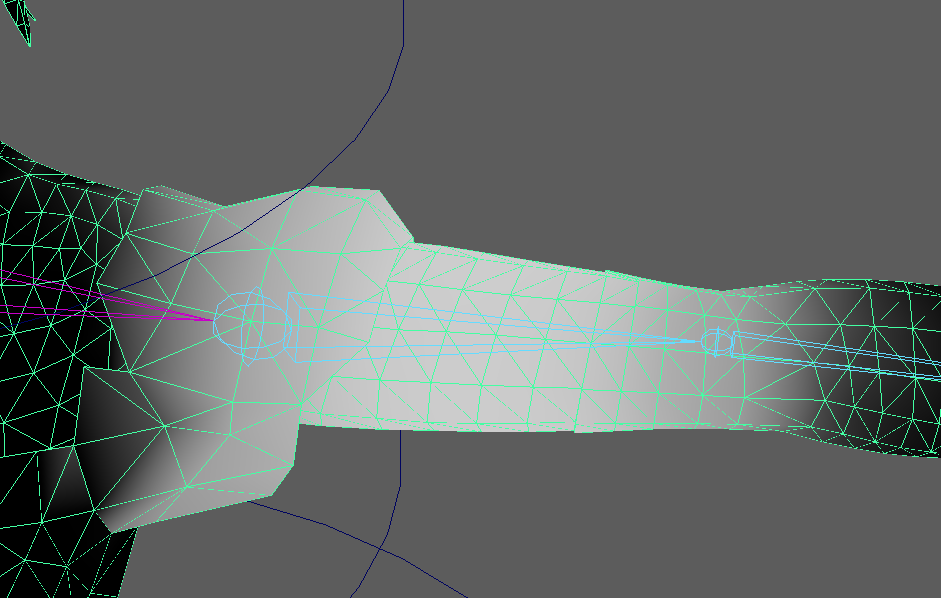
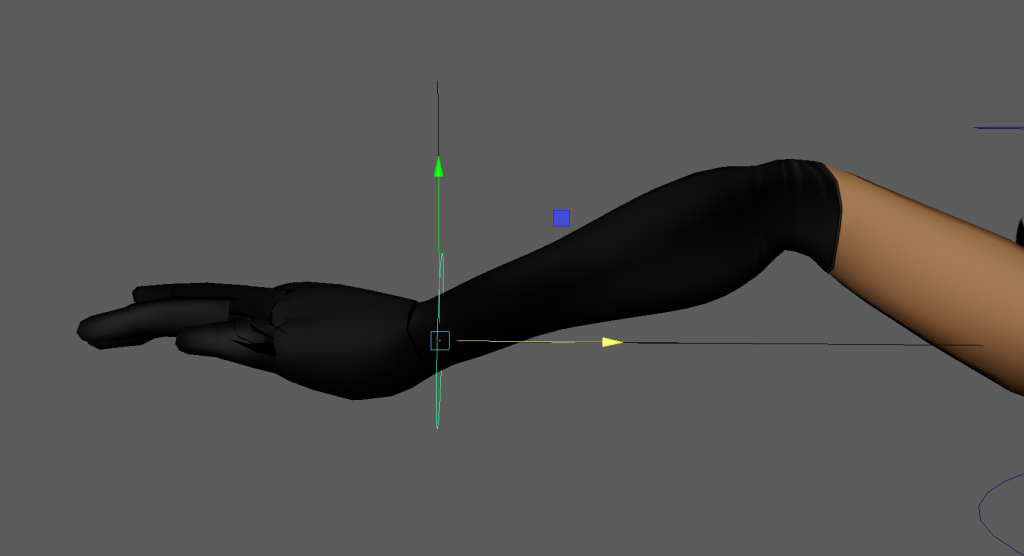
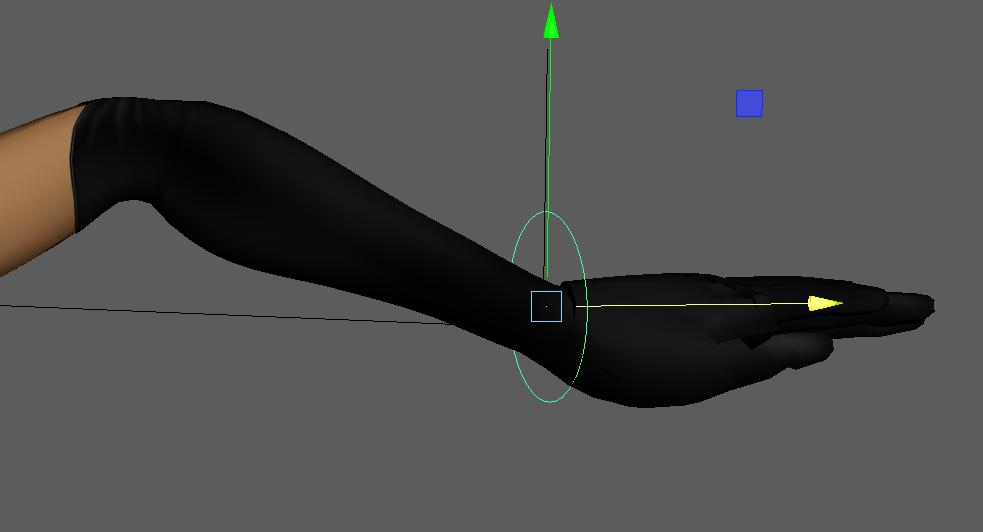
I added point and orient constraints to both the hand joints and IK handles. This allowed me to rotate the wrist joints, and move the arm joints. The issues with elbow snapping were still prevalent – this would not become a priority until I started doing test animations.
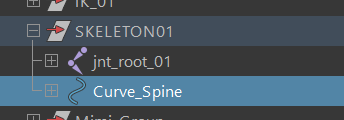
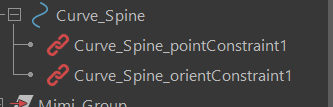
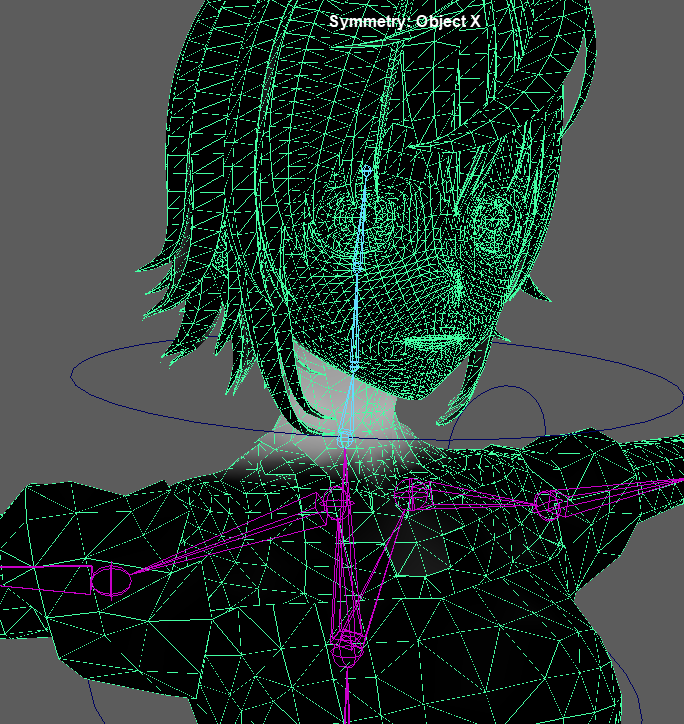
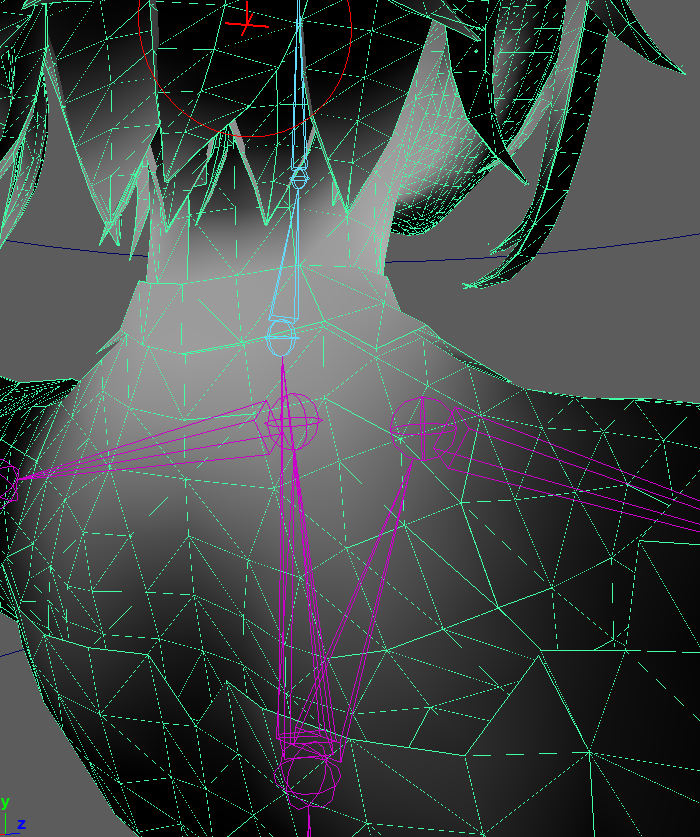
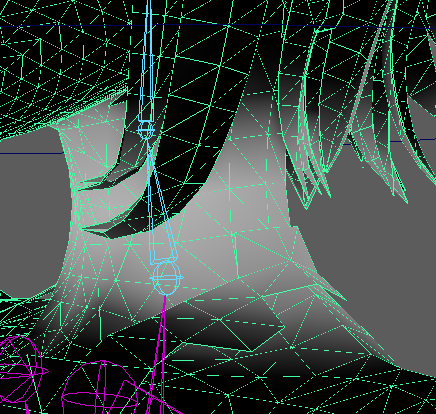
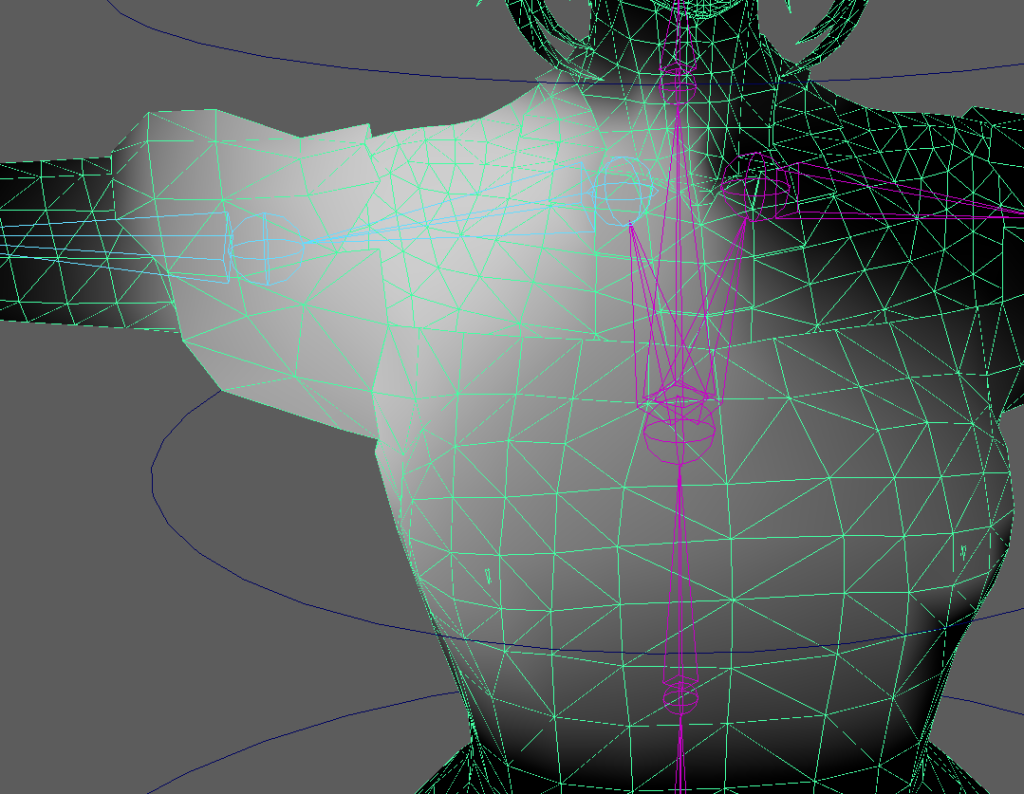
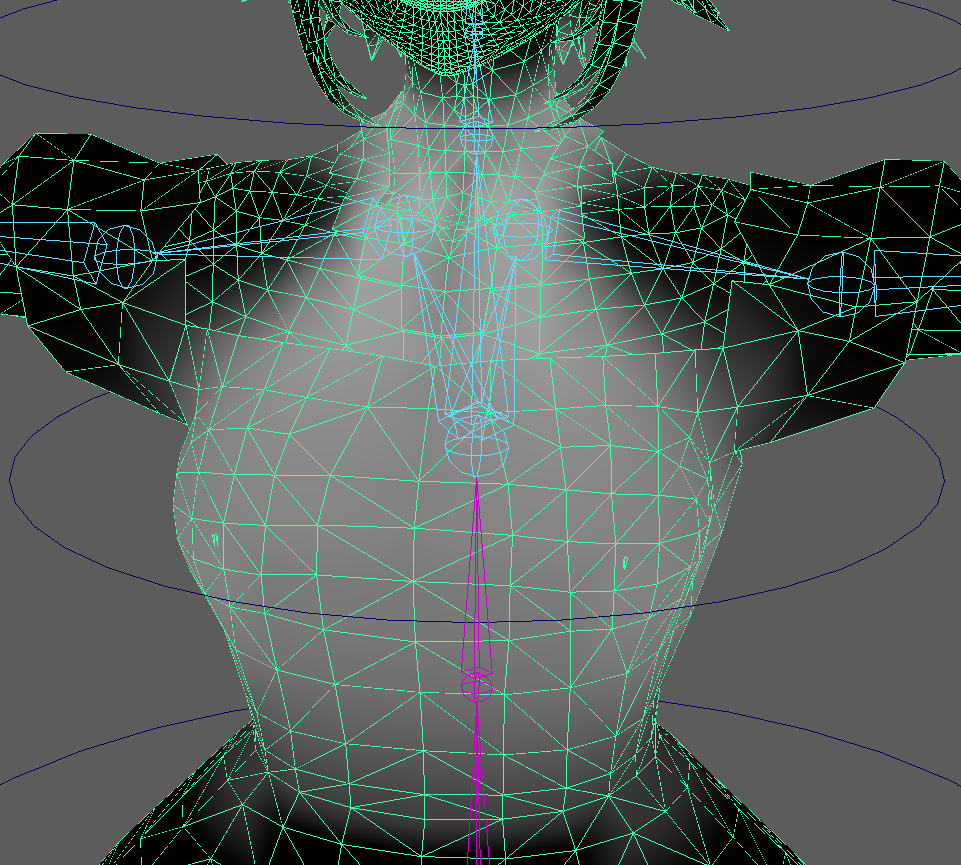
I started working on the spine by adding a spine curve and a Spline IK handle.
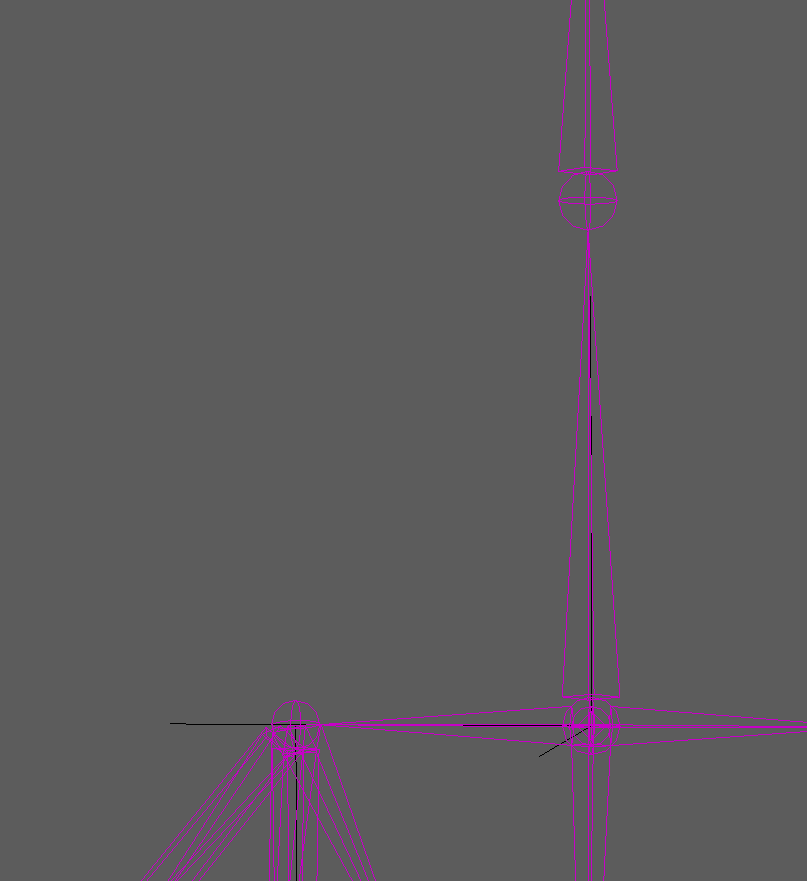
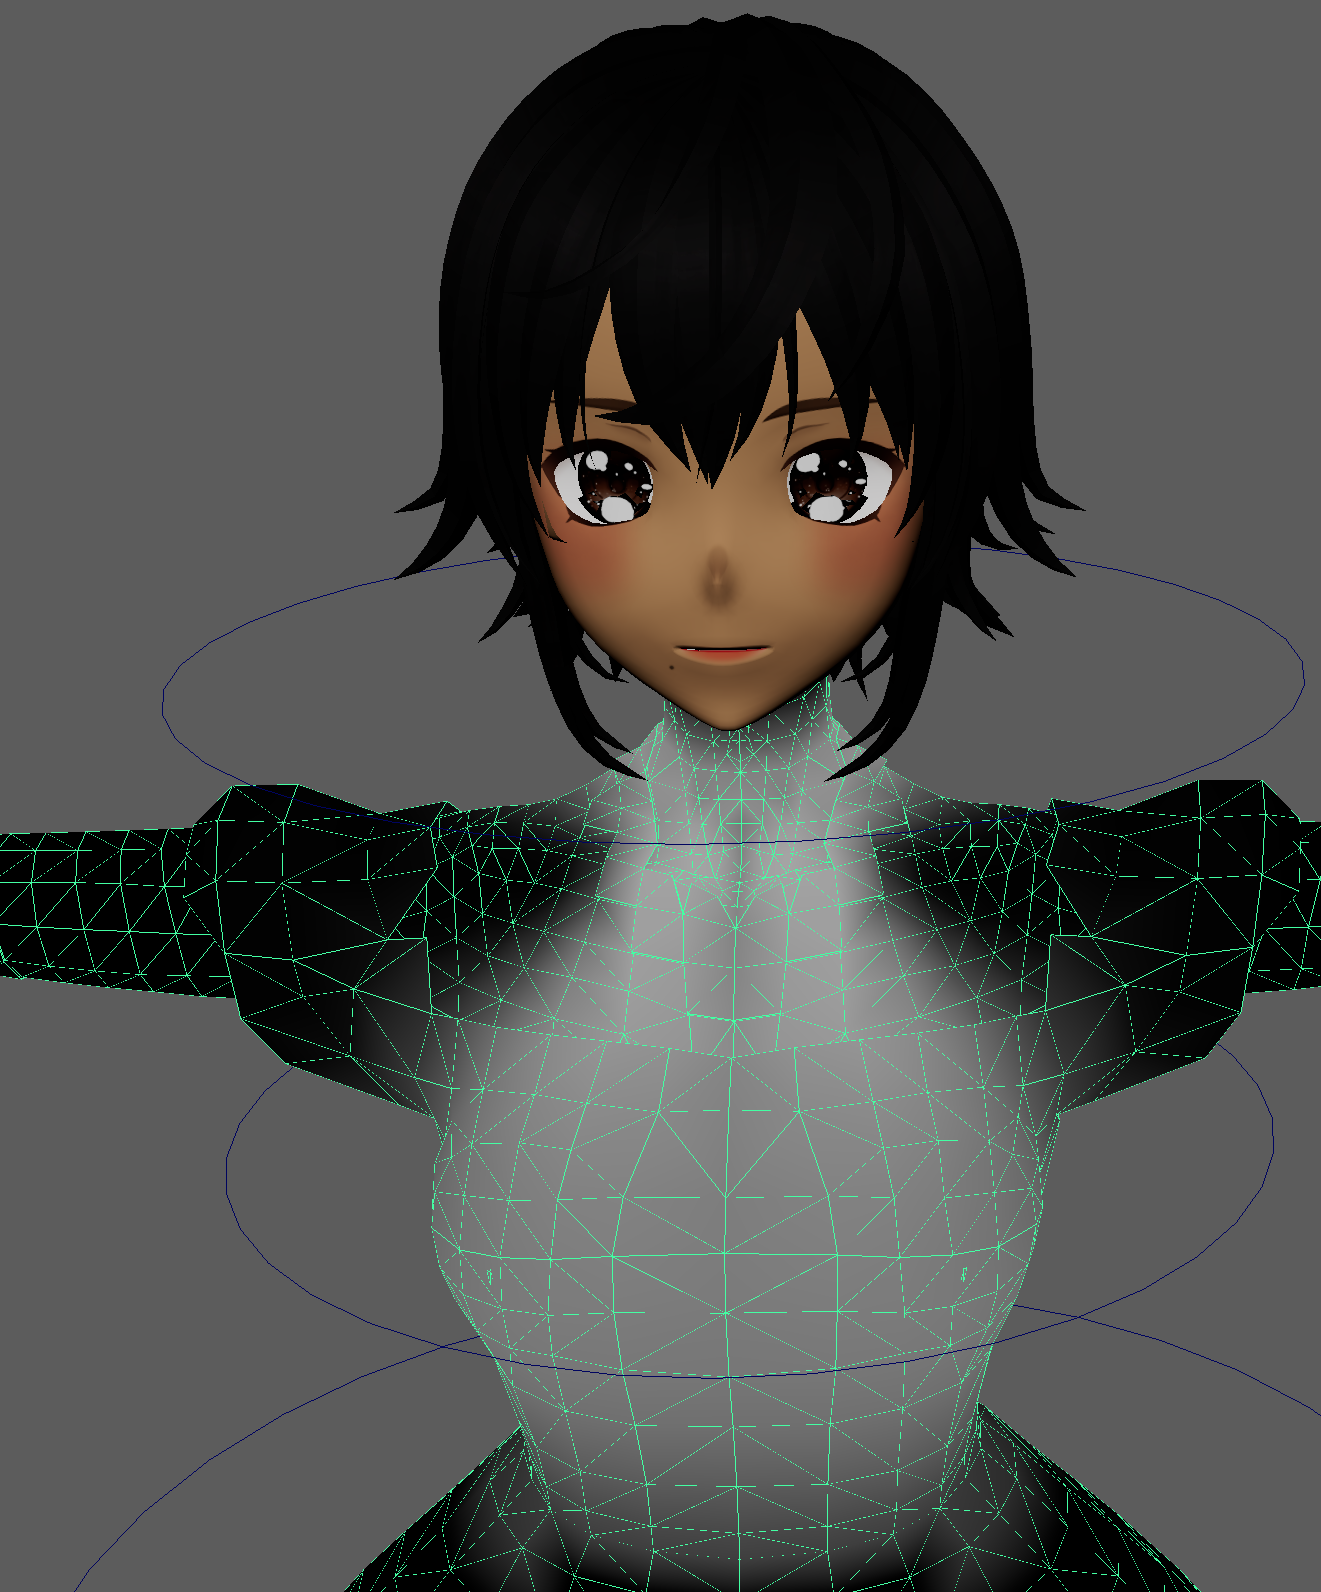
After adding the Hip Controls, I made some chest and neck controls to priorities full control of the spine in several areas. I added an ability where the chest would only be able to roll when rotated. Whereas with the Neck, I added some parent constraints to create a connection between the control and the head joints themselves.
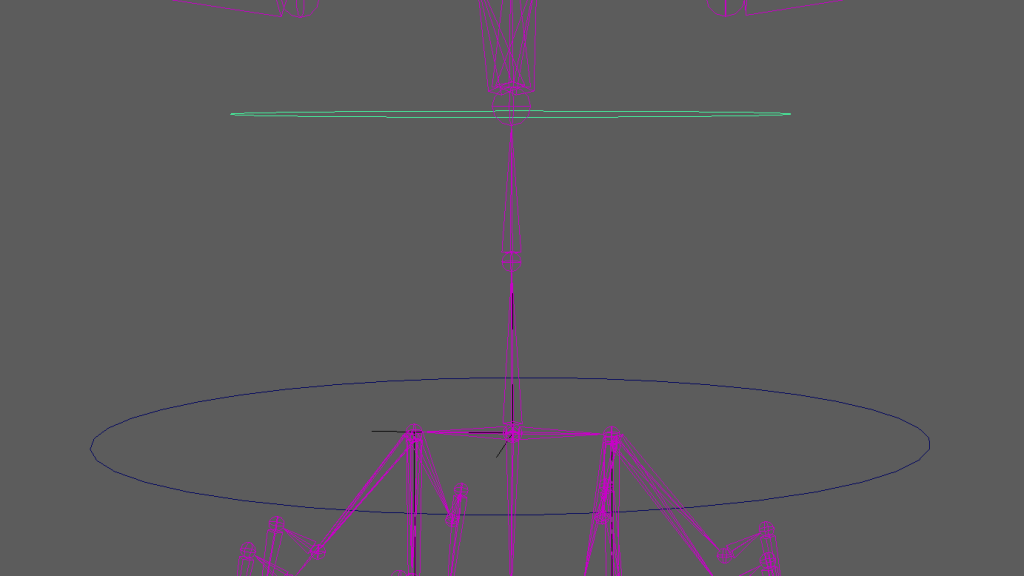
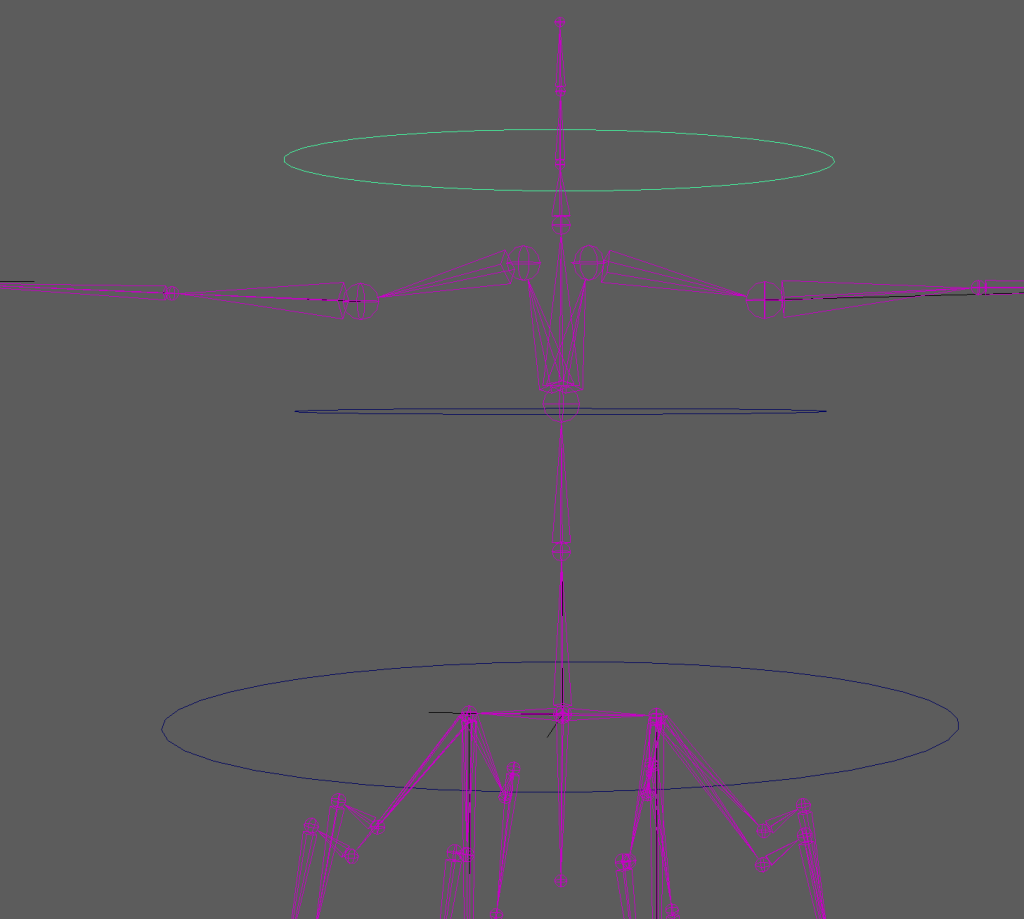
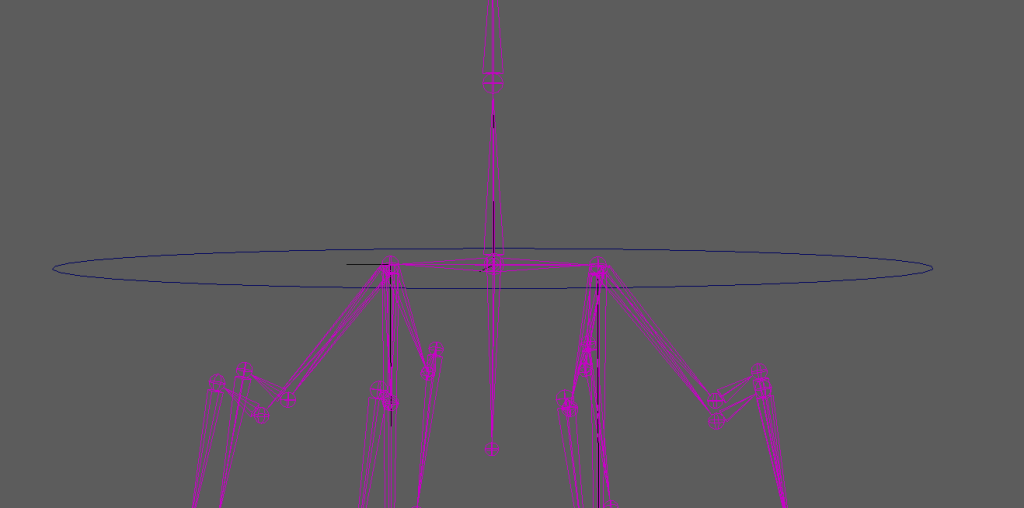
I found it incredibly difficult to work with the chest and hip controls because ,at the time, the neck was the only control that was able to work once implemented.
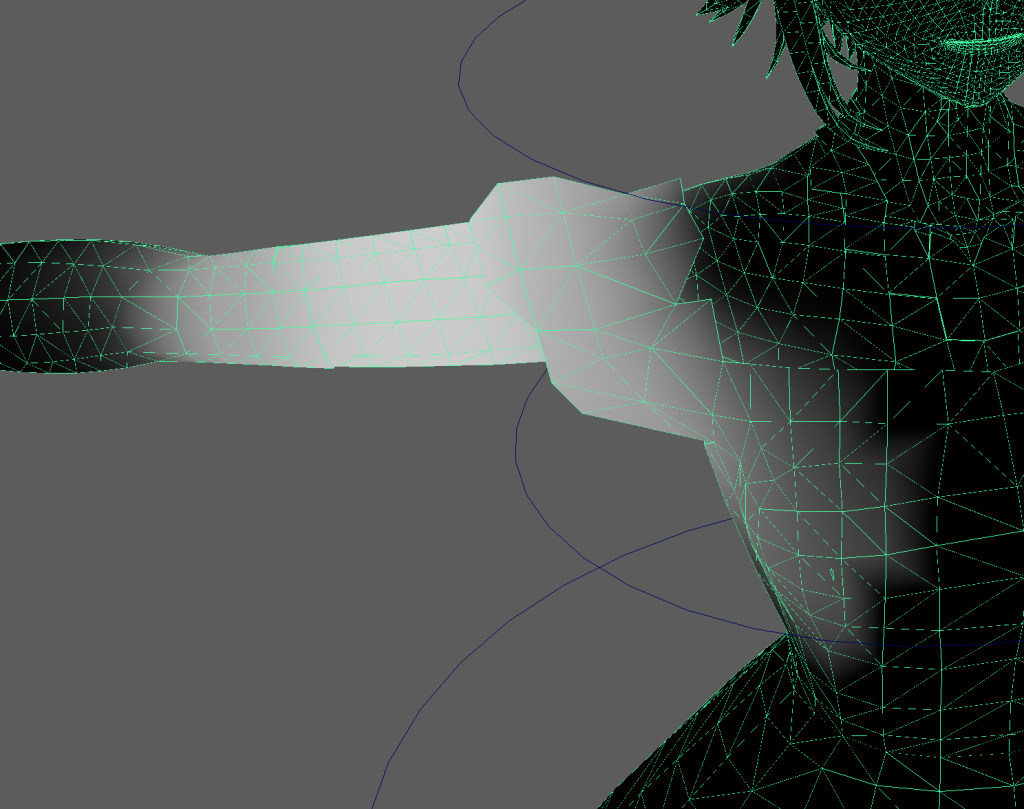
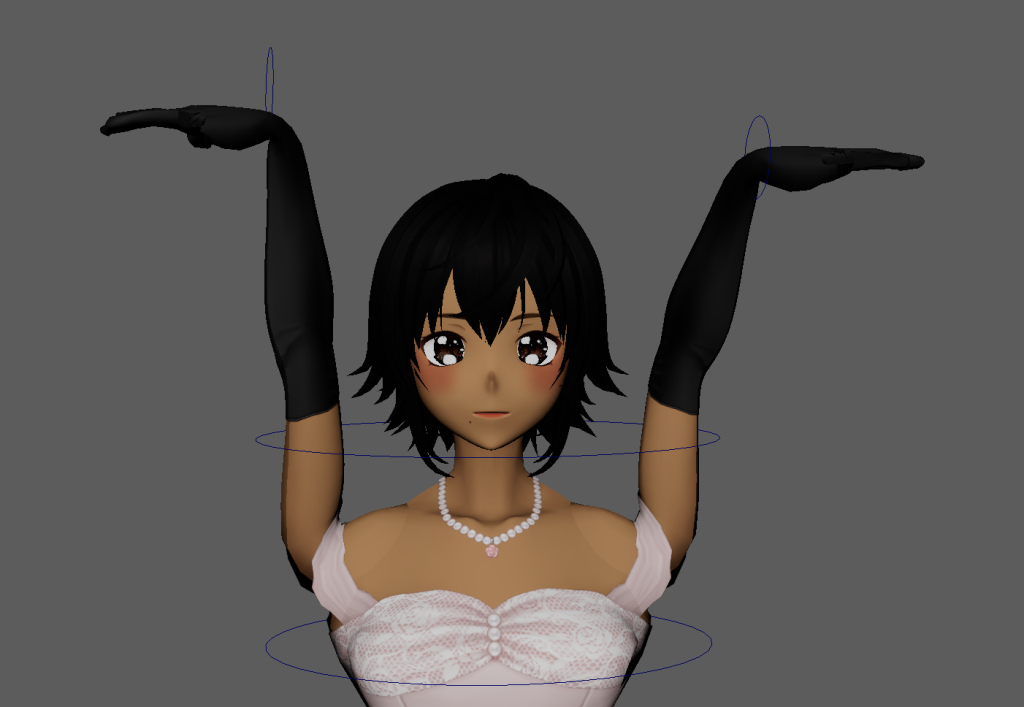
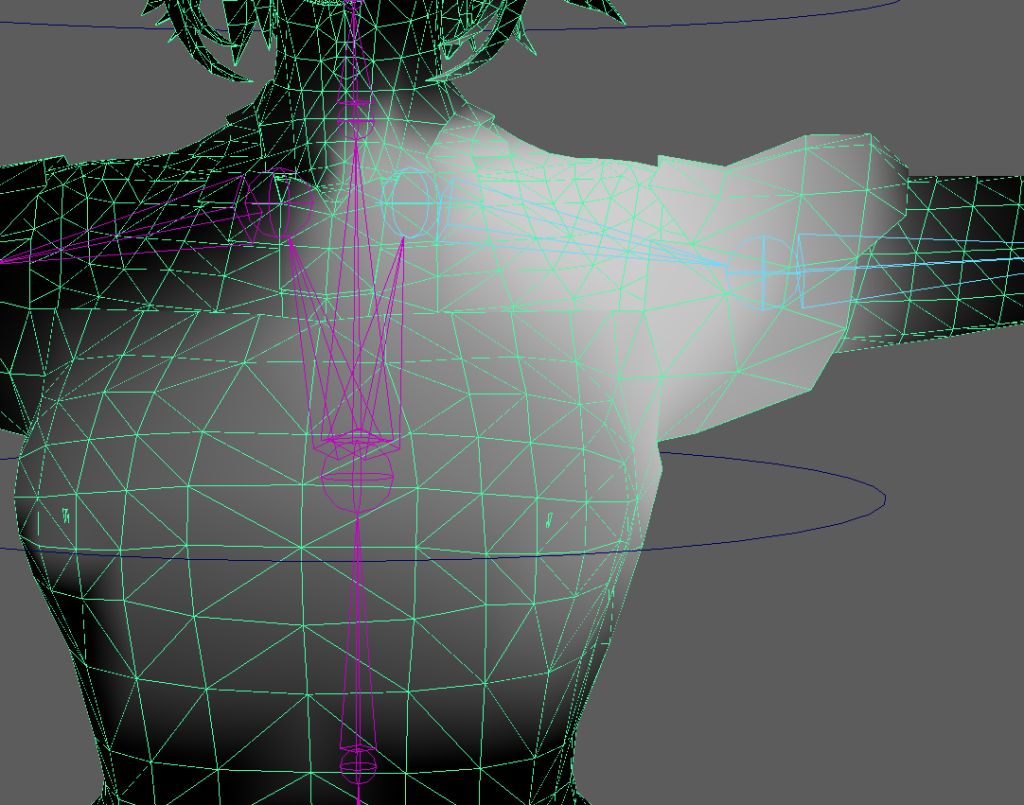
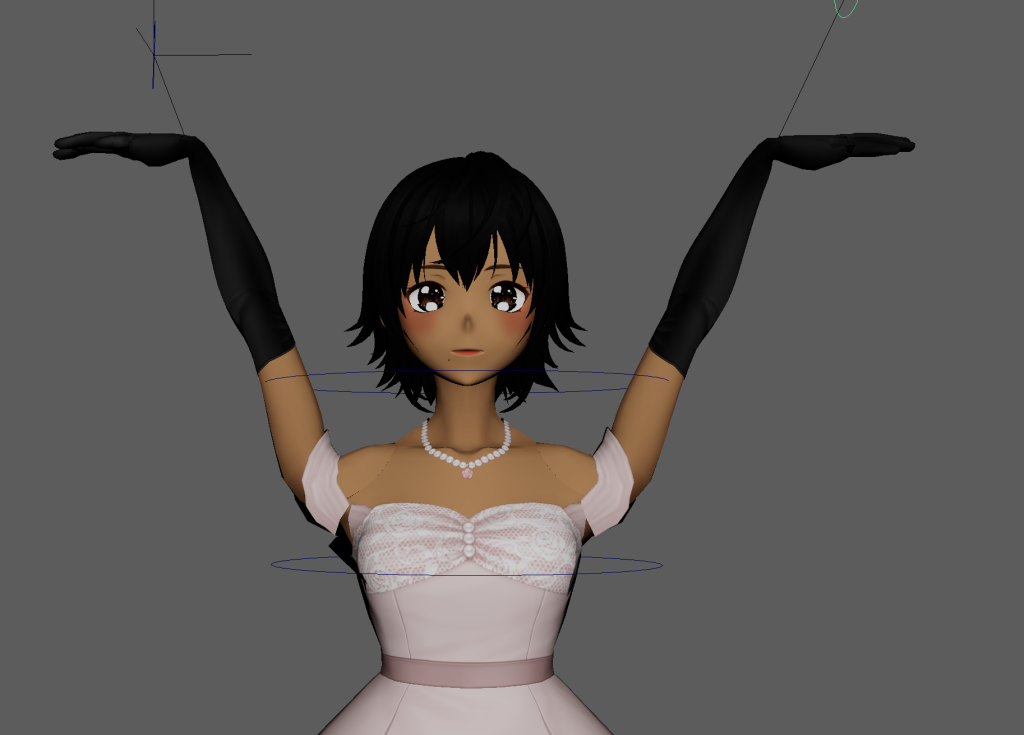
The hips and chest would never move her body properly with no twists or rolls as well as the spline IK only affecting her chest upwards. I tried to solve this issue by adding extra point constraints however it only caused the arms to be further influenced by the spine (as shown here).
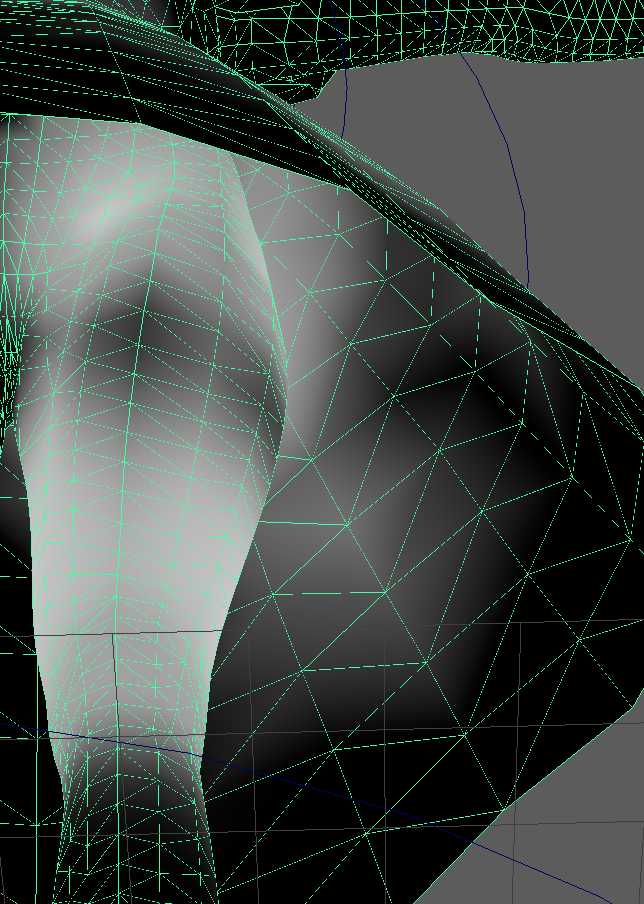
Weight Painting
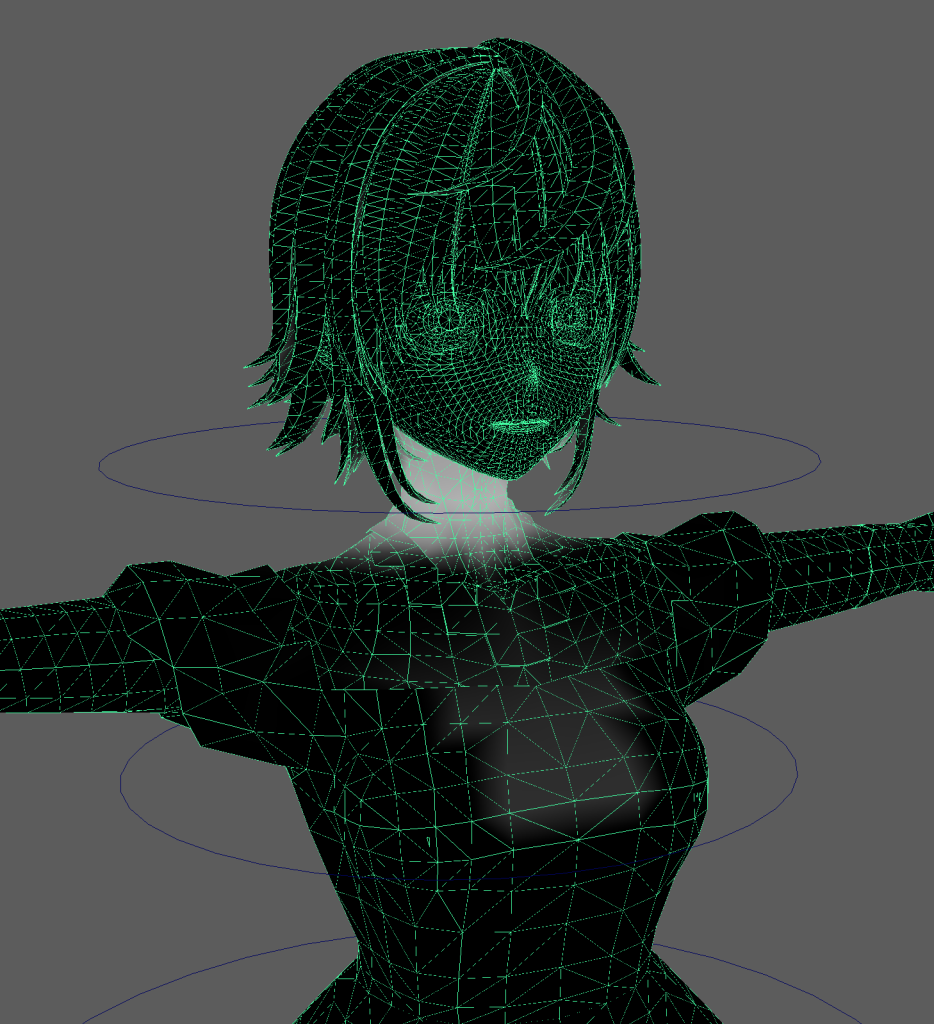
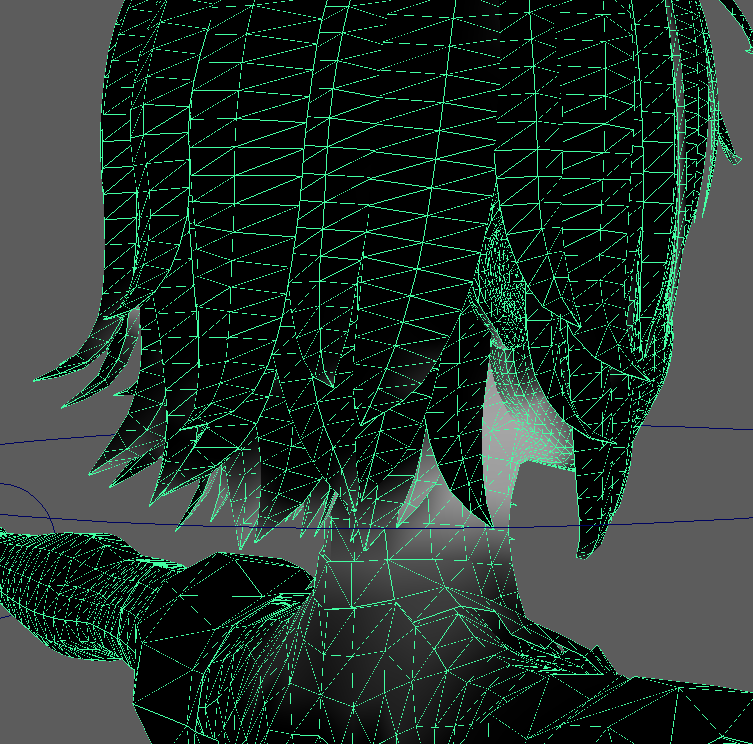
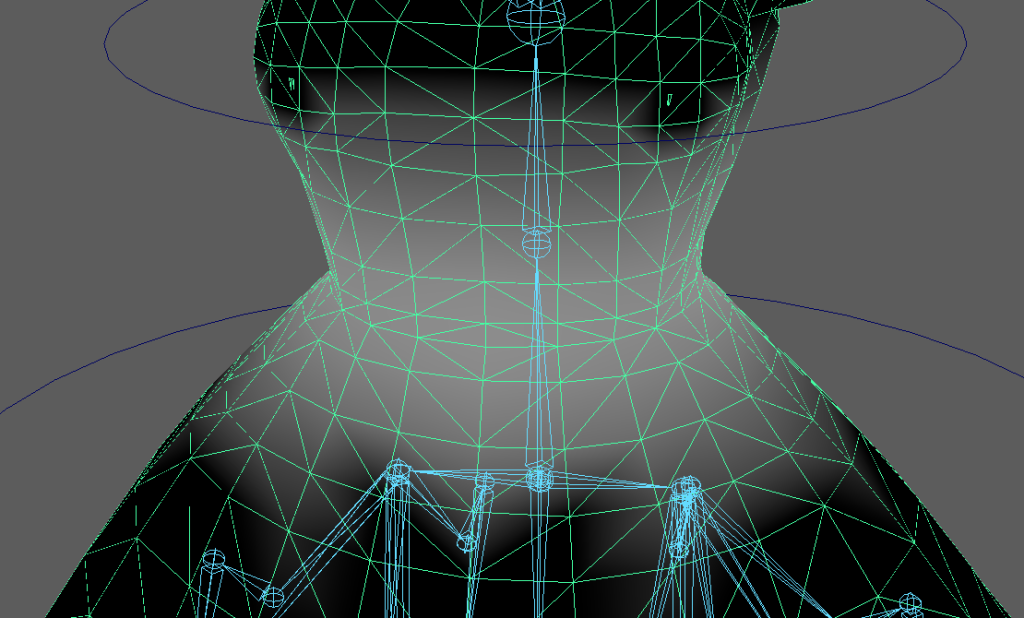
These are the automatic weight painting before the main changes that I added to the neck joint. This was so I could test the head movements.
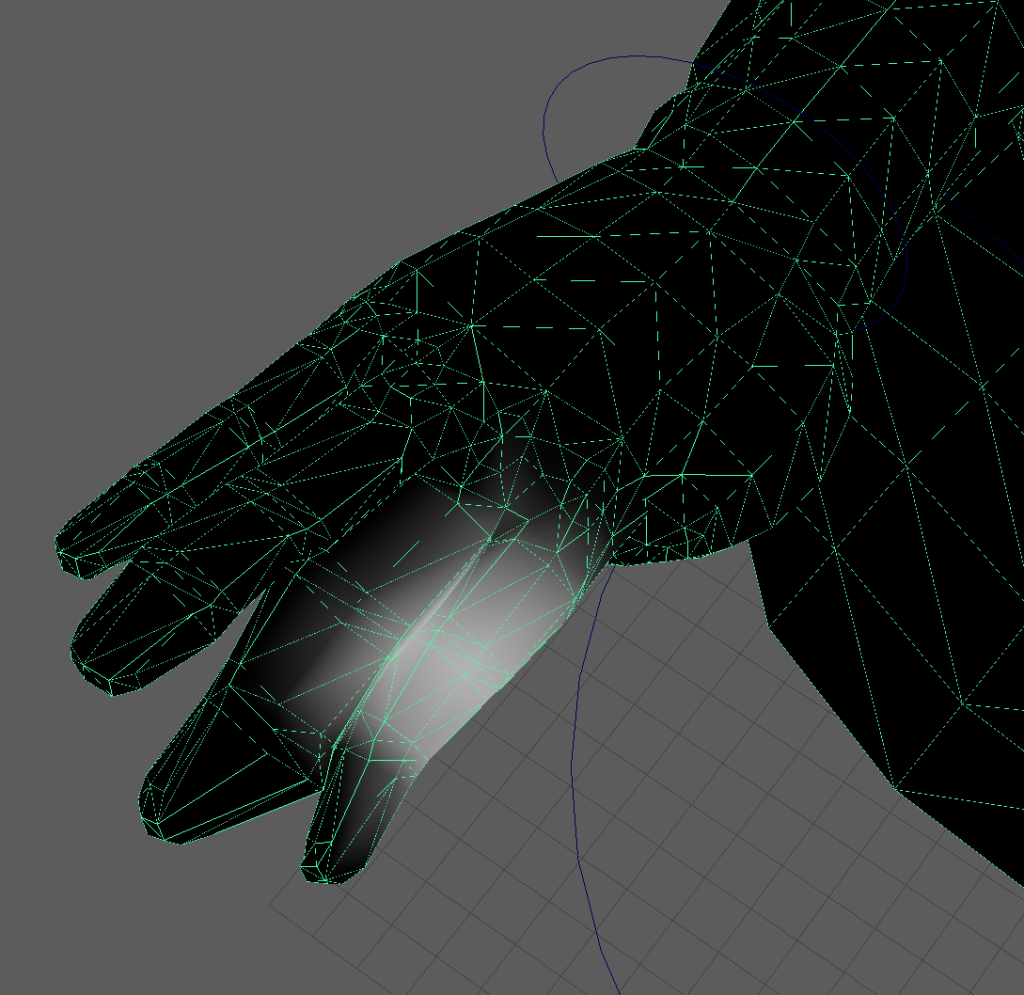
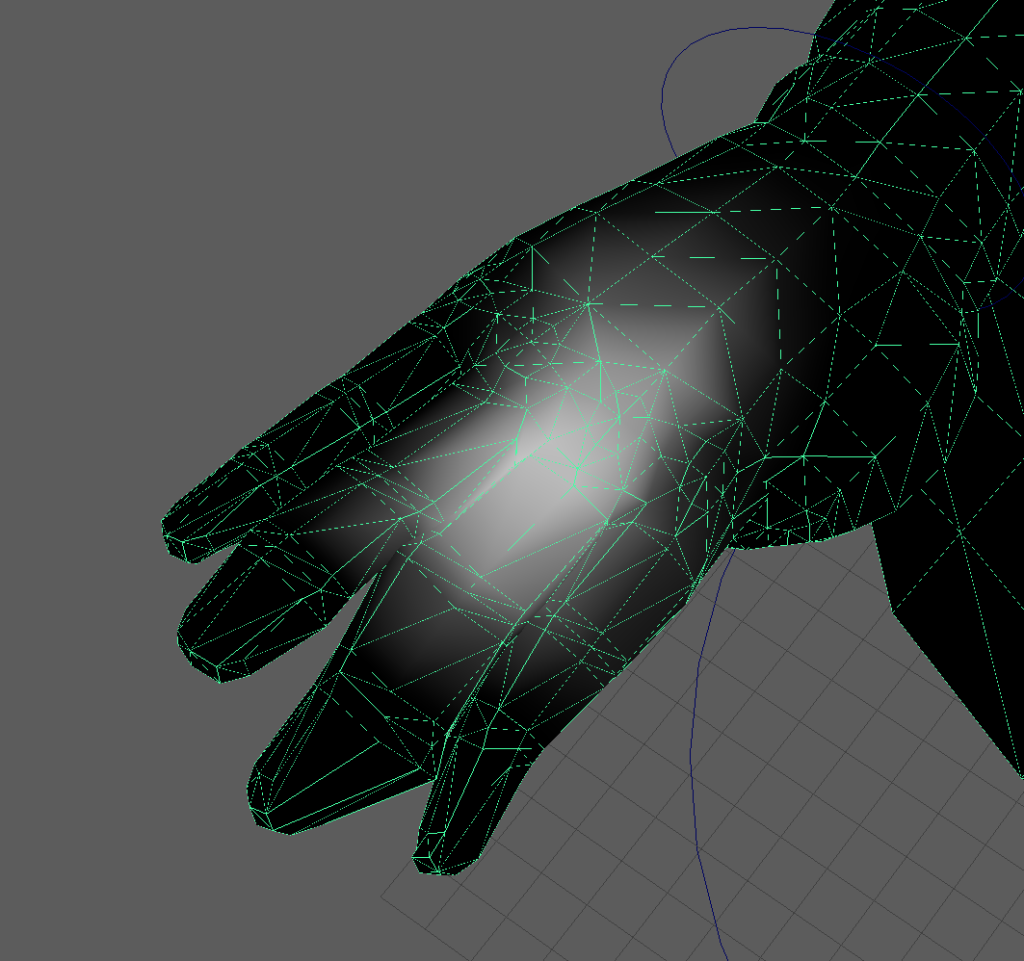
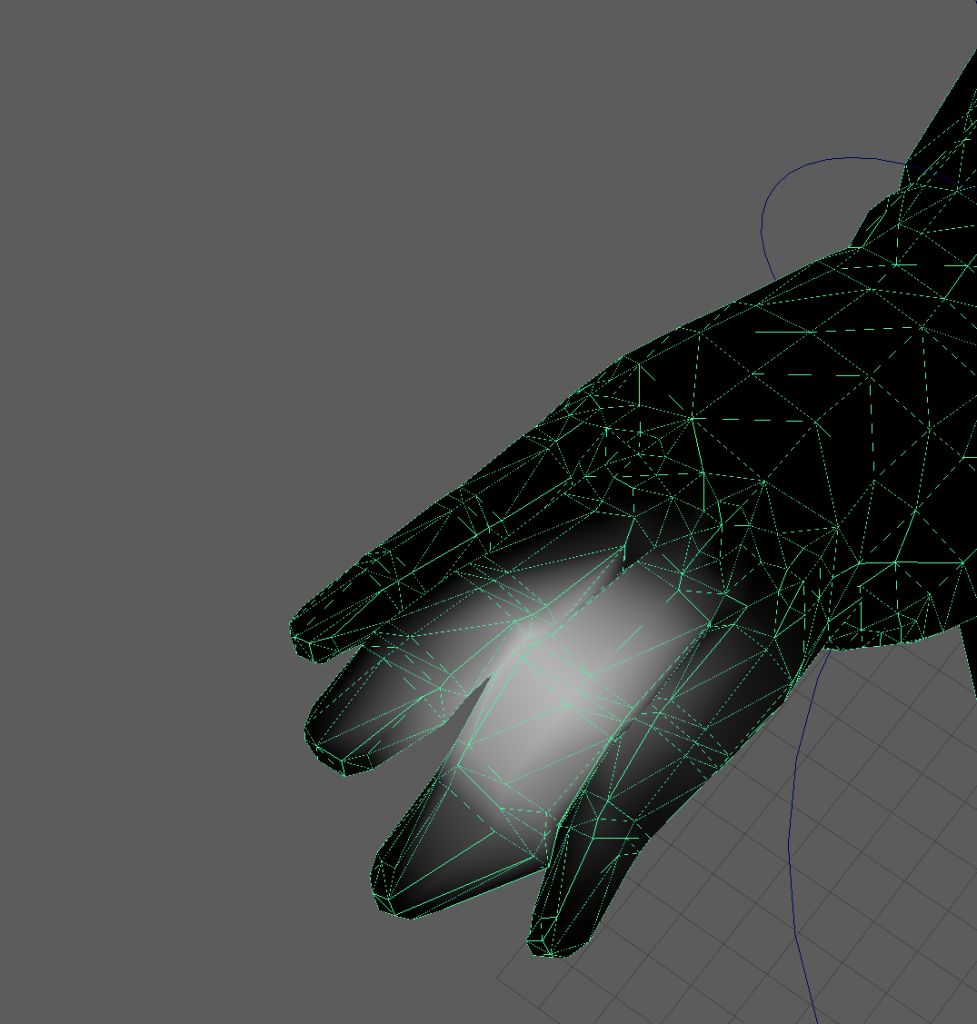
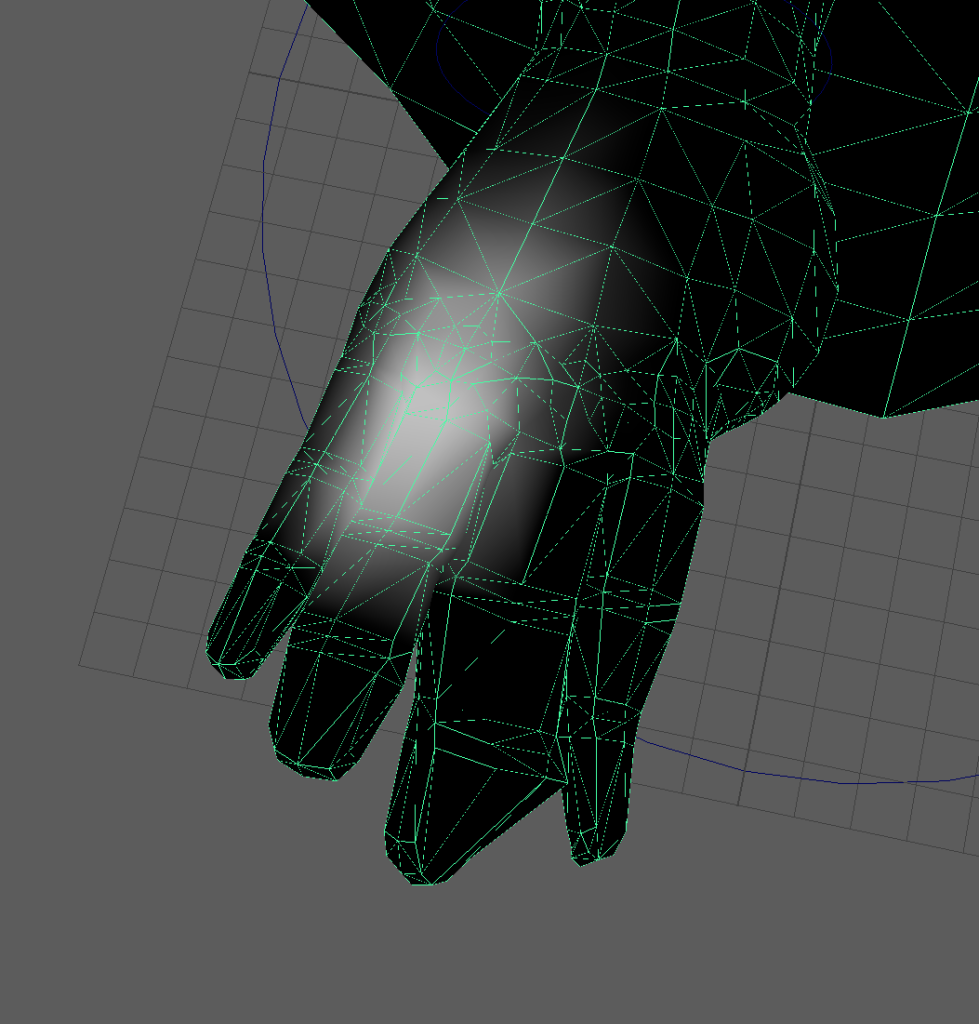
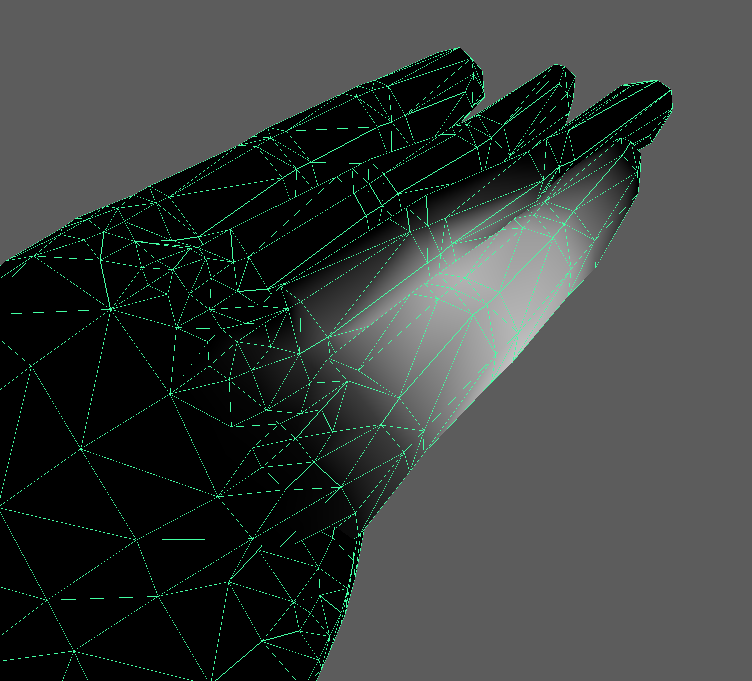
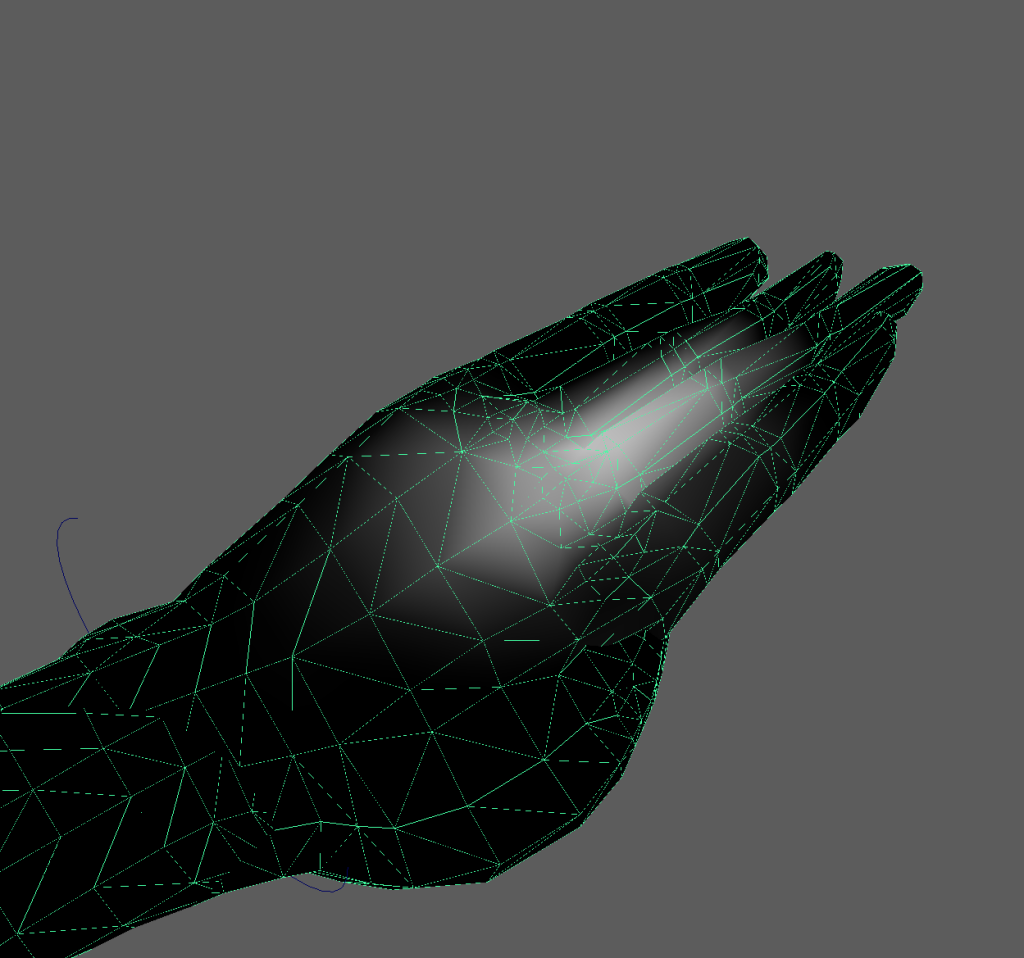
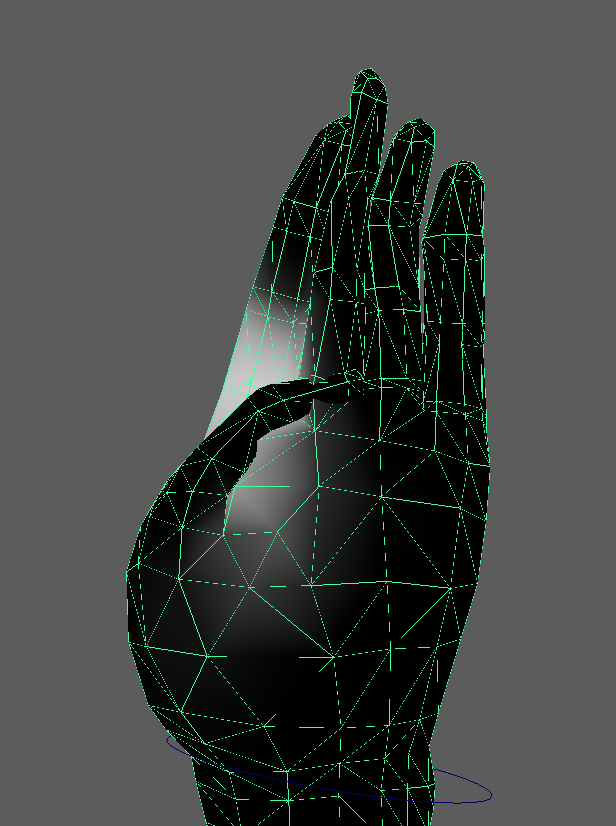
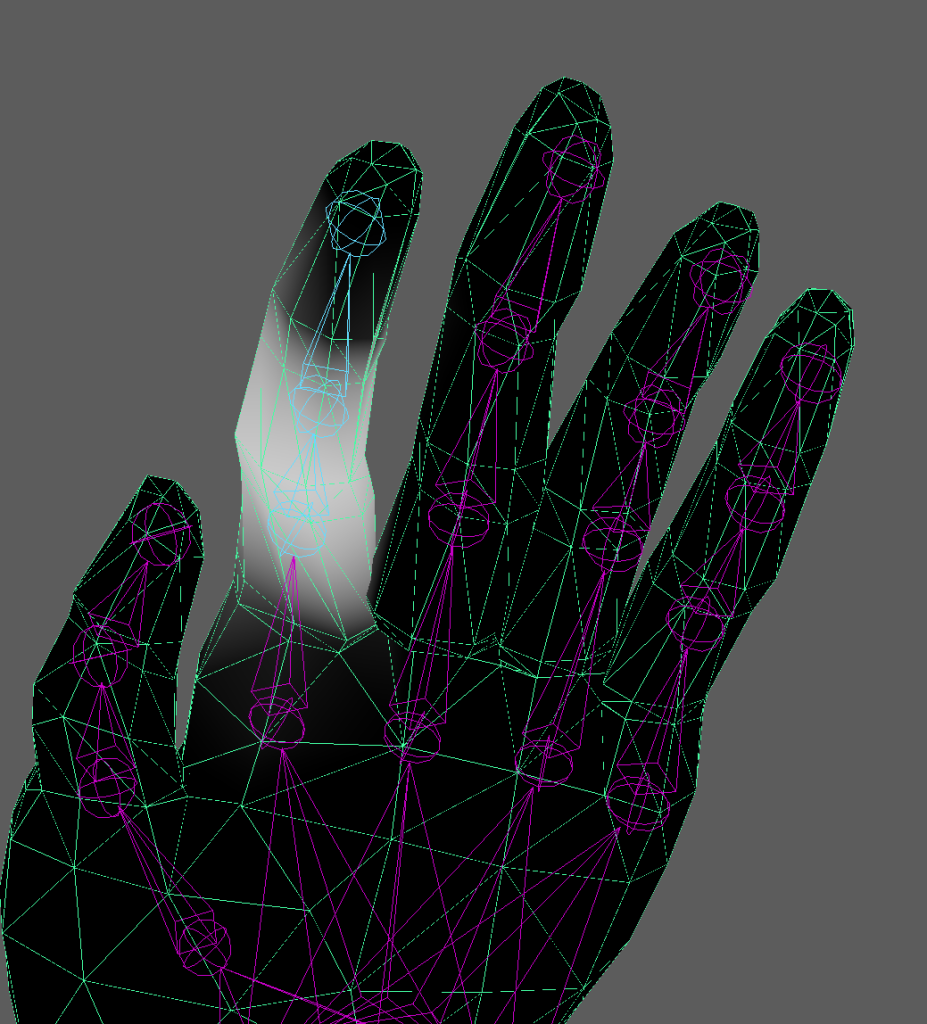
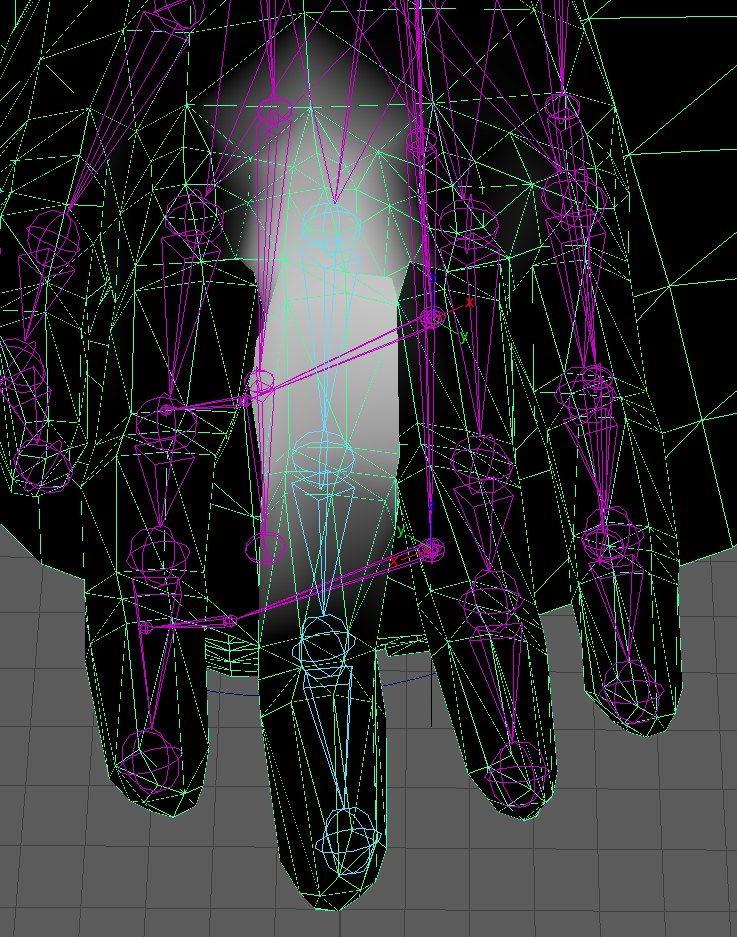
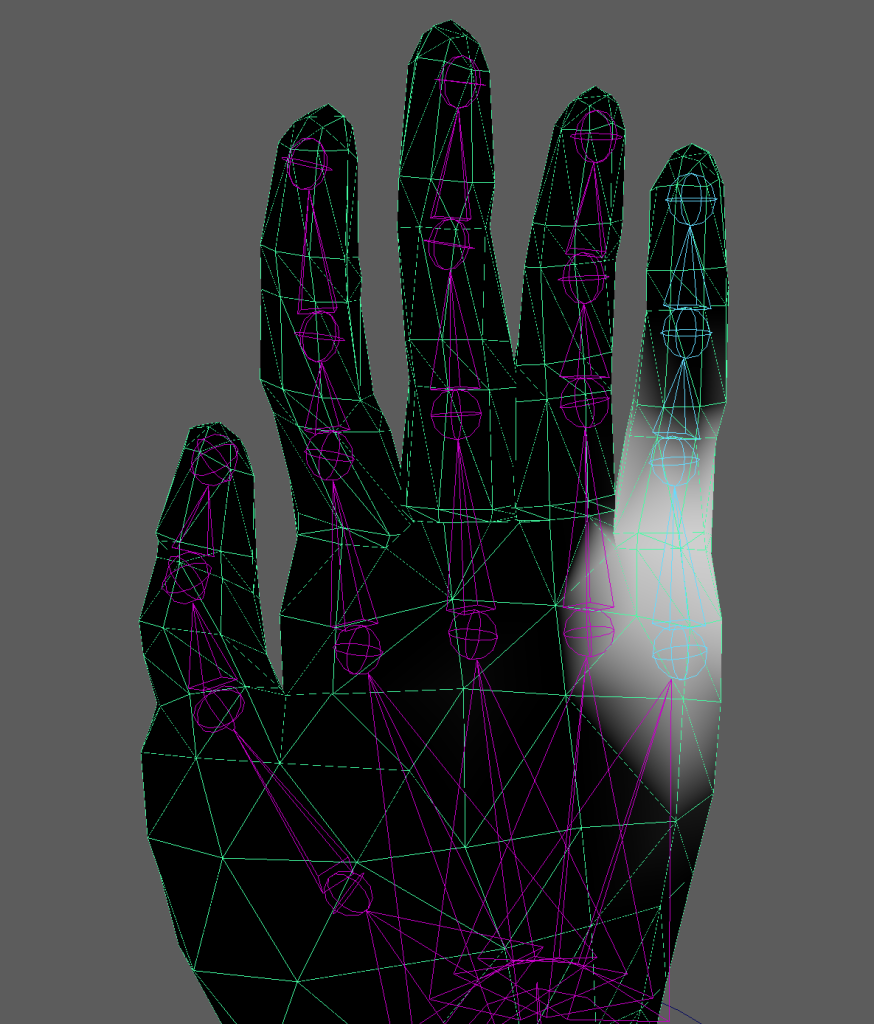
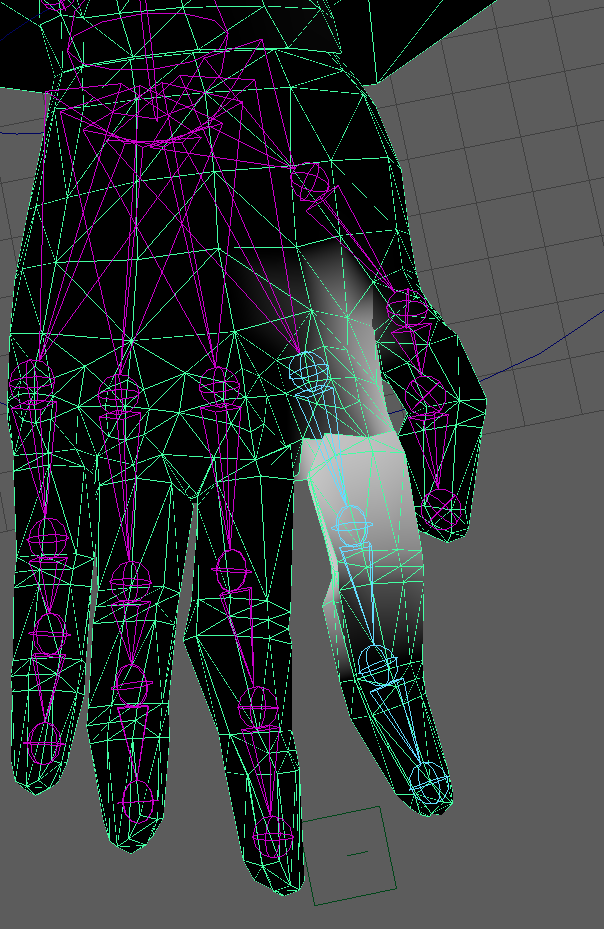
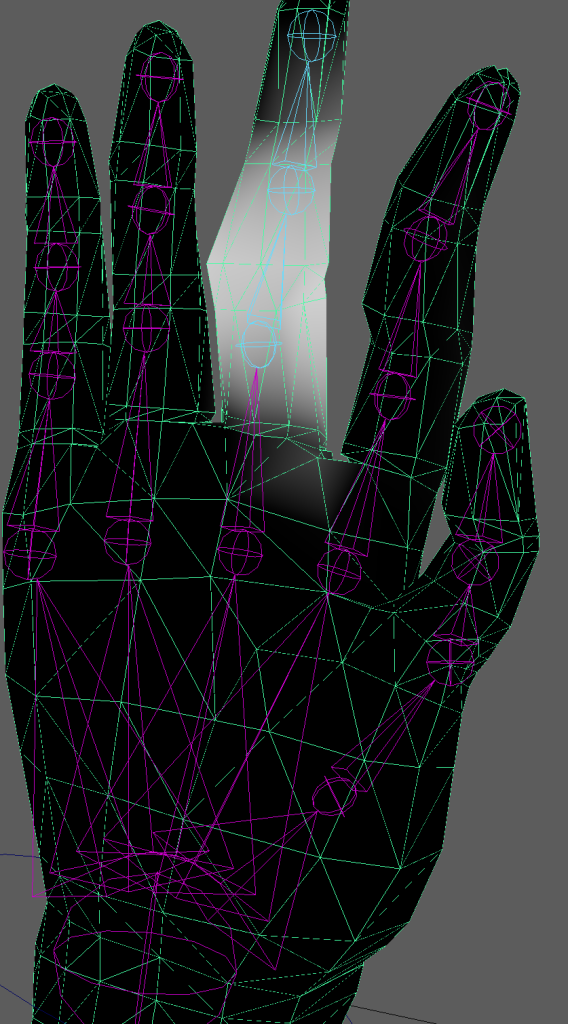
Before – Fingers and Hands Weight Painting
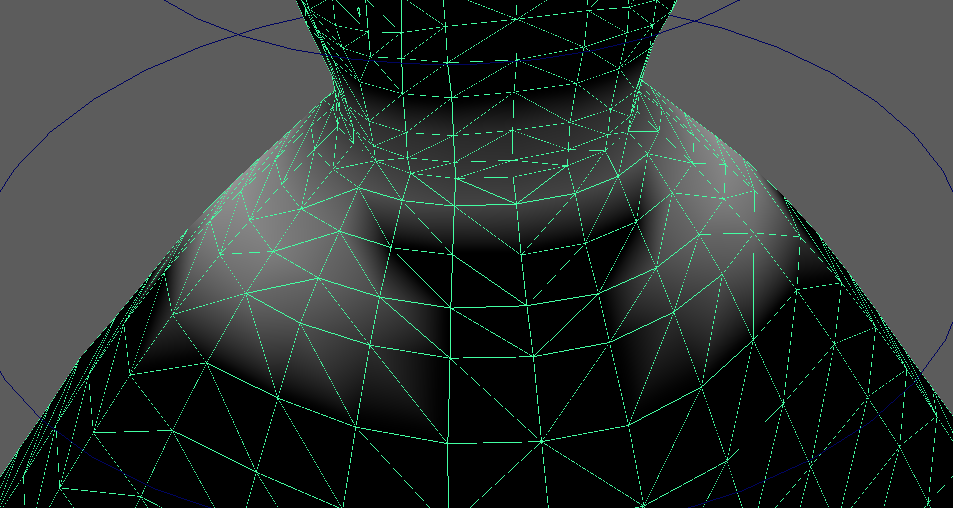
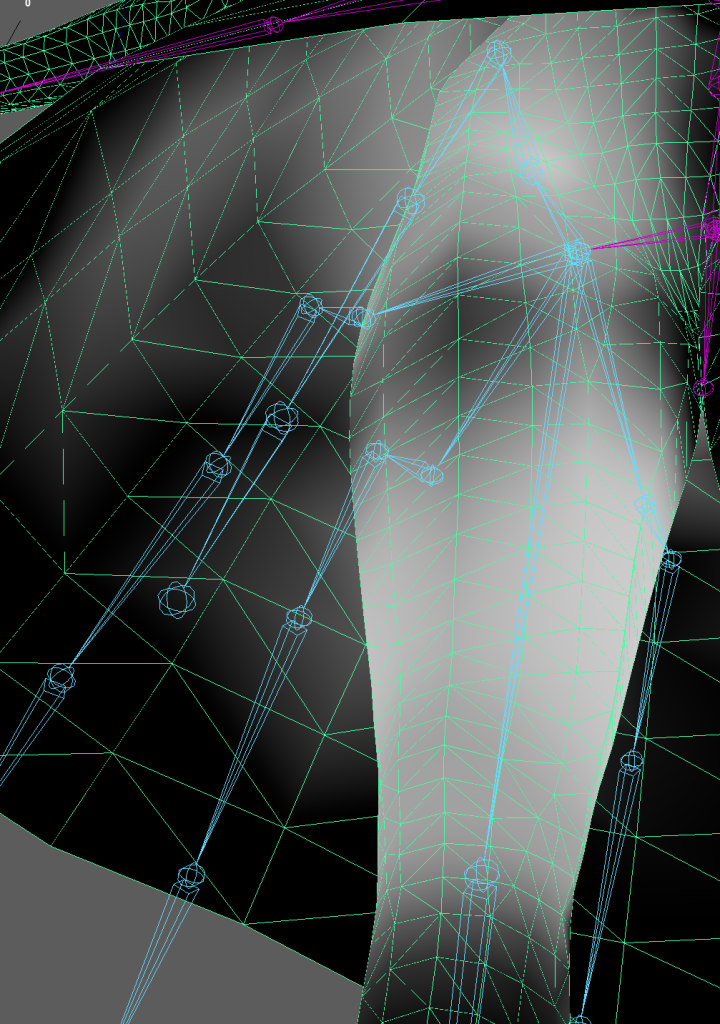
Before – Dress, legs and Clavicles Weight Painting
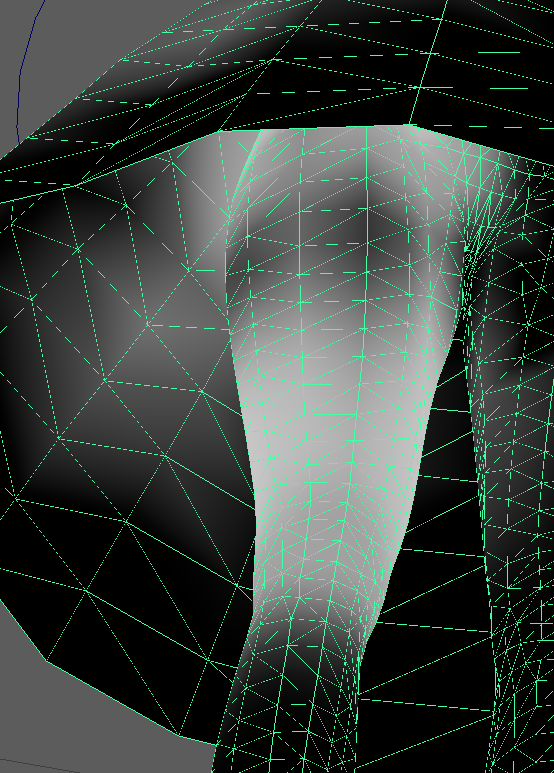
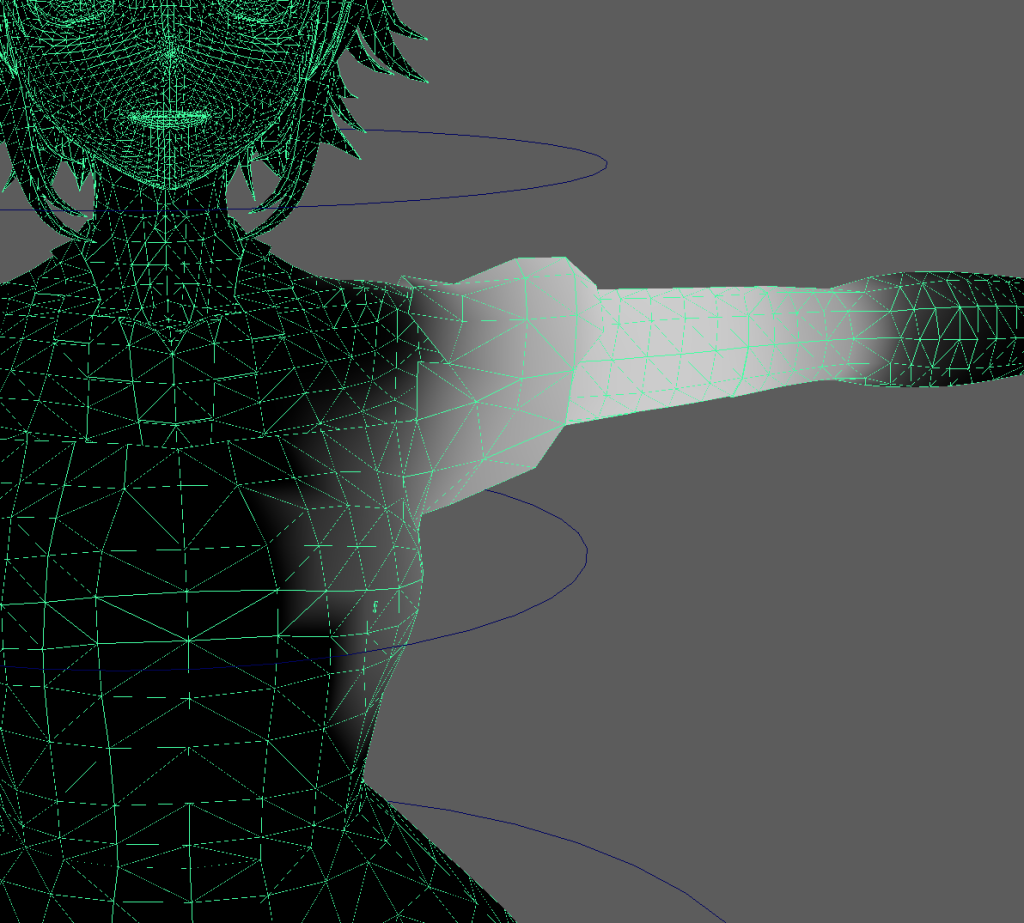
Before – Results of Deformation
The wrist would also deform and the influence of her chest in the arms would cause her dress to clip through.
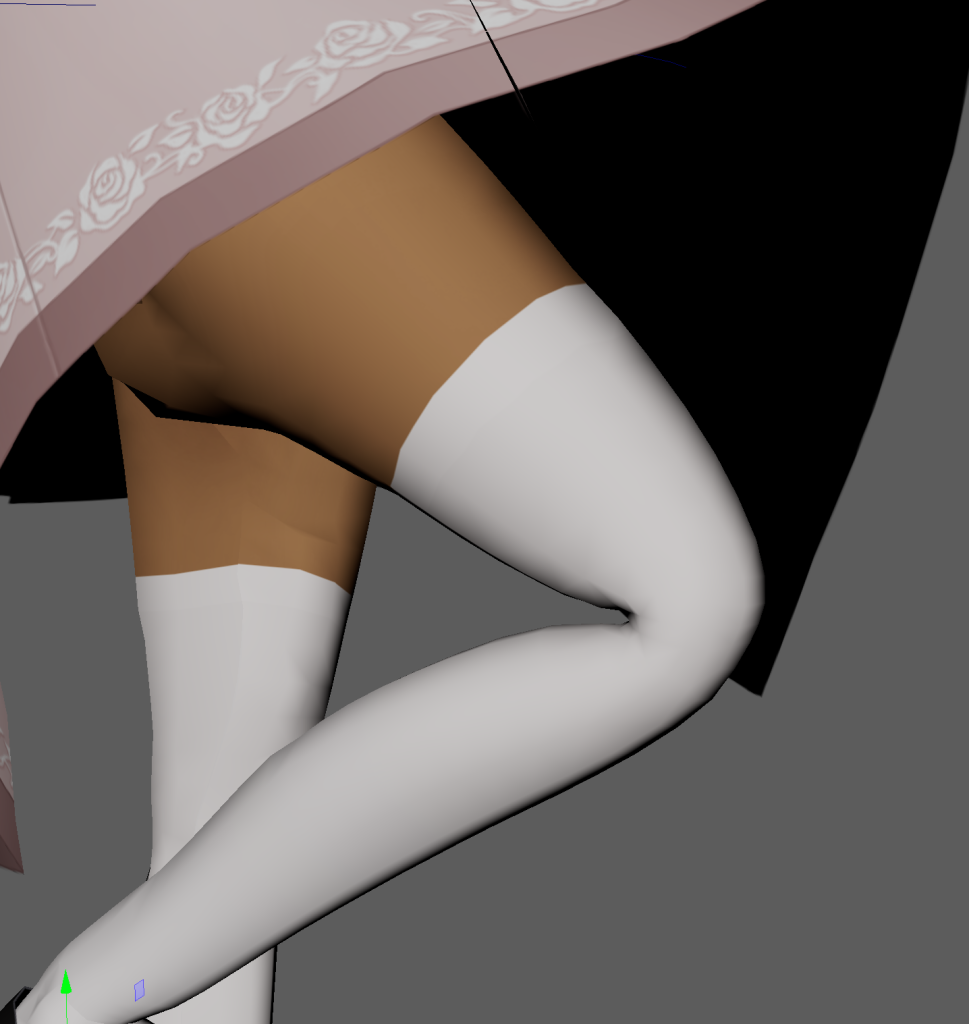
Weight painting results
After working with the weight painting, I was able to come up with fixed results.

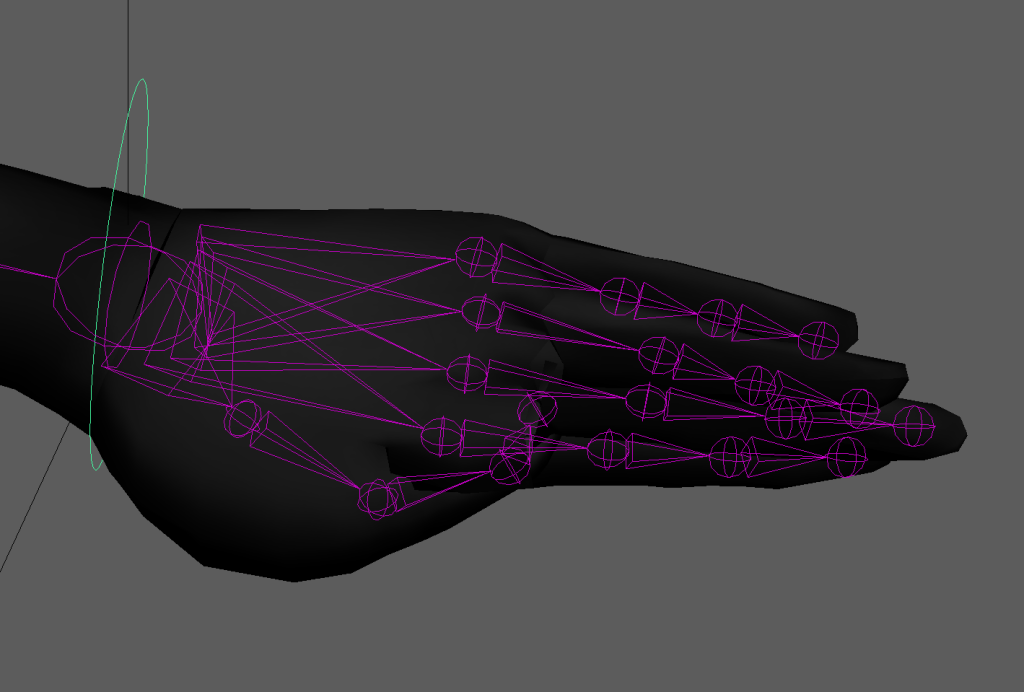
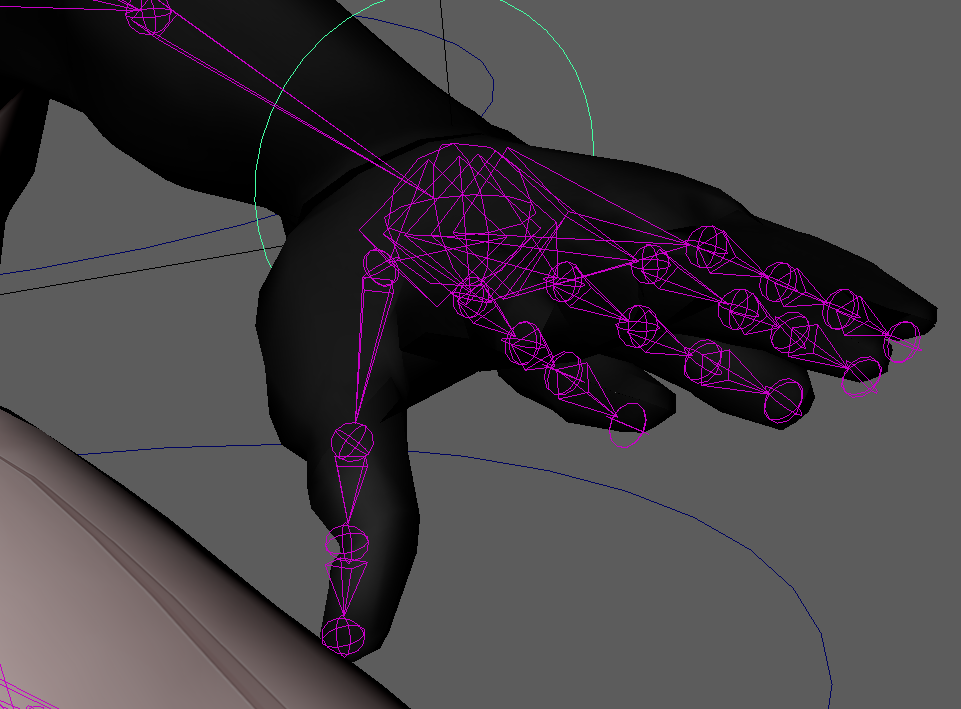
Adding Set Keys to Fingers
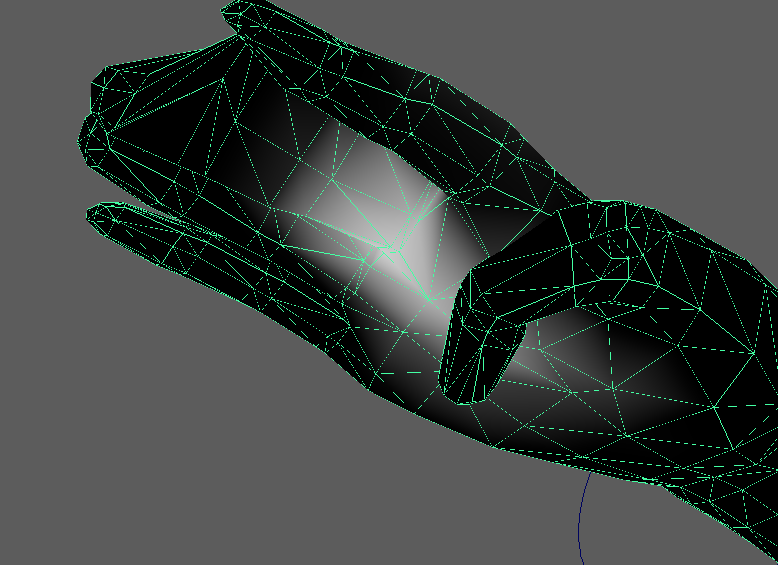
I worked on finishing the set keys for the fingers. Here, this was to not only experiment with animating with set keys rather than controls but this allowed flexibility when animating the fingers as I was able to adjust the finger joints and their movement. I decided to demonstrate flexing the finger joints by curling the fingers into a fist.
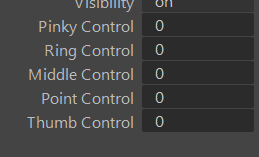
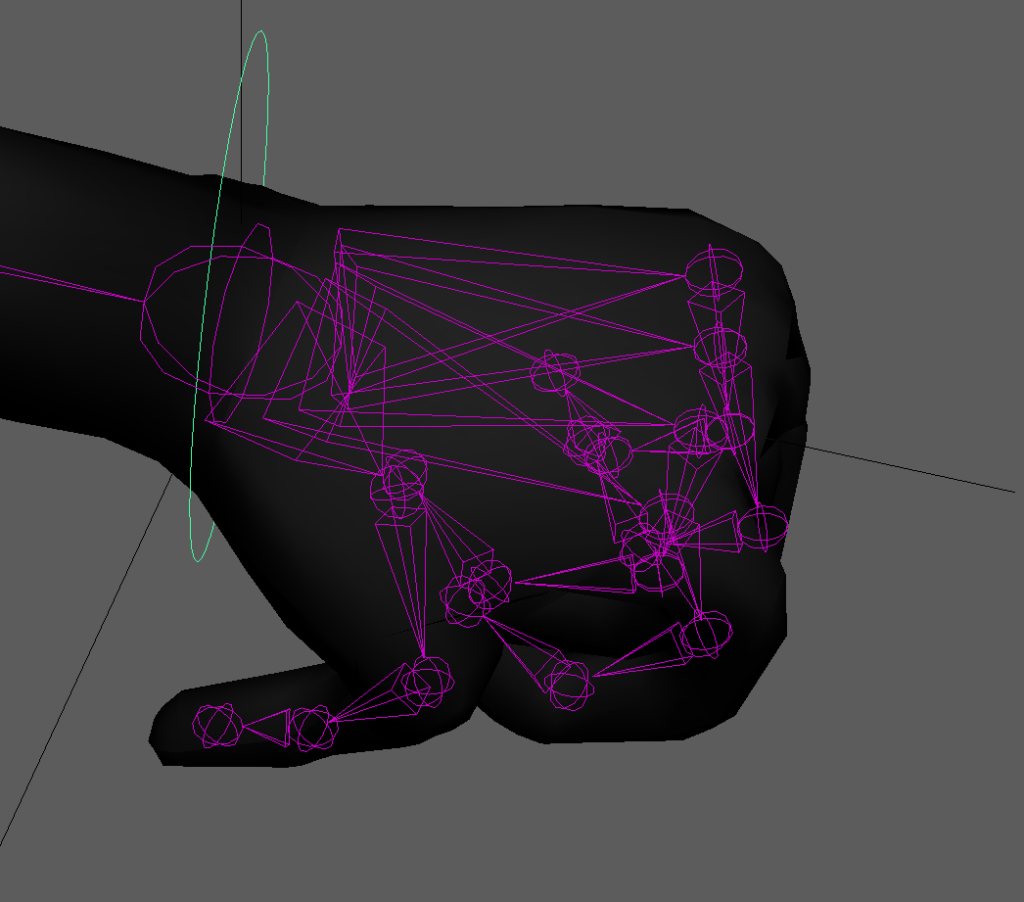

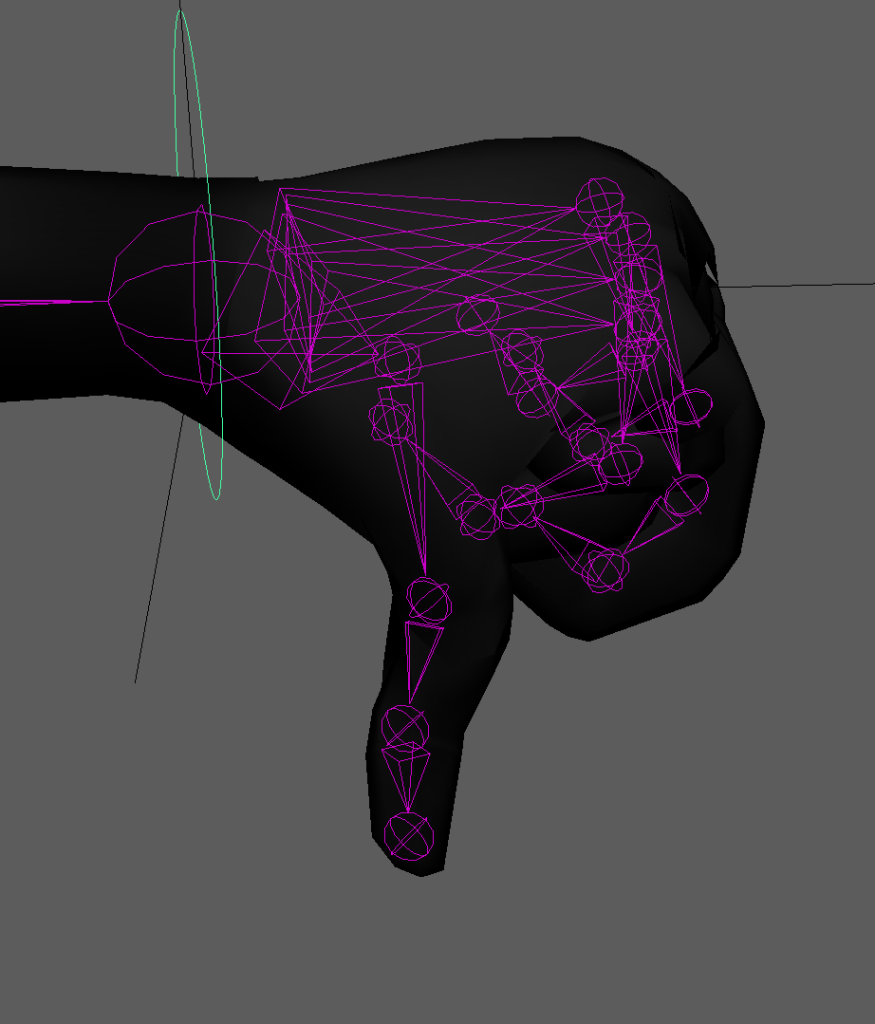
As a temporary fix I discovered that I could limit the set key for the thumb in order for the joint to bend fully. This added some limitations with the use of set keys for the fingers, but was able to work fairly well.
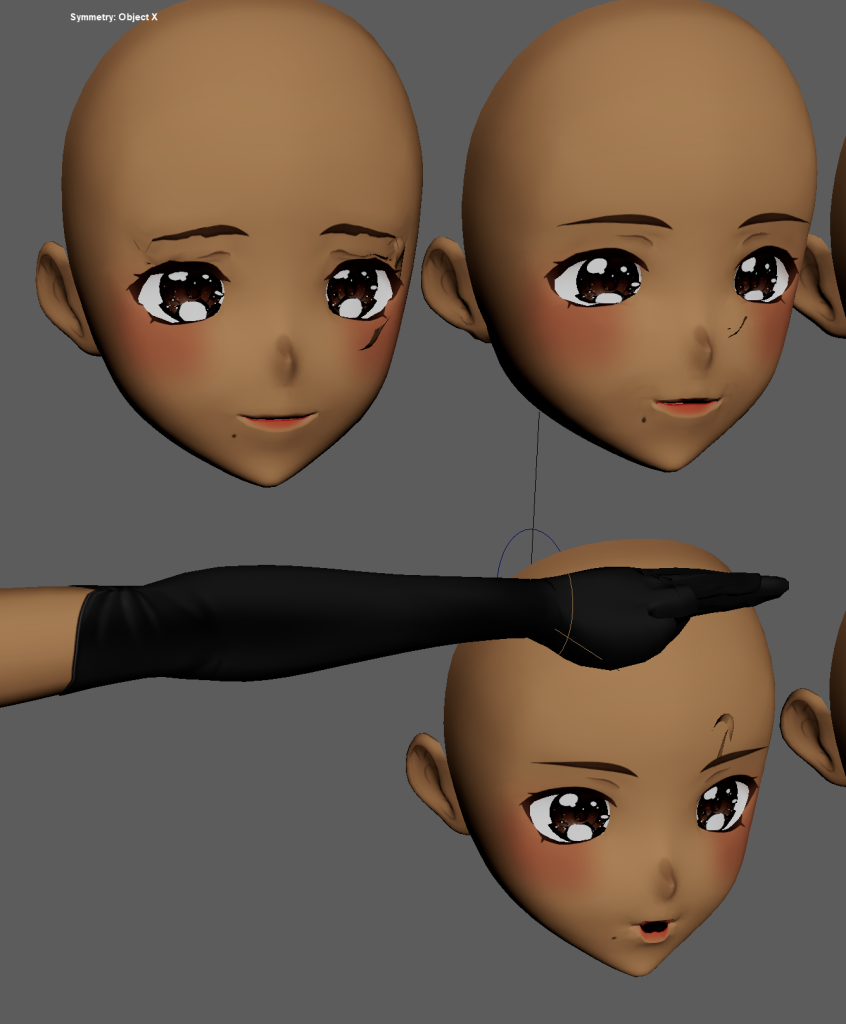
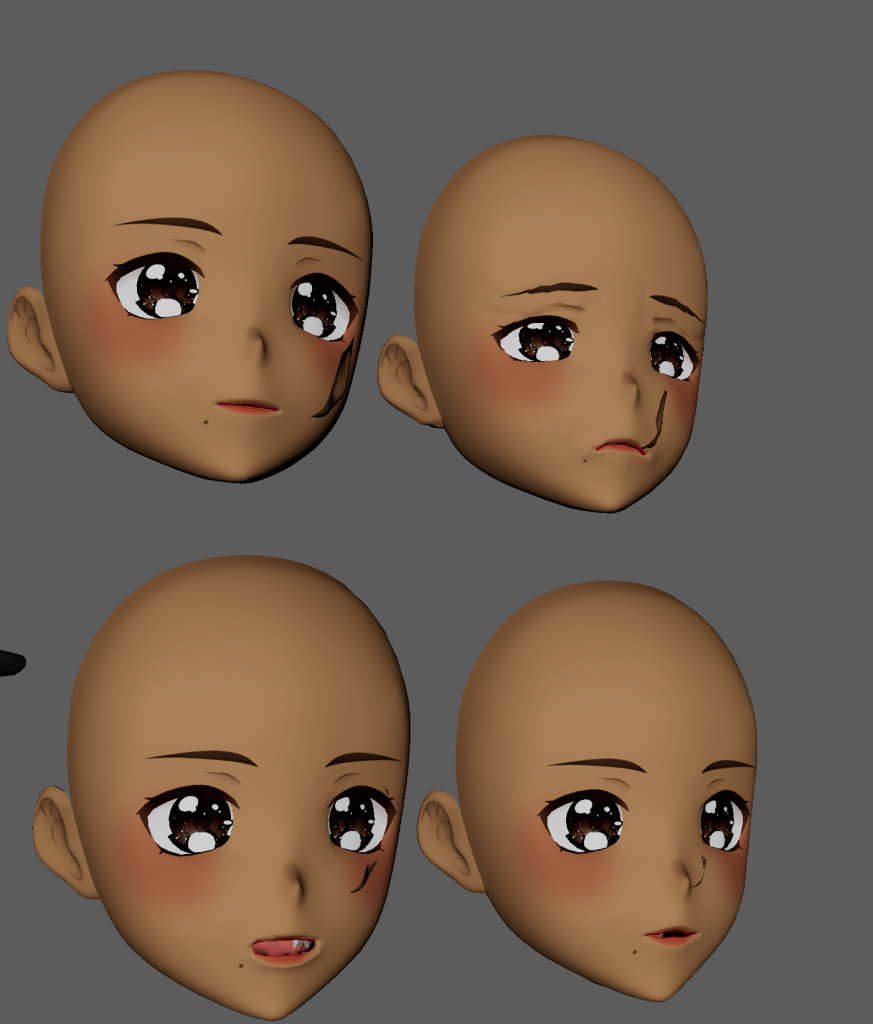
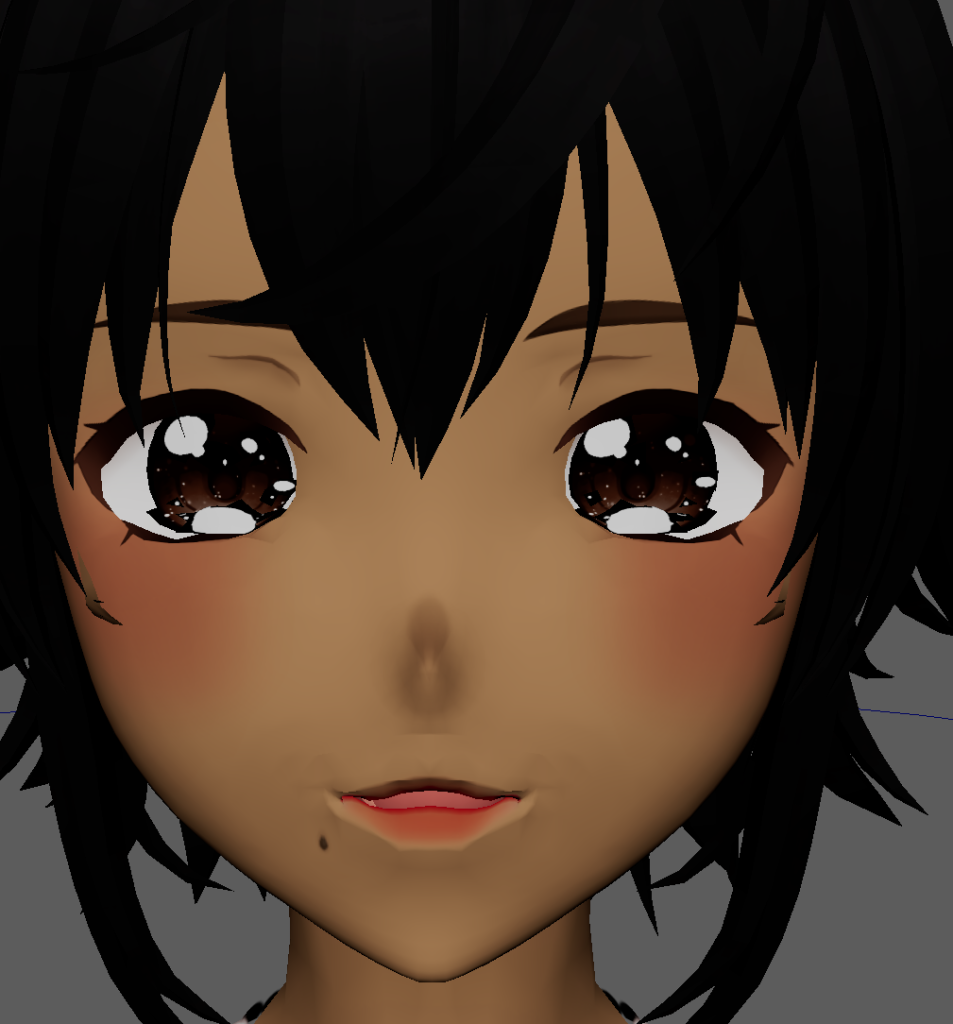
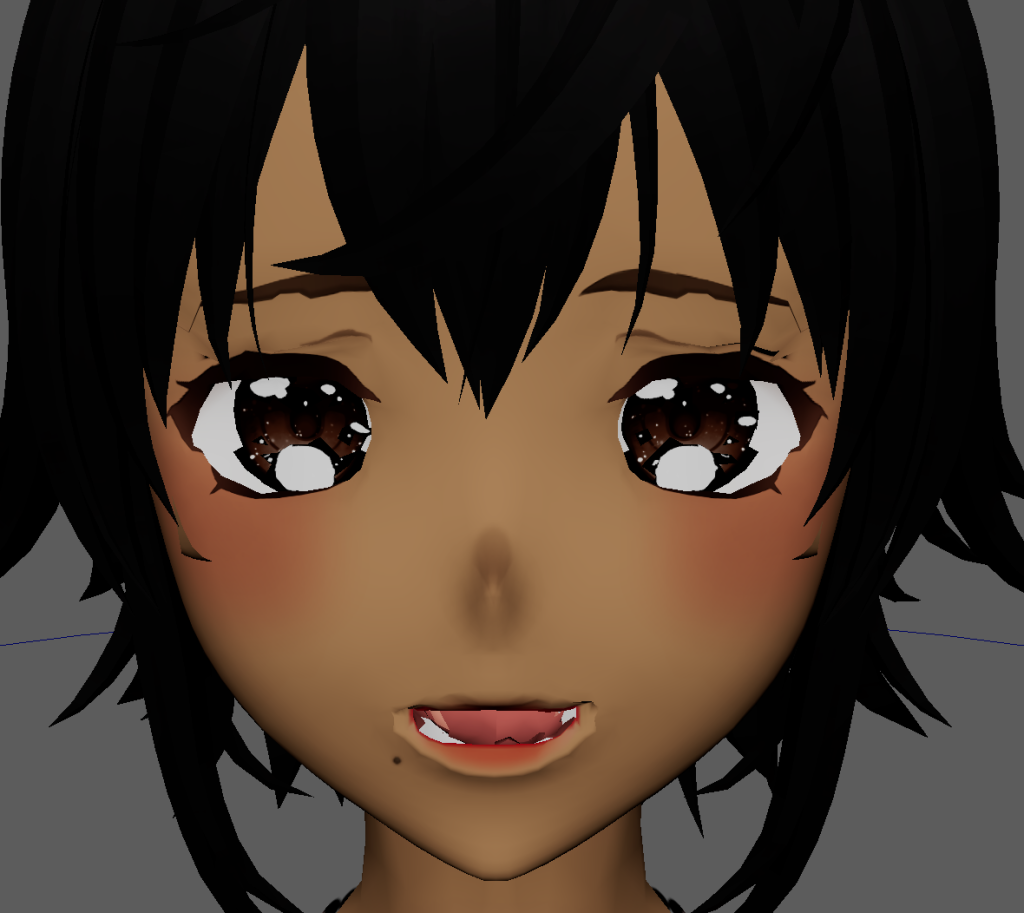
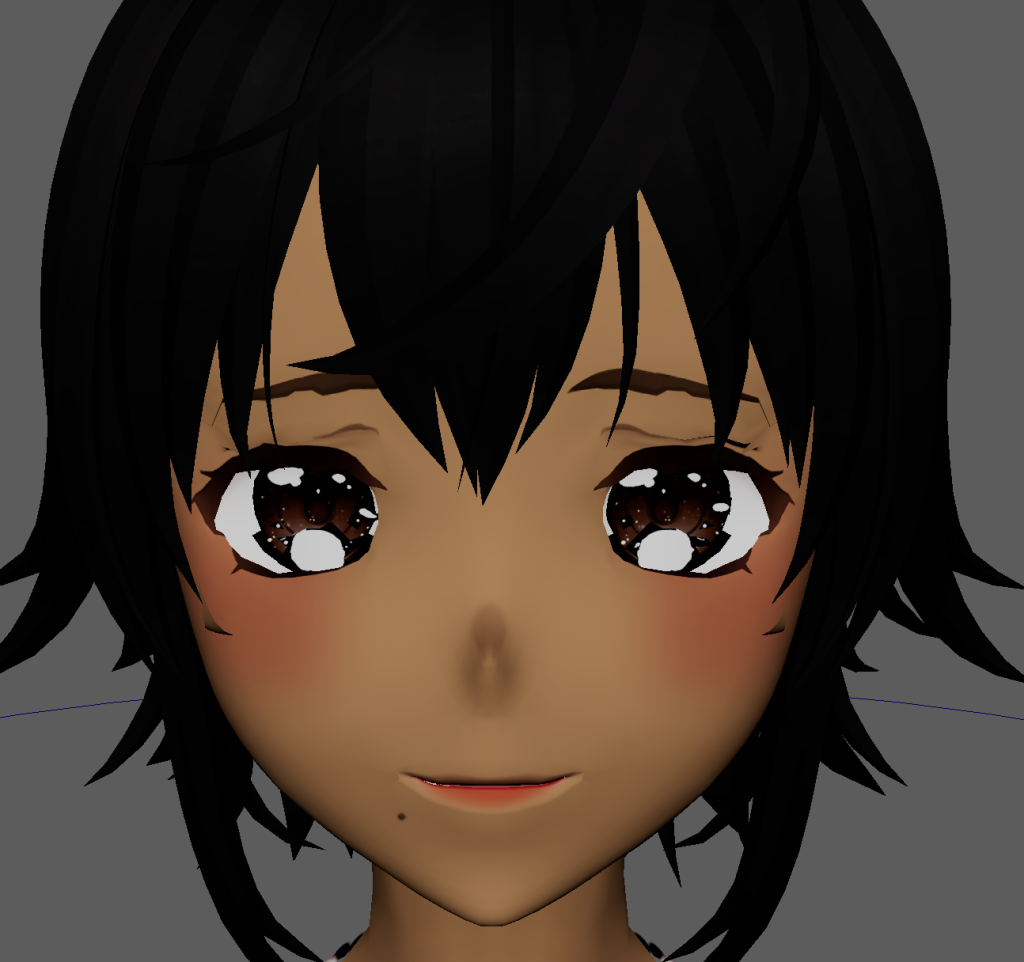
Blendshapes
I started to experiment with Blendshapes as I wanted her to express different emotions through speech and movements. The blendshapes were limited to speech, however, realising the importance of having these different expressions I created different expressions using the soft select tool.